Handbuild a Fairy House

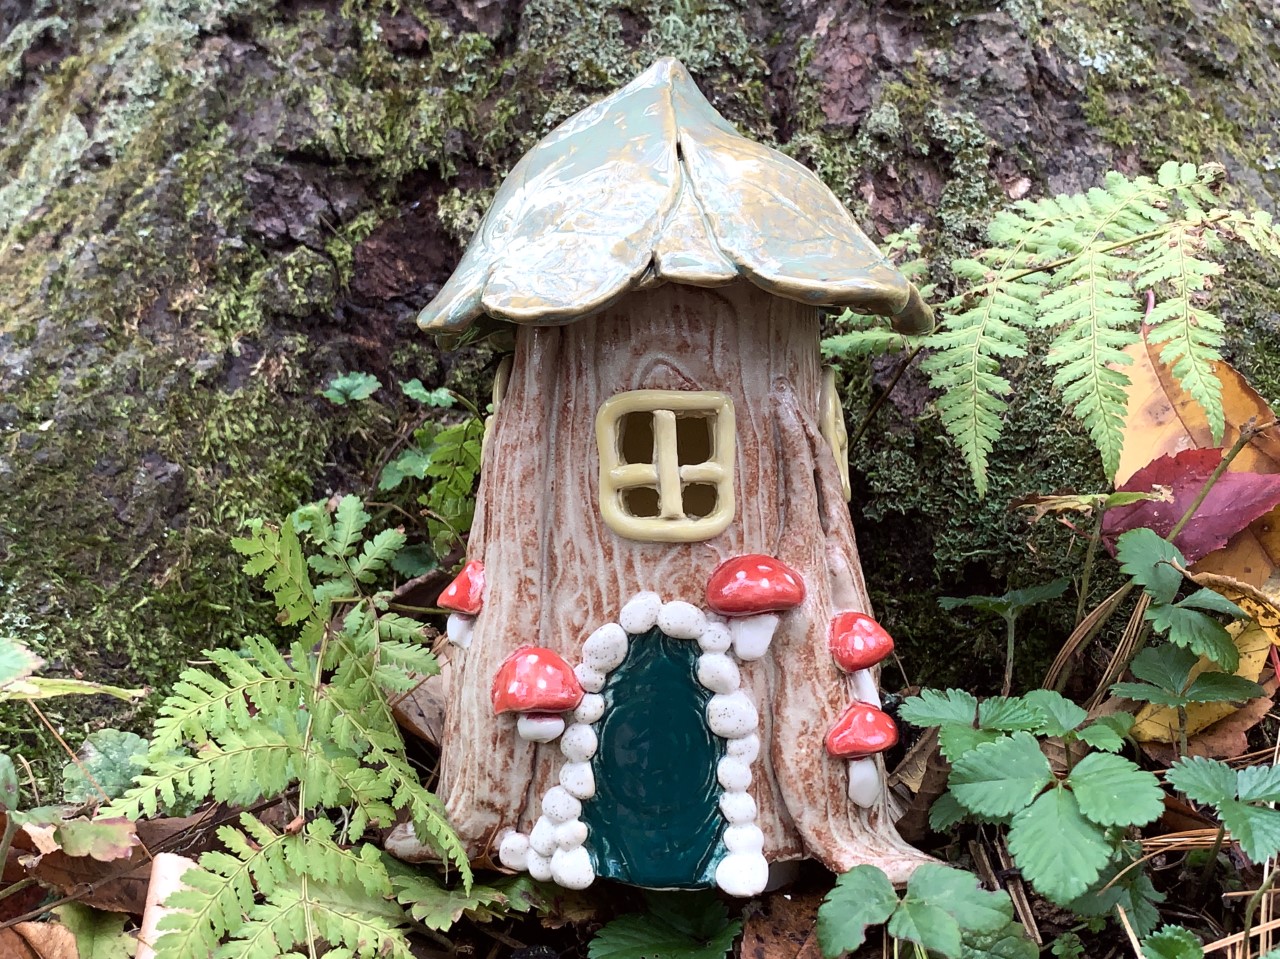
In this video, we will show you how to make a whimsical Fairy House from start to finish. Here, you'll find the tools and glazes you'll need to bring your creative vision to life. And, we'll give you ideas for designing a unique Fairy House of your own! Hint: a sprinkle of creativity and a wish on your kiln will be an invitation for the fairies to play! Enjoy!
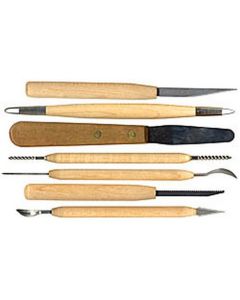
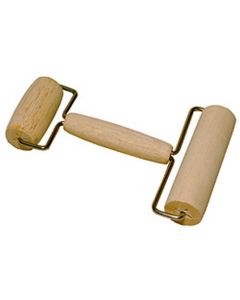
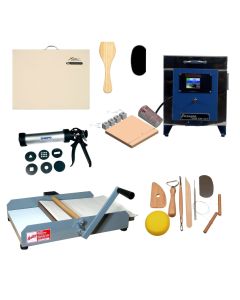
Scroll down to the bottom of the page to find links to the products that we used in the video.
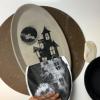
Looking for more inspiration? Check out the magical Fairy House Lamp created by Susan Whelan, Bailey Team Member and actual Fairy God Mother. Just below her Fairy House lantern creation you'll find her tips from a Fairy Godmother! How delightful!
Tips from a Fairy Godmother:
For many years, I've been making tree stump nightlights for special newborns and kids. They are great fun, both to make and to receive.
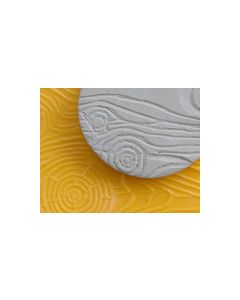
*Crocheted lace makes an interesting bark texture. Use the center of a crocheted doily for a focal point that will become a circular window.
* A irregular circle slab slumped over a plastic wrapped shallow bowl works well as a base. You'll need the extra height to fit the night light into a hole in the bottom. Leave a small rise in the edge for the cord to come out!
* Raise the tree stump while the clay is still soft and pliable so it can slump and bend organically, like a tree.
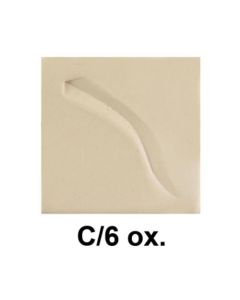
*Add a few doorways. Carve windows when the clay is nearly leatherhard. More windows equal more light.
*Add critters! Fairies, frogs, mice, insects, and worms feel at home here. More details add more magic!
About the Author

Related Products