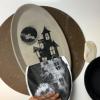
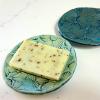
Easy DIY Coasters, Part 1: Make something you can use with this quick project!

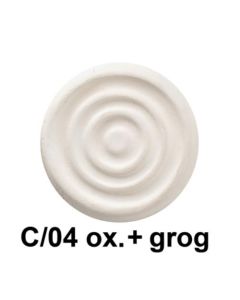
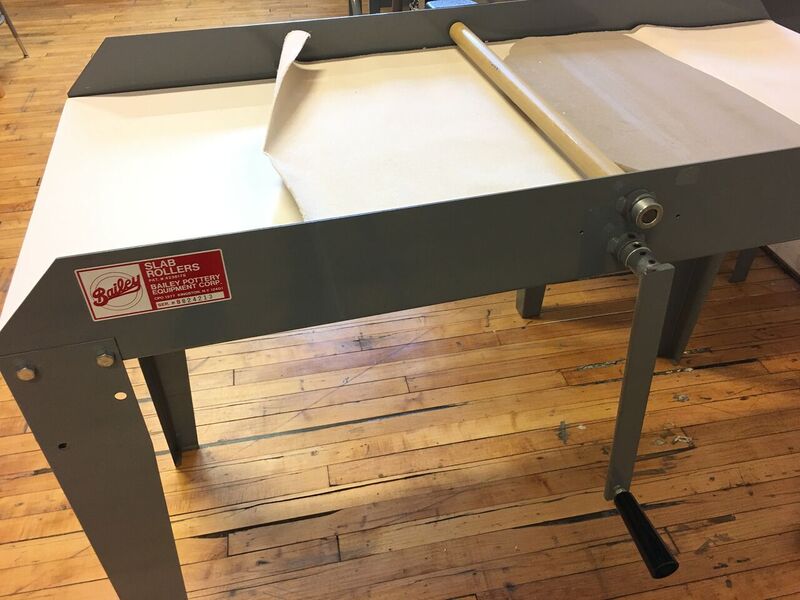
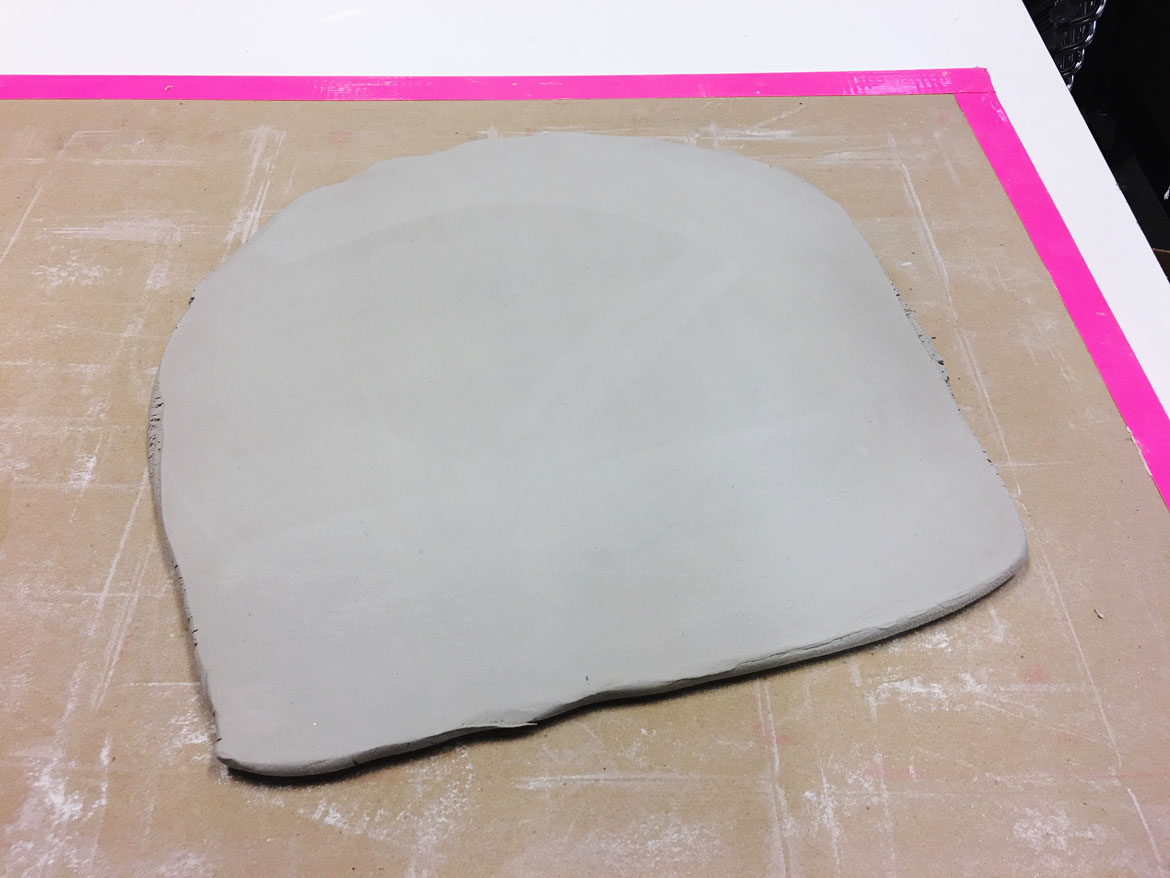
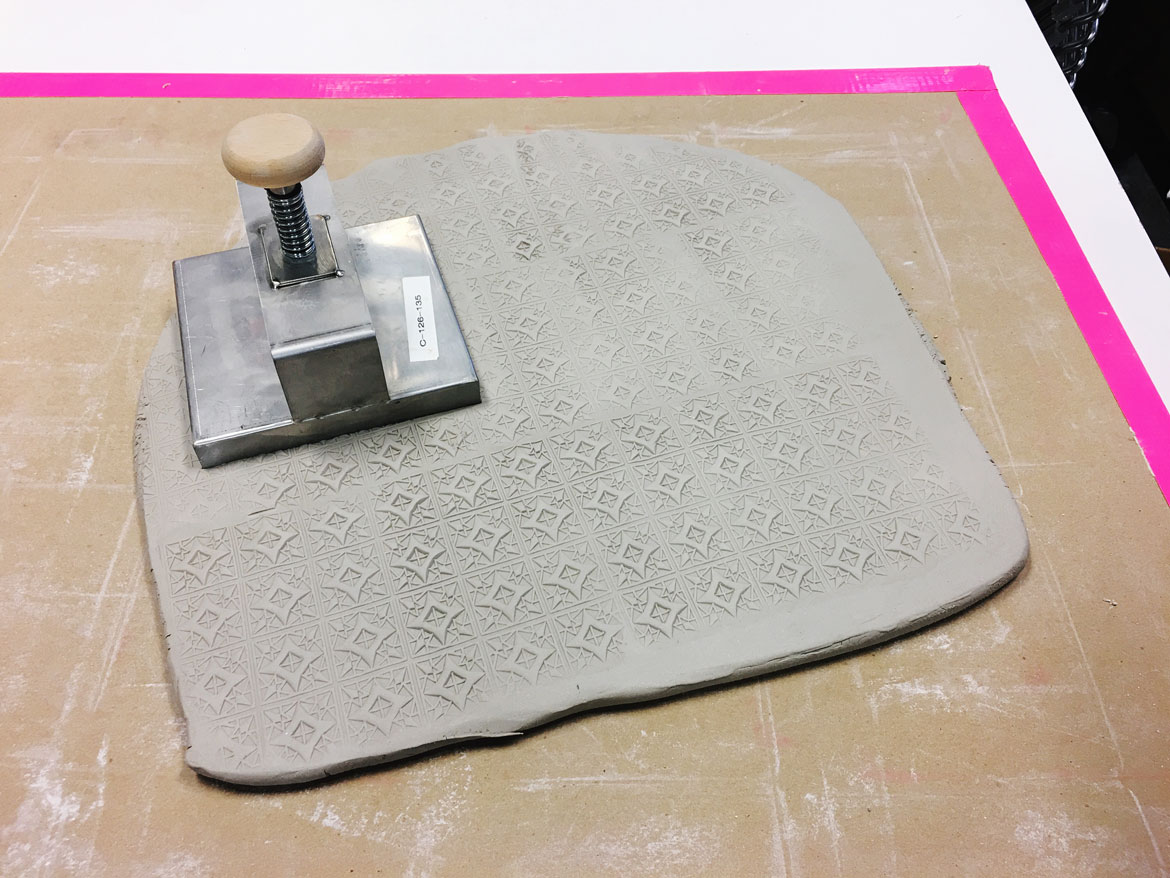
We are going to begin by rolling out a slab of clay. We have chosen a low fire white clay with grog from Standard for this project, but you can use any clay you are comfortable with. You can roll out a slab of clay either by using a rolling pin or a slab roller. We used our 22" Mini-Might II Table Roller to roll out this slab.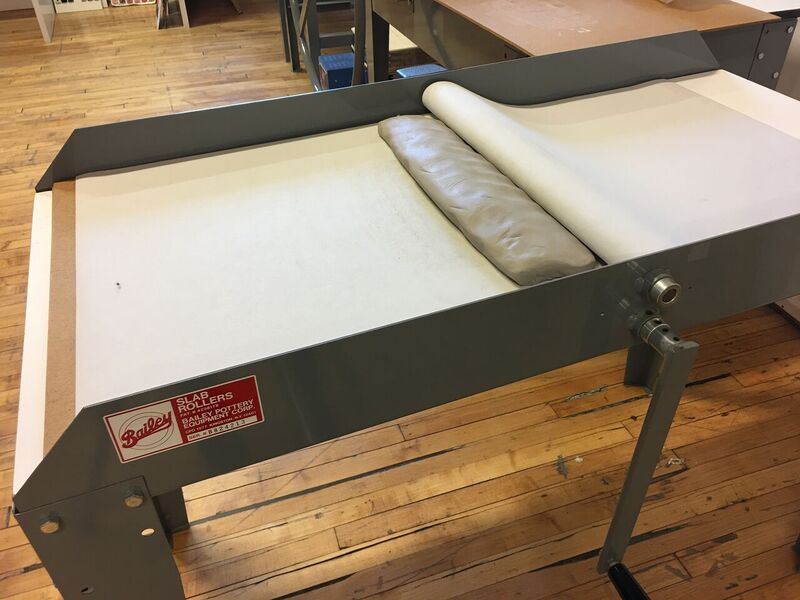
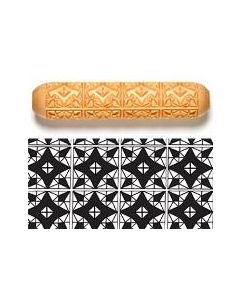
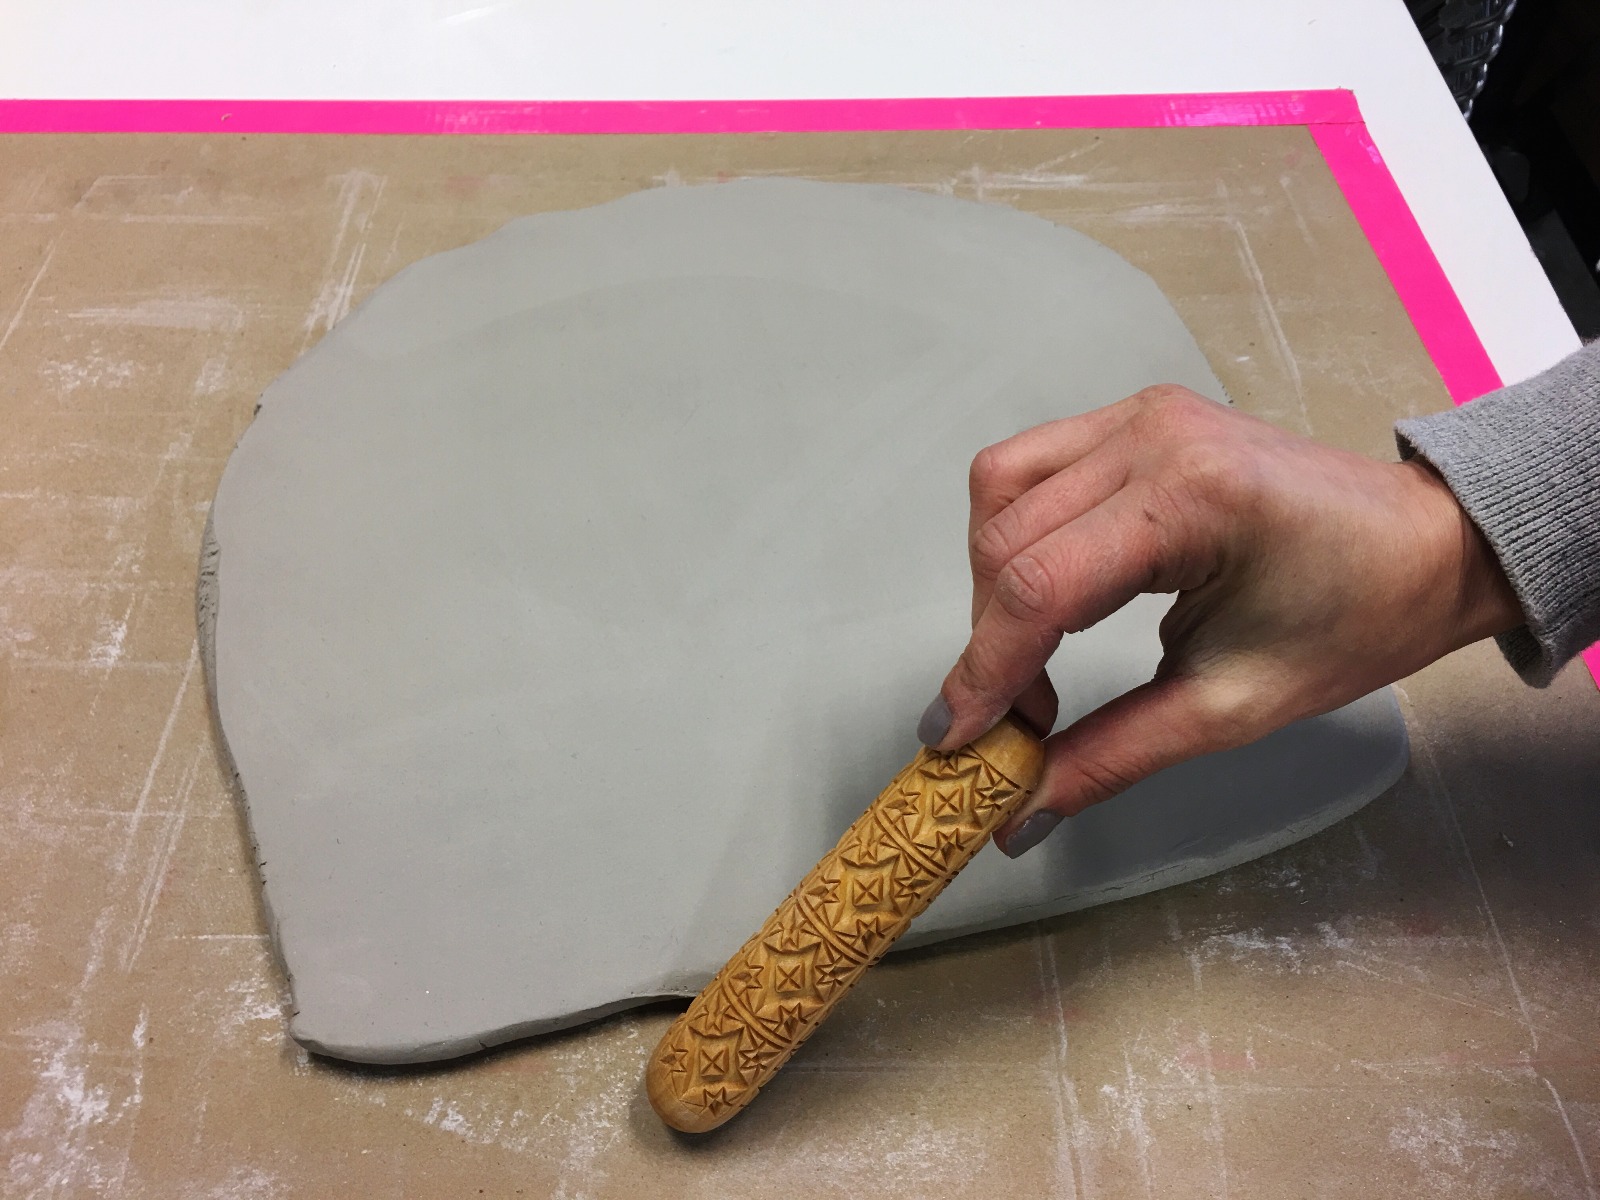
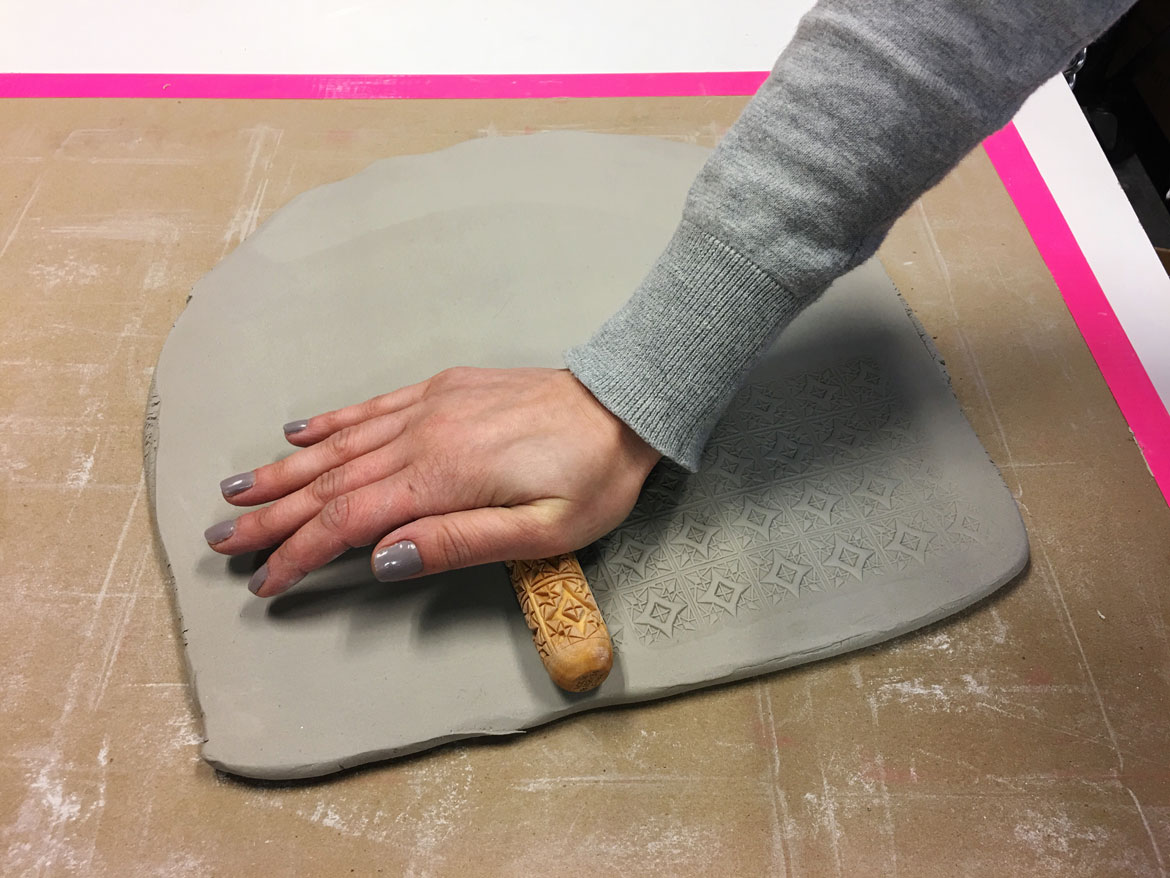
Next, choose a stamp tool. You can use any type of texturizing tool that you have on hand. We've chosen the MKM Big Handroller #34. These handrollers by MKM work great for adding continuous texture to the whole slab.
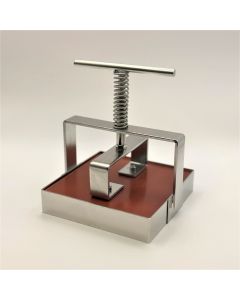
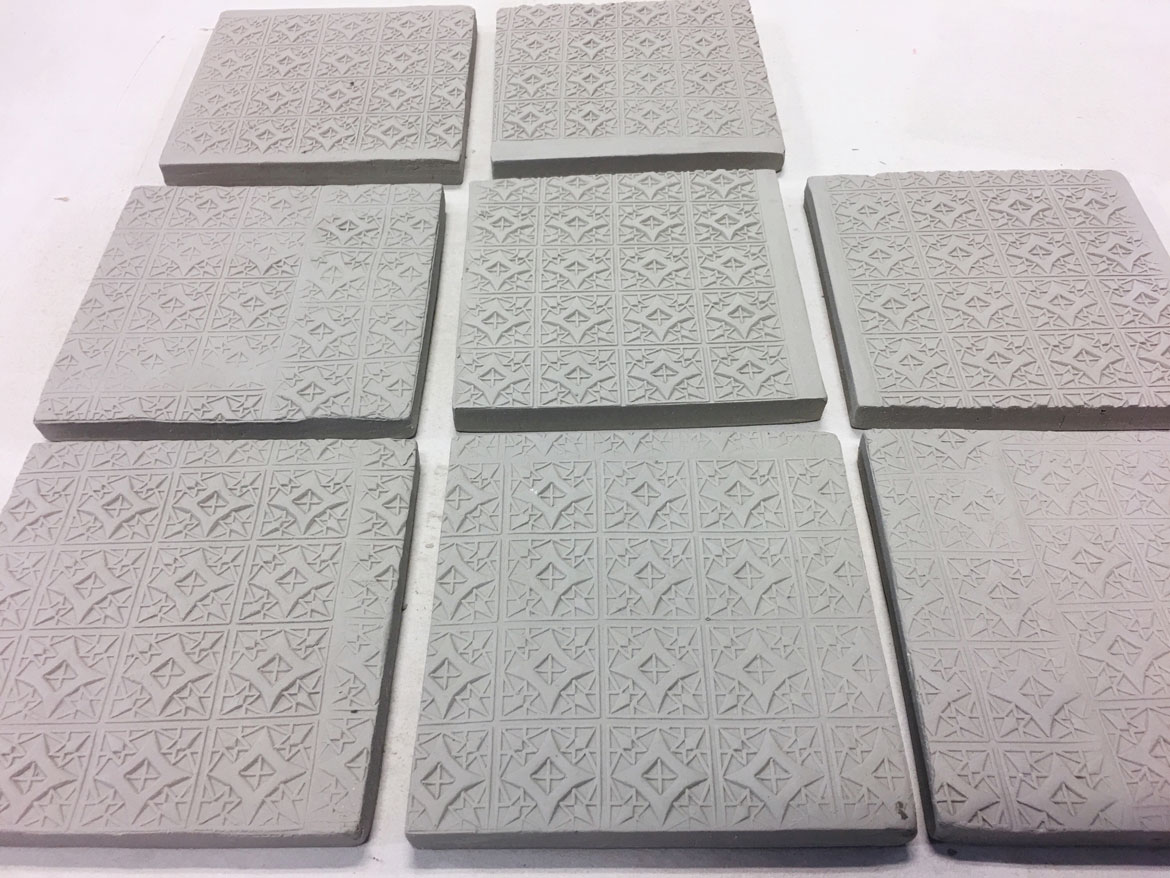
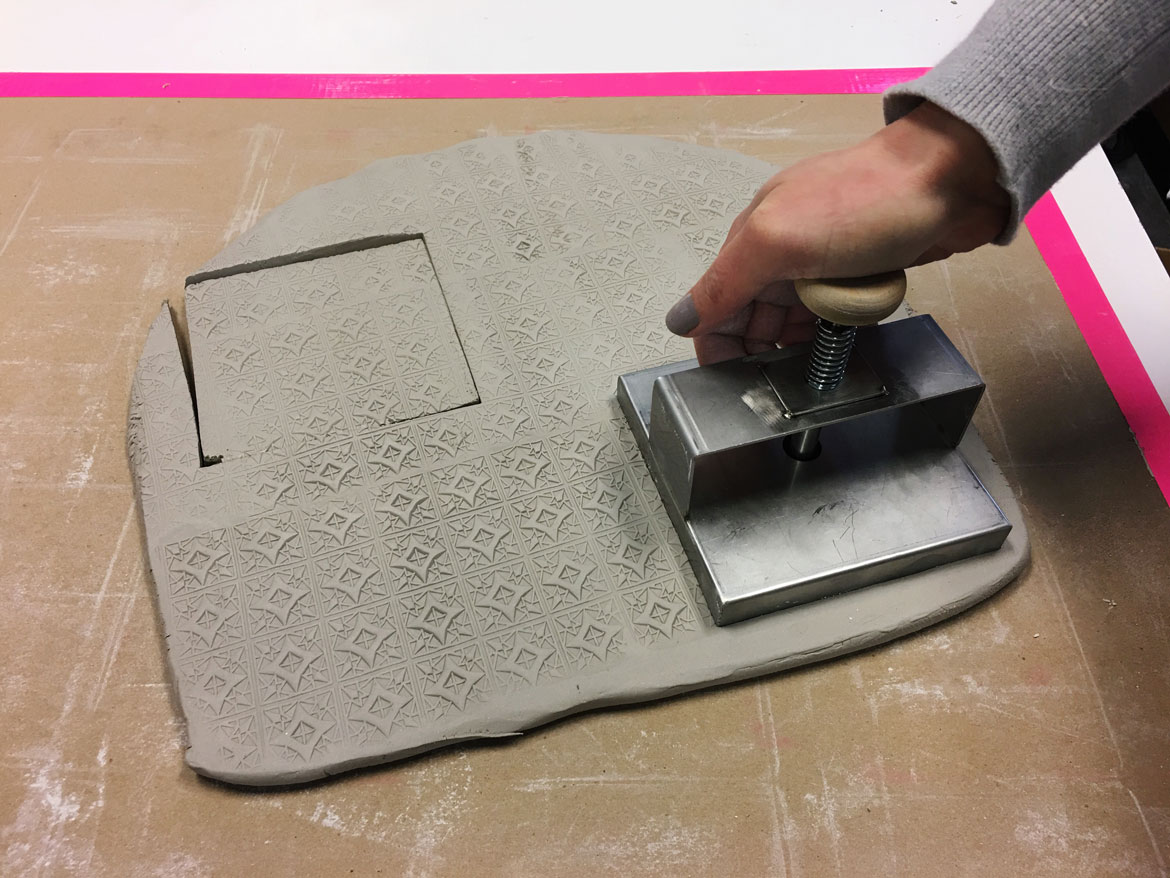
Once you have added texture to the whole slab it is time to cut out the coasters. We selected a 4" square tile cutter to create coasters that will fit under a standard glass or cup.
Forming a shape with the tile cutter is easy. Position the cutter directly on the slab and push down through the clay on the sides of the cutter. Once you have cut all the way through the clay, release the tile cutter by pressing the release button.

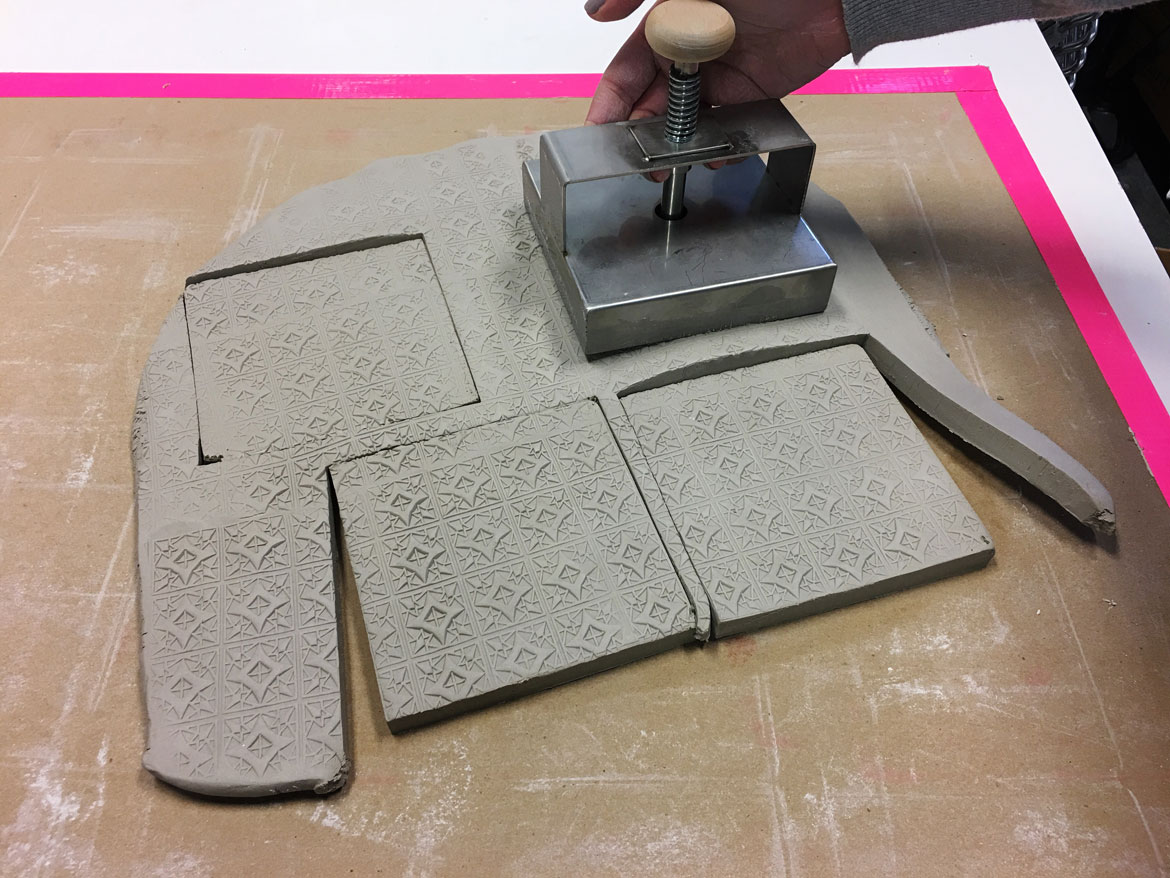
Continue cutting coasters with the tile cutter to your heart's delight. Allow the clay to set up enough so that the coasters can be handled without affecting the texture or the flatness.
Wipe the back of the coasters with a wet finishing sponge to clean up the underside. It is a good idea to dry your coasters between two sheets of drywall. Just cut a standard 4' x 8' x 3/8" or 1/2" sheet of drywall down into a few smaller pieces and use duct tape to seal in the edges. Lay your coasters on one sheet of drywall and place another sheet on top of them. The drywall pulls the moisture out of the clay evenly and helps to prevent the pieces from warping. When the coasters are mostly dry, transfer them to a wire rack until they can be bisqued.
In our next post, we will show you how we glaze and finish these coasters.
About the Author

Related Products