Let's Mix and Apply AMACO's New Dipping & Layering Glazes!

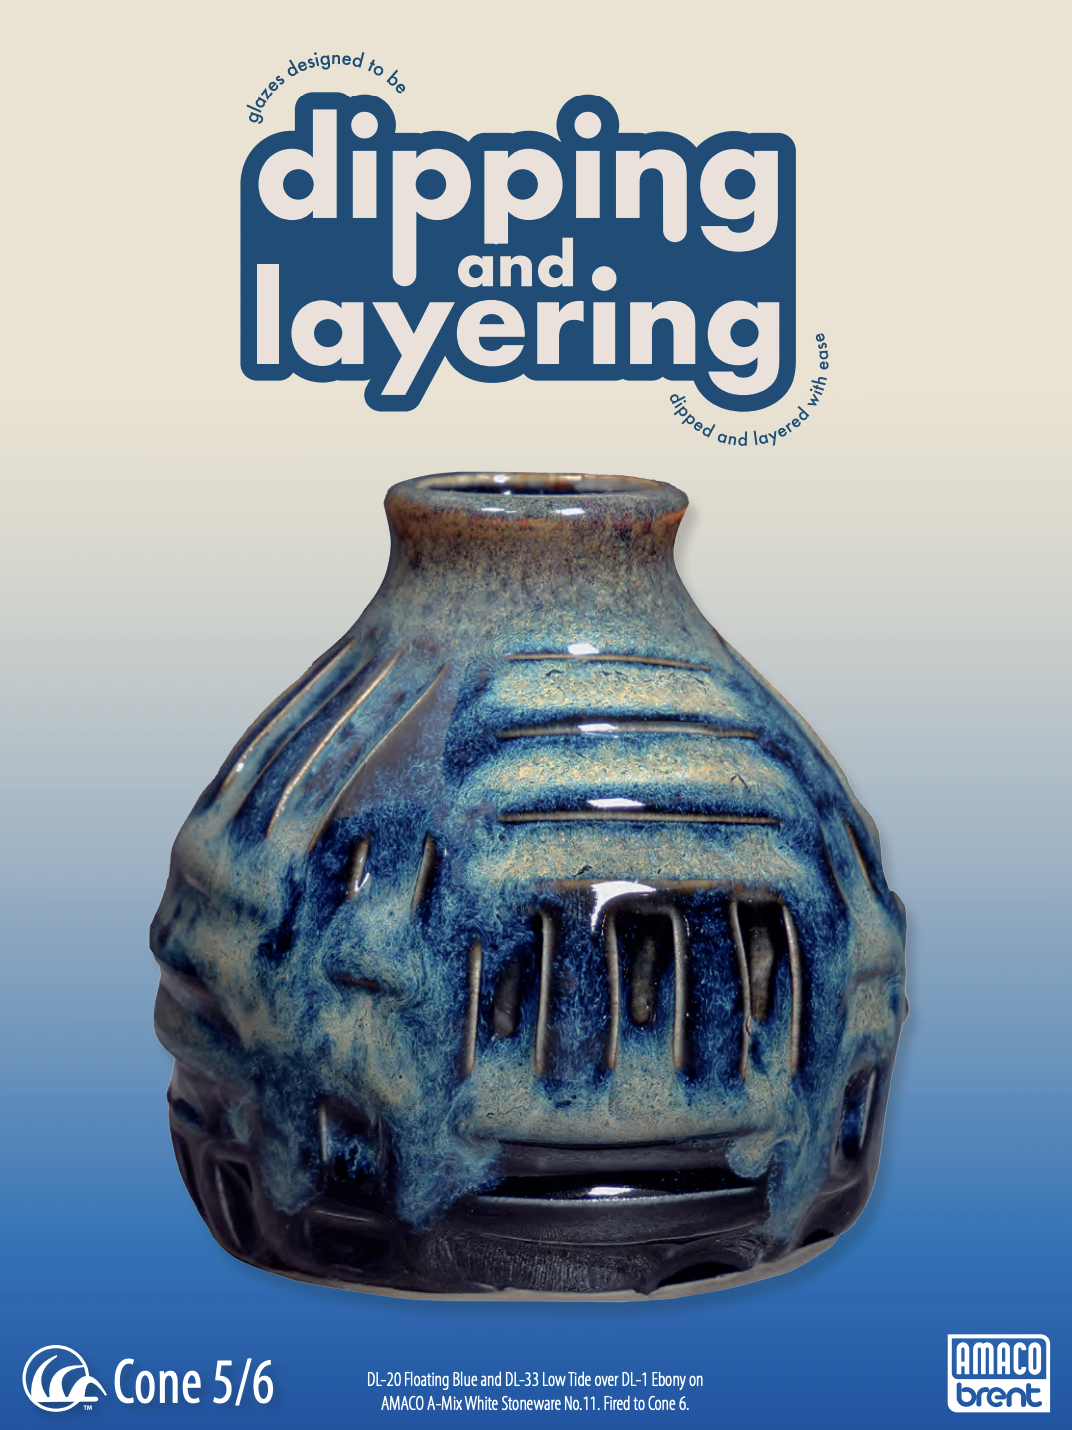
DL-20 Floating Blue and DL-33 Low Tide over DL-1 Ebony on AMACO A-Mix White Stoneware No. 11. Fired to Cone 6.
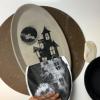
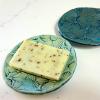
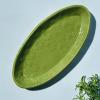
Hey ceramic artists! Welcome back to Bailey Pottery! Today, we're diving into the world of glazes, specifically AMACO's brand new Mixing and Layering Glazes. We know you love experimenting with color and texture, and these innovative glazes are about to become your new favorites. Not only are they beautiful for layering, but they're also incredibly convenient and cost-effective. Intrigued? Let's mix up some glaze and see what these beauties are all about! Remember, these glazes are available right here at Bailey Pottery, and if you have any questions about them or any other glazes in our vast selection, our expert staff is always happy to help!
(Below is from AMACO's HOW TO MIX AND TEST DRY DIPPING AND LAYERING GLAZES Handout)
AMACO Dipping and Layering (DL) glazes are custom made to enable everyone to be successful at dipping and layering their work. This means no more complex measuring, or calculations to achieve beautiful results. In other words, more fun and less work for you! The glazes will not settle, crawl, or run, if mixed and applied correctly. Please follow the mixing and testing instructions carefully for the best results.
STEP 1: MIXING THE GLAZE
MATERIALS Make sure to assemble all the needed materials before mixing your glaze. The dry glaze is meant to be mixed all at once, so instructions are for the entire bucket of glaze, not small quantities. • Package of AMACO DL glaze powder • PPE-NIOSH rated respirator for dust particles and safety glasses • 1 gallon of distilled water • Mixing container - 2-3 gallon plastic bucket • Drill with mixing attachment • Timer
MIXING INSTRUCTIONS 1. Gather powder package: AMACO DL glazes are formulated to utilize one gallon (3.8L) of water to a premeasured package of dry glaze powder. Gather your powder and set it aside. 2. Add Distilled Water: Use distilled water for the best results. Pour most of your water into the mixing container (Retain about 1 cup/0.24L). 3. Add Glaze Powder: Add powder to the water slowly to avoid raising dust. 4. Mixing Time: blend the mixture thoroughly for at least 15 minutes to ensure the powder is fully incorporated into the water. 5. Screen Glaze: Screen glaze through an 80 US standard (or similar) sieve. You should not see heavy residue on the screen.
STEP 2: THE WAITING PERIOD
Patience is Key: Cover the mixing container with a lid or plastic wrap, and let the glaze sit undisturbed for a minimum of 24 hours. This allows the glaze to fully wet-up and reach its optimal consistency.
STEP 3: TEST DIPPING AND FIRING
1. Test Dip: After the waiting period, conduct a test dip by submerging a sample piece into the glaze mixture. This helps you assess the glaze’s thickness and compatibility with your bisque materials.
2. Firing Samples: Fire the test sample to pyrometric cone 5 to cone 6. This will reveal the final appearance and characteristics of the glaze.
STEP 4: ADJUSTING THE GLAZE
1. Assess Thickness: If the glaze appears too thick on the test piece, you can increase the water content. Gradually add the remaining amount of distilled water and remix until the desired consistency is achieved. 2. Further Adjustment: Some clay bodies, or bisque firing cycles will create a surface that is too absorbent for the water that the standard DL glaze formulas contain. If you find the glaze thickness is too heavy after the second test dip, then you may add additional distilled water- 1 cup (0.24L) at a time, until the desired thickness/glaze appearance is achieved.
TROUBLESHOOTING 1. Glaze too thin: If the finished glaze appears too thin, allow the glaze to settle for 24 hours, until a layer of water is visible in the bucket. Then, using a small measuring cup, remove 1c (0.24L) of water at a time to attain desired thickness. 2. Glaze crawl: Consider thinning the glaze application. 3. Agglomerates in the glaze: a. Screen glaze through an 80 mesh (or similar) sieve. b. Inspect the screen to be sure there are no holes in the mesh before use. c. Be sure to scrape the sides of the bucket often to avoid dry glaze falling into your main dipping glaze. 4. Glaze has “Hard-Panned”: a. Always use distilled water for mixing. b. Ensure glazes are thoroughly mixed each time you use them.
IMPORTANT TIPS 1. Test and Apply: Always test the final glaze on sample pieces before applying it to your main project. This step allows you to fine-tune the glaze and ensures the best results for your application. 2. Keep track of your batch code; this will be used by customer service if you encounter any issues with the DL glazes. 3. Use distilled water for consistency. 4. Keep a notebook of the glazes you use during layering and any adjustments made to those glazes. 5. Document your firing schedule for future reference. 6. Always test glazes and combinations for your application, in your kiln and on your clay body for your application. This will ensure you have the best product to match the function of your ware. 7. Always wear appropriate safety gear and work in a well-ventilated area. 8. Always keep your dipping tools clean. 9. Scrape the sides and bottom of your bucket often. 10. Always mix the glazes thoroughly between dipping, to ensure nothing has settled.
TROUBLESHOOTING 1. Glaze too thin: If the finished glaze appears too thin, allow the glaze to settle for 24 hours, until a layer of water is visible in the bucket. Then, using a small measuring cup, remove 1c (0.24L) of water at a time to attain desired thickness. 2. Glaze crawl: Consider thinning the glaze application. 3. Agglomerates in the glaze: a. Screen glaze through an 80 mesh (or similar) sieve. b. Inspect the screen to be sure there are no holes in the mesh before use. c. Be sure to scrape the sides of the bucket often to avoid dry glaze falling into your main dipping glaze. 4. Glaze has “Hard-Panned”: a. Always use distilled water for mixing. b. Ensure glazes are thoroughly mixed each time you use them. Remember, achieving the perfect glaze requires patience and experimentation. By following these steps and conducting thorough testing, you’ll be on your way to creating beautiful ceramic pieces with confidence.
About the Author