Imprints in Clay!

At a time when touch contends with safety, an imprint in clay can be so moving. Feel the imprint created by a foot, paw or hand and the essence of the mark maker is palpable. Although there is a lot of sadness right now we must remember that our lives are precious. Let's celebrate life, through clay!
Create something meaningful that you or someone you know will treasure. Make an impression in clay using your, your child's or your pet's hand or foot. You can also turn this into a Spring project by making imprints of plants that you collect outside.
Clay is the perfect medium; beautifully receptive to the most minute details of touch and when fired hard as stone and lasting as such. Here we are sharing tips and suggestions for creating and personalizing this project.
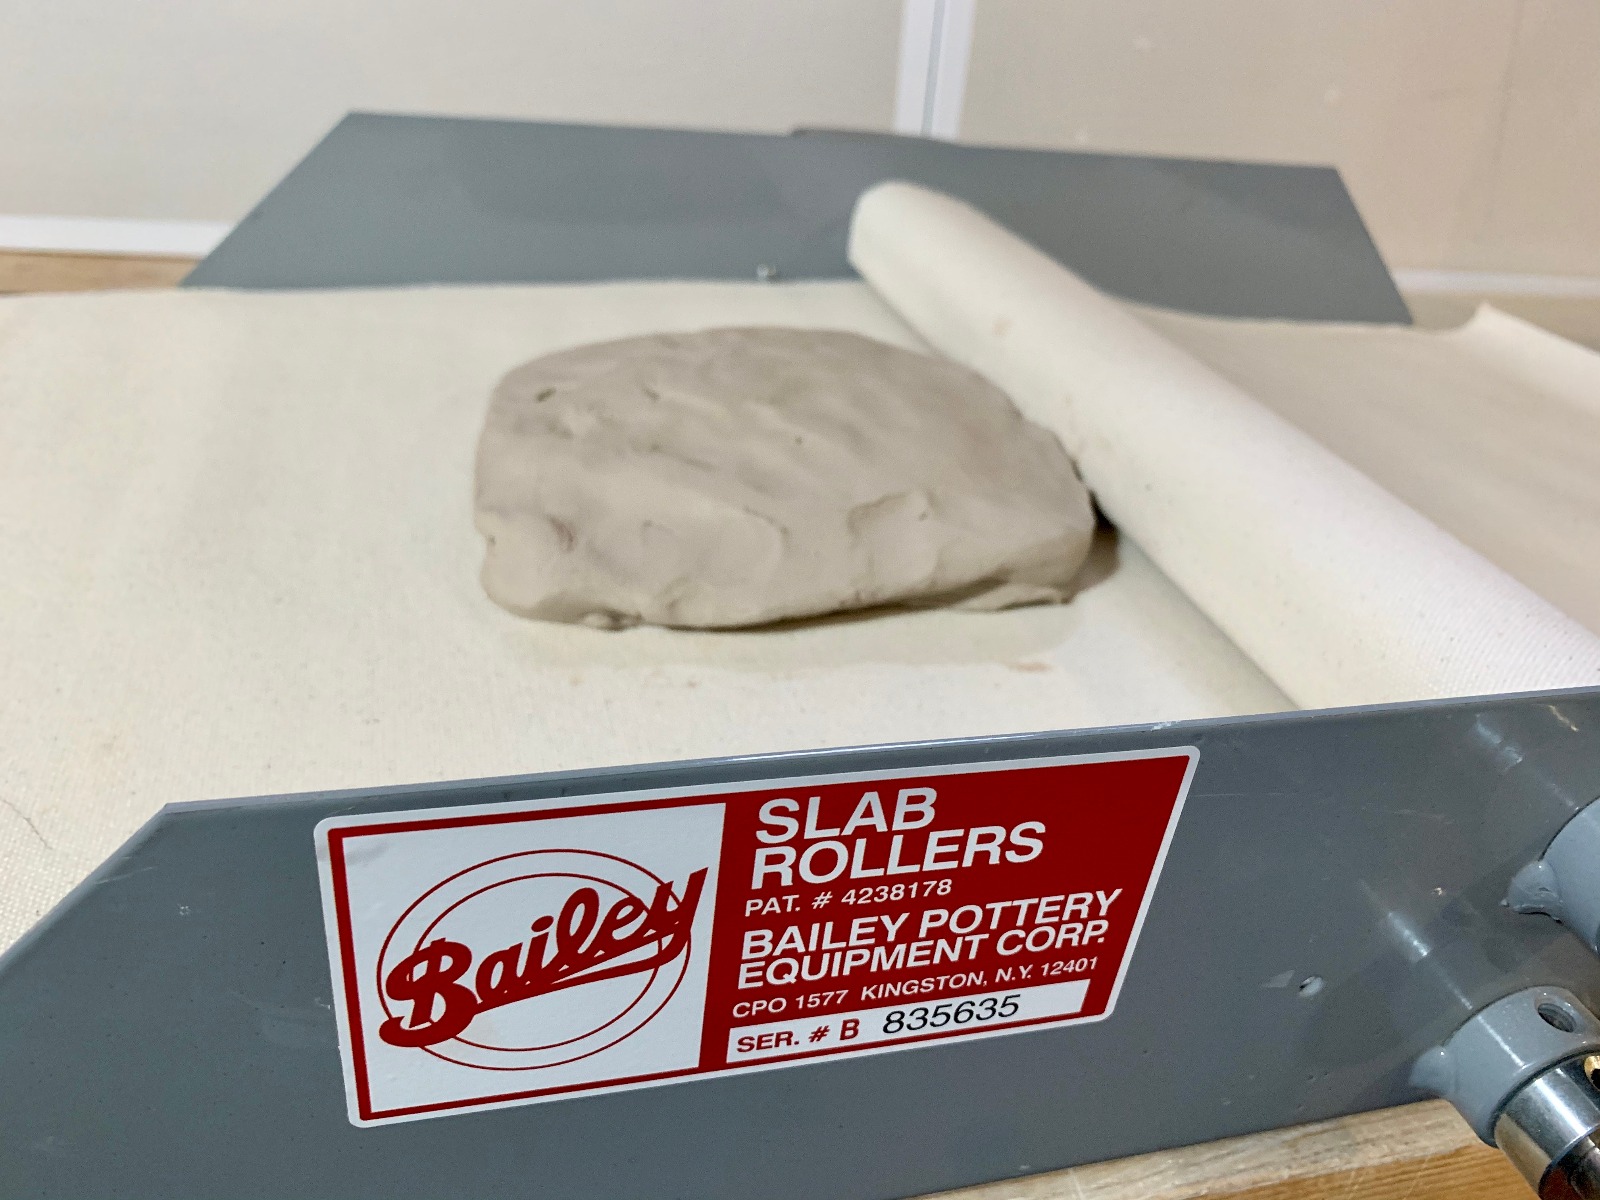
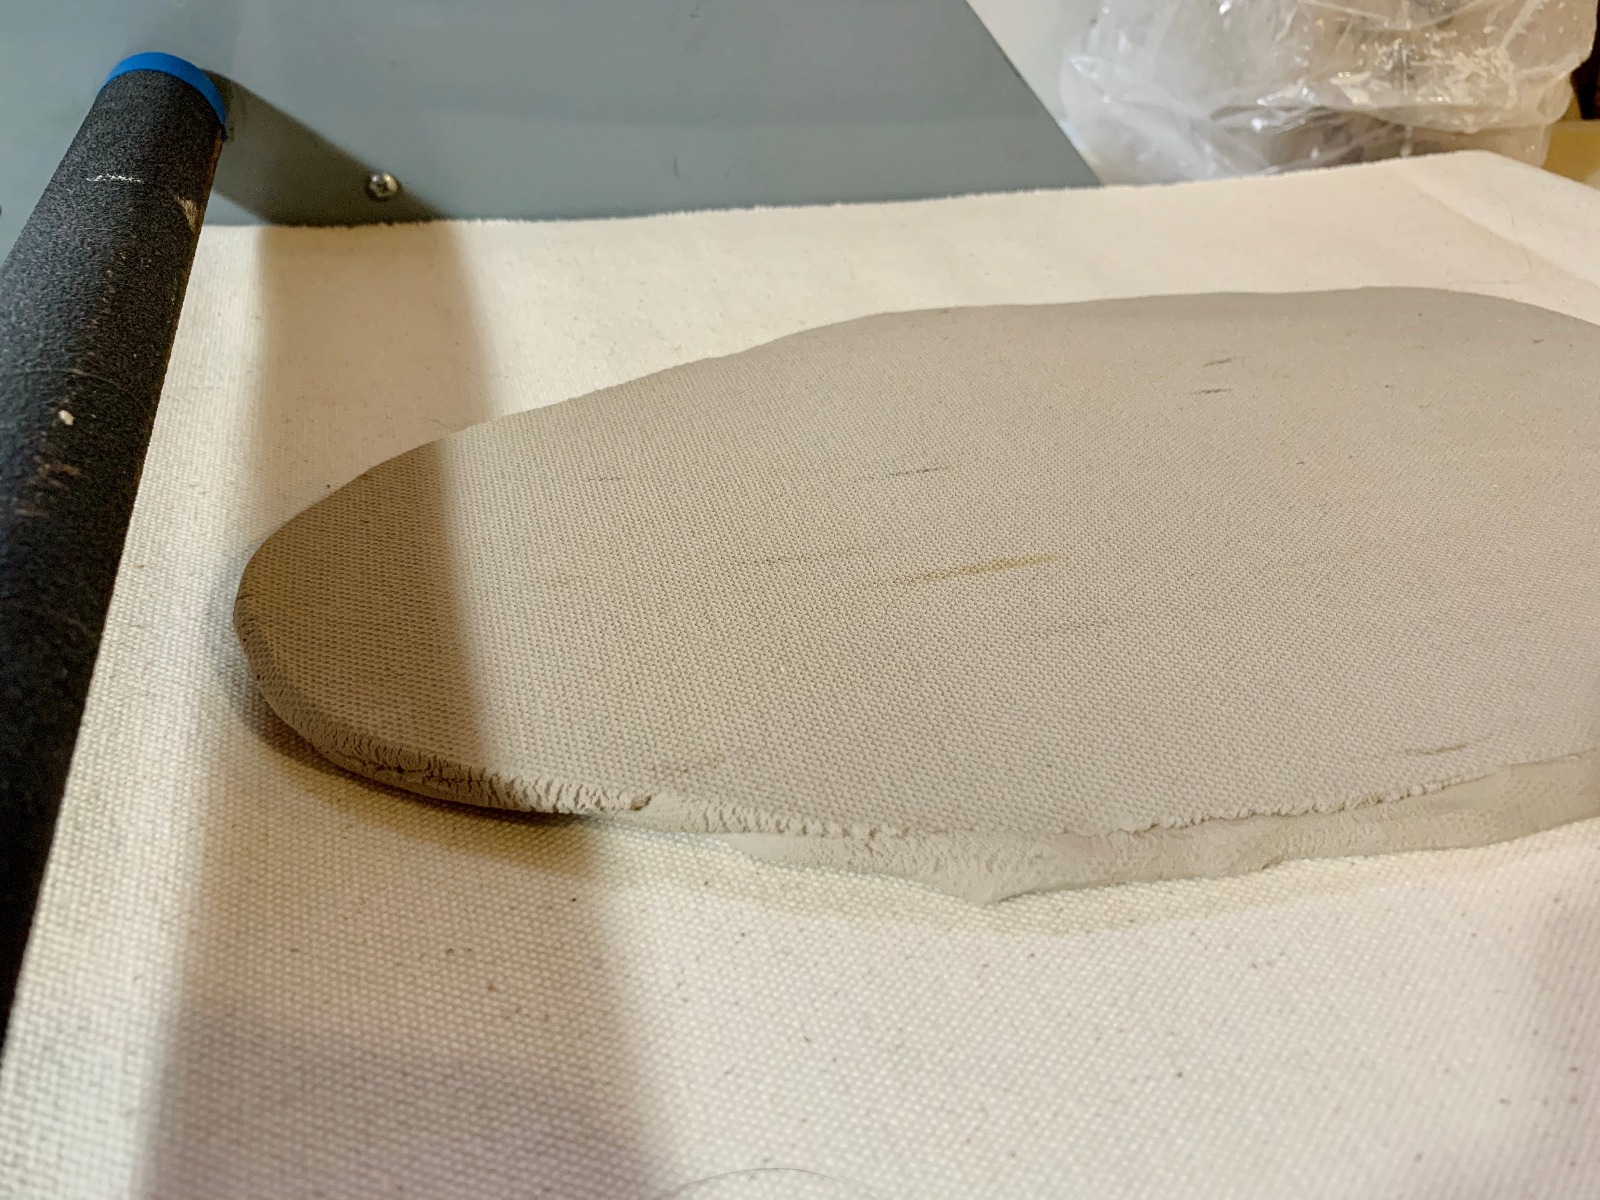
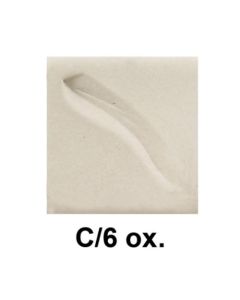
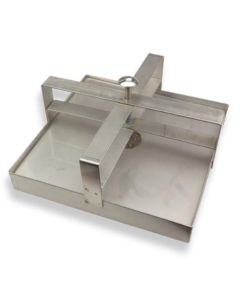
It all starts with clay. We used a Cone 6 Porcelain by Tucker's. The clay was soft and moist straight out of the bag. We used our handy, compact Bailey Mini Might II Table Top Slab Roller to roll out a thick slab of clay. The Mini Might comes with four masonite shims so you can adjust the thickness of the slab as you wish.
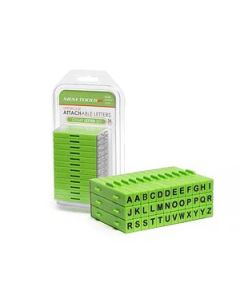
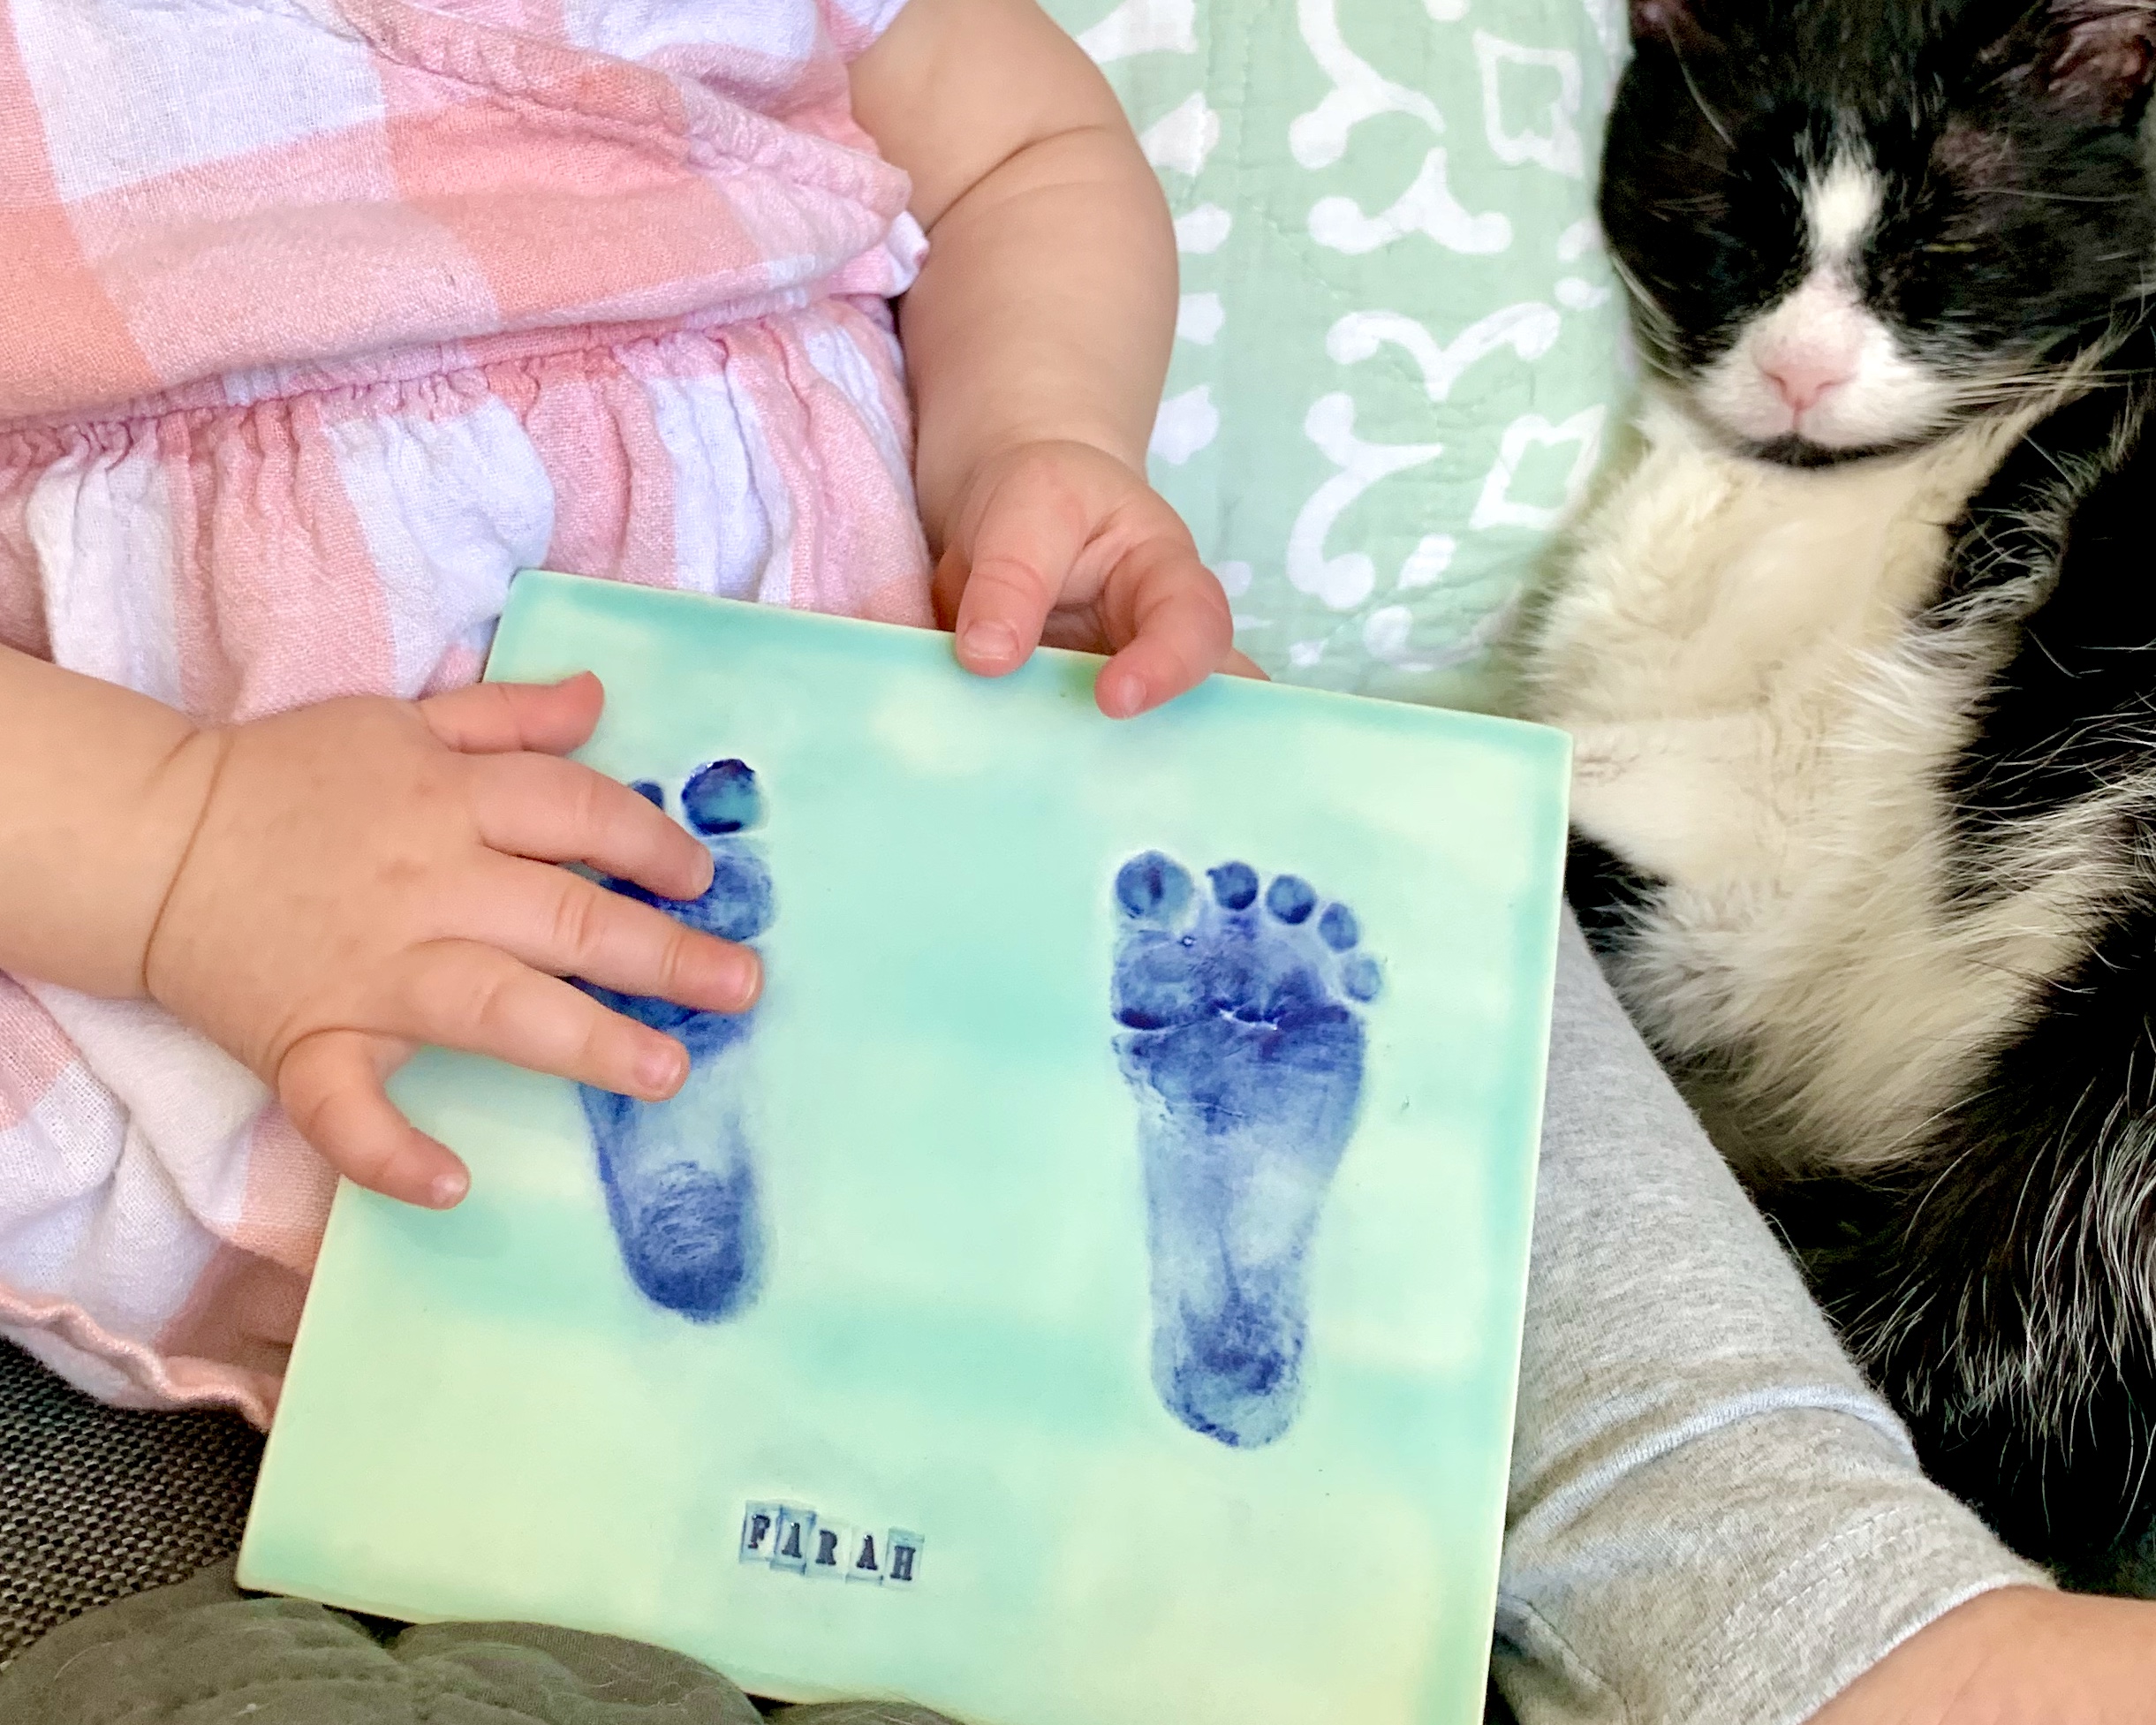
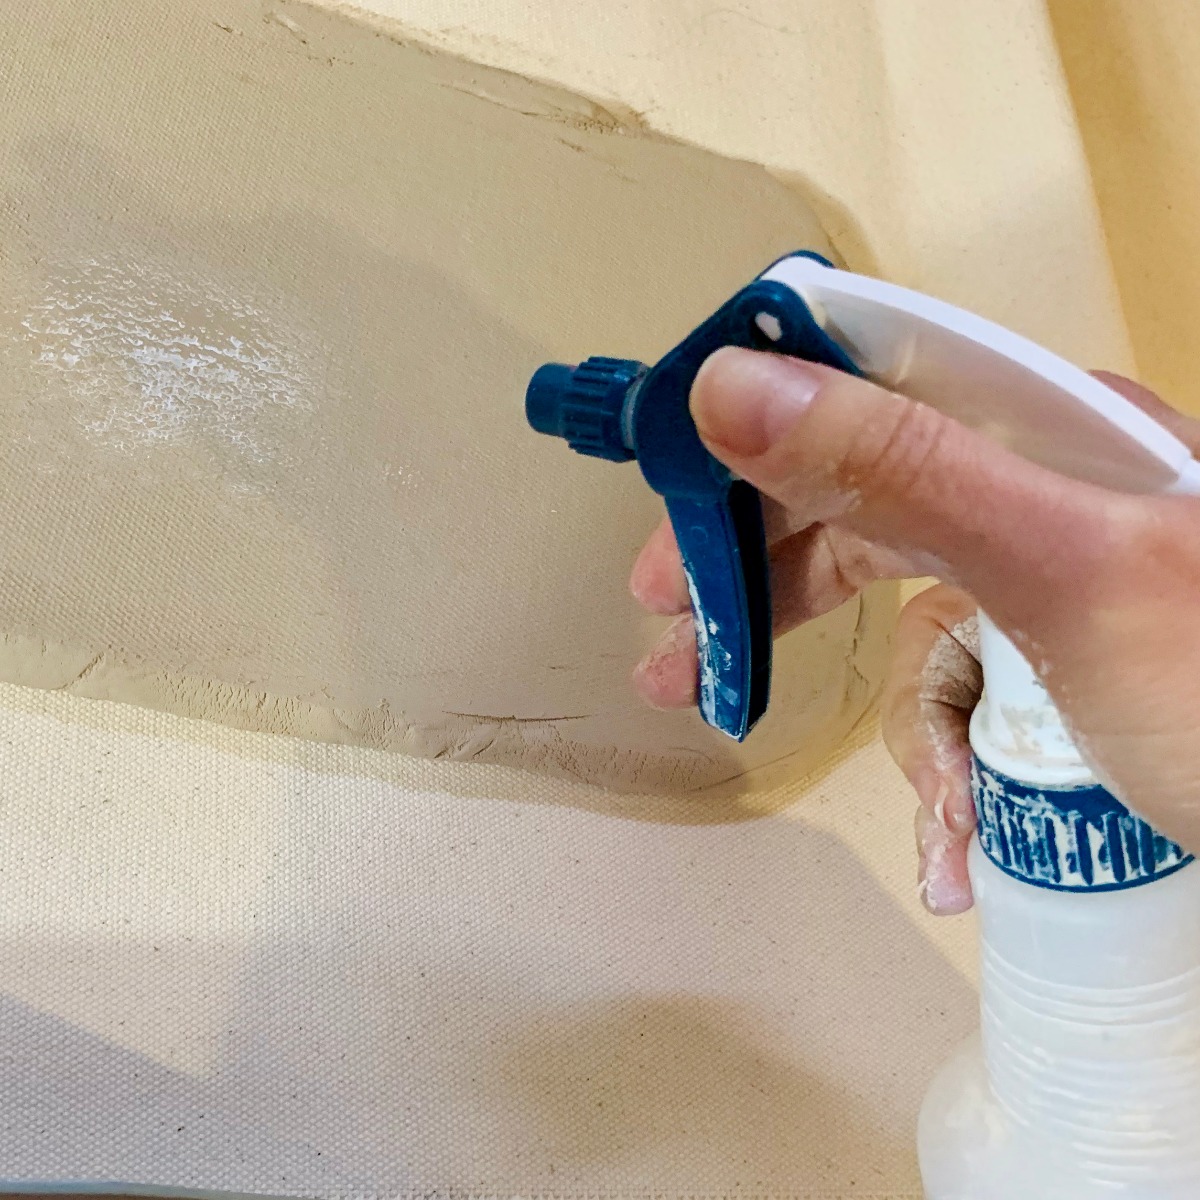
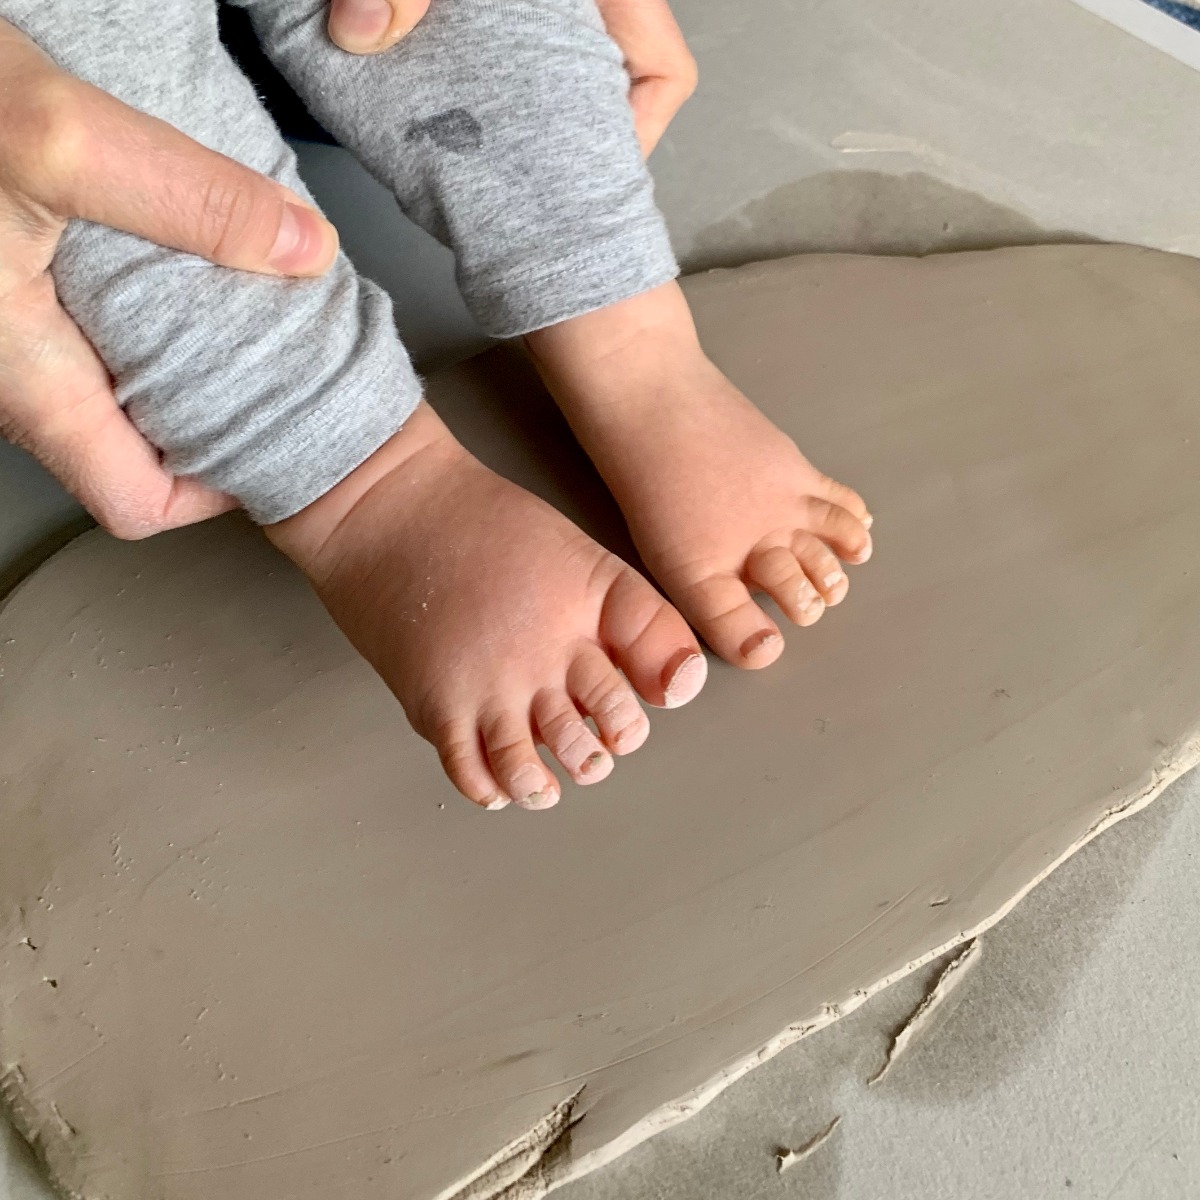
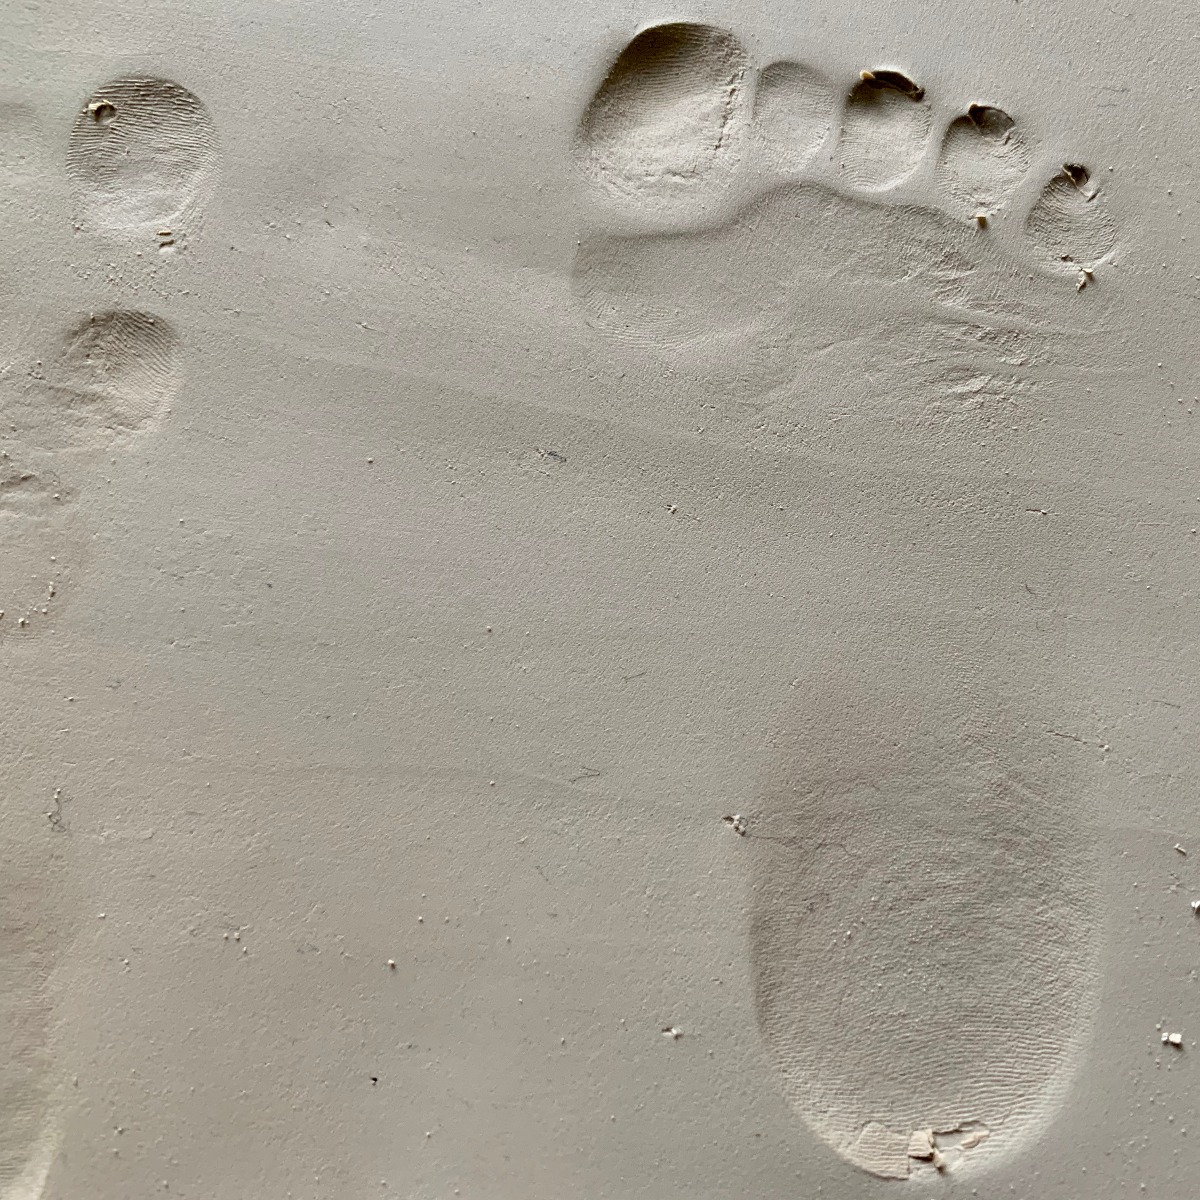
Once the clay was rolled out we sprayed it down with a spray bottle just to dampen it and waited a short while. Then we brought the tiniest feet we could find over to the slab. Making an imprint is as easy as you would imagine. Simply place your hand, foot or whatever mark-maker you wish over the slab of clay and push firmly into it. If you aren't satisfied with the imprint you can easily smooth it out with a rib and try again. With the addition of a name label which you can create with these Xiem Letter Stamps, you're ready for the next step.
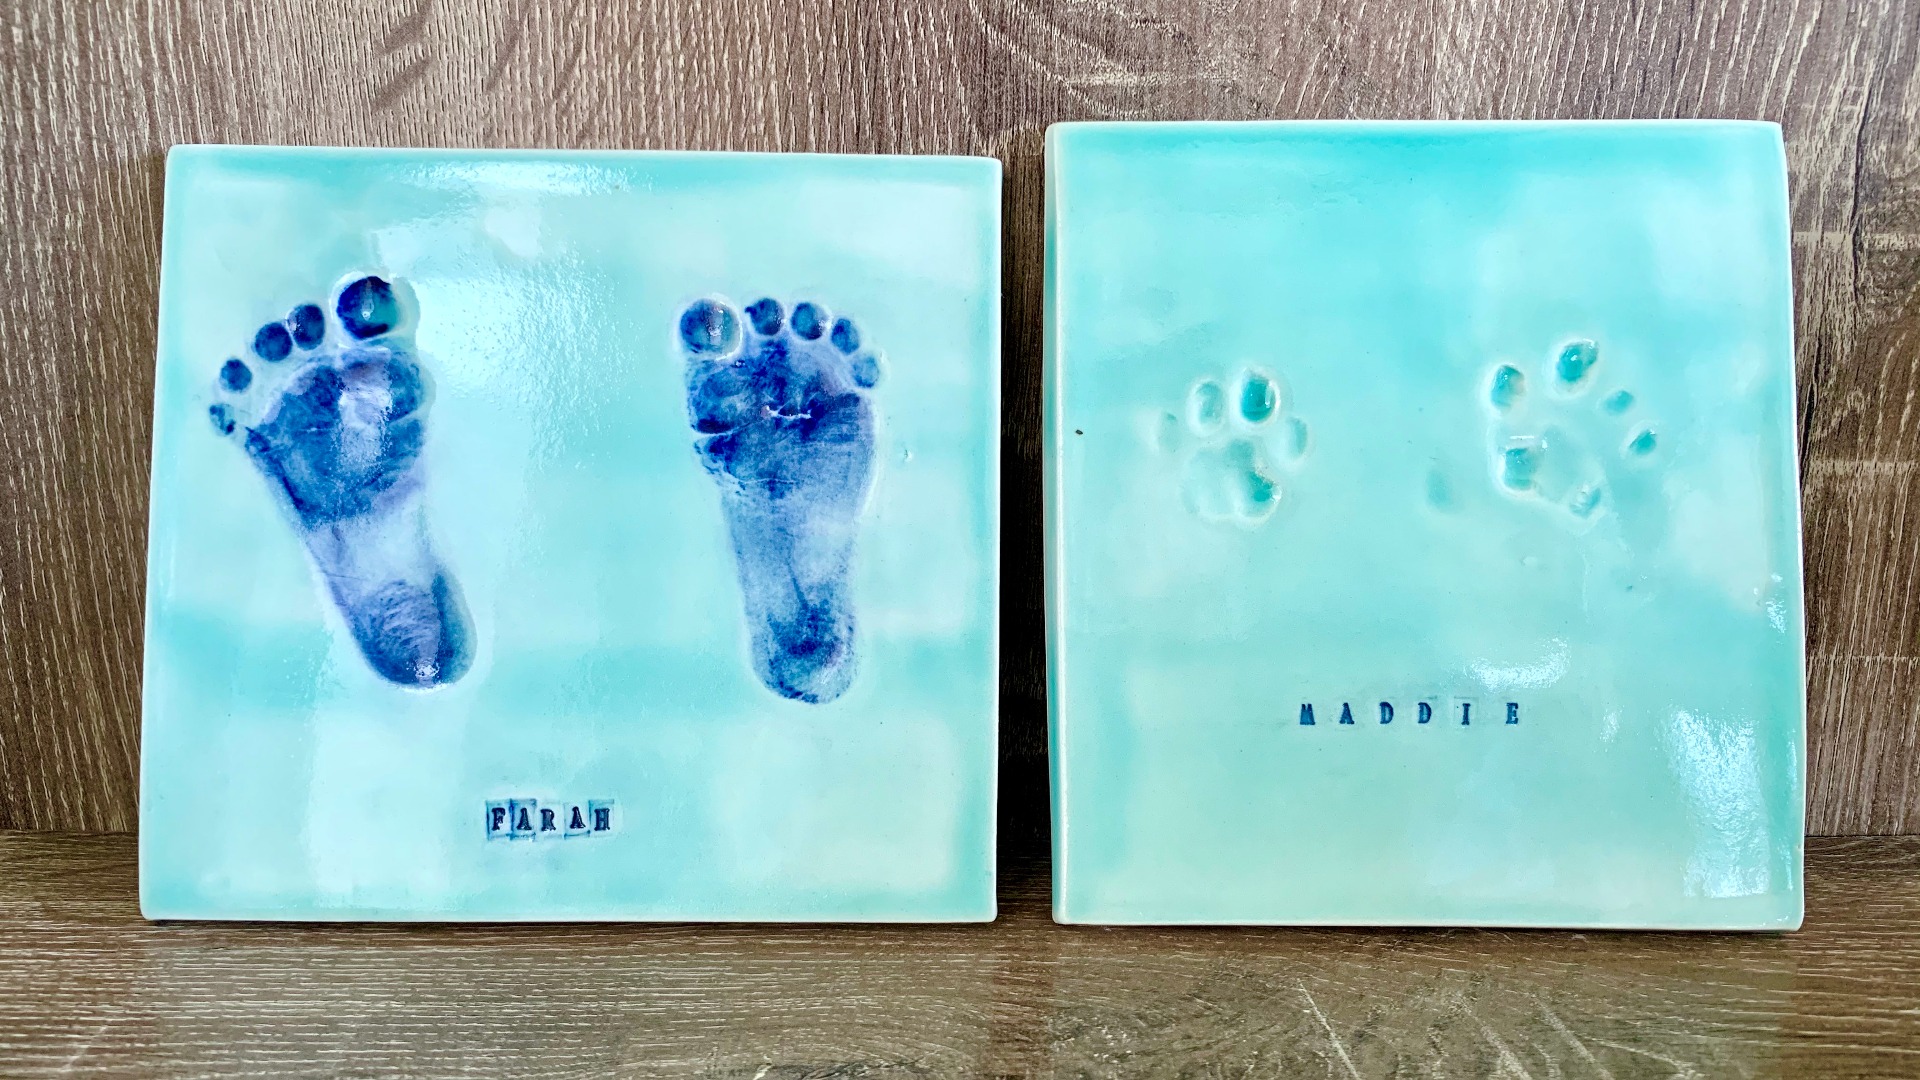
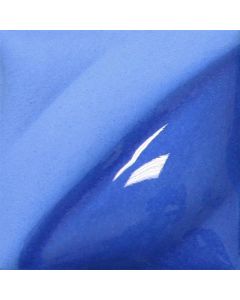
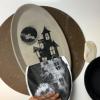
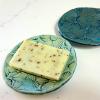
For the glazing we kept things really simple. Are you sensing a theme here? We paired a lovely cobalt blue underglaze with a Celadon glaze for a classic look that will compliment any decor.
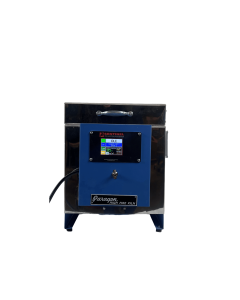
To really accentuate the details of our footprints and letter prints, we applied the blue underglaze just to those areas. After two coats was added we took a clean sponge and wiped off excess underglaze. Underglaze has a "what you see is what you get" quality to it so you want to wipe off as much as looks "right" to you. Then, apply your semi-transparent glaze according to the instructions. Try not to drag the underglaze around with your brush but rather blot over your underglaze work. This will keep things from looking messy. Fire to the recommended temperature and you're done! Because these tiles were small we fired them in a Caldera Test Kiln. It was just what we needed to fire for this little project.
Wouldn't these tiles make a great gift for a relative who can't be nearby right now? It could also be a great tribute to a favorite pet or simply a way to celebrate daily life. We hope you enjoy this and as always happy making!
About the Author

Related Products