Forming a Handled Cup with an Underglaze Printed Slab Part 2


Once you have applied an underglaze transfer onto a clay slab you can build with it. Here we will demonstrate forming a handled cup with a printed slab.
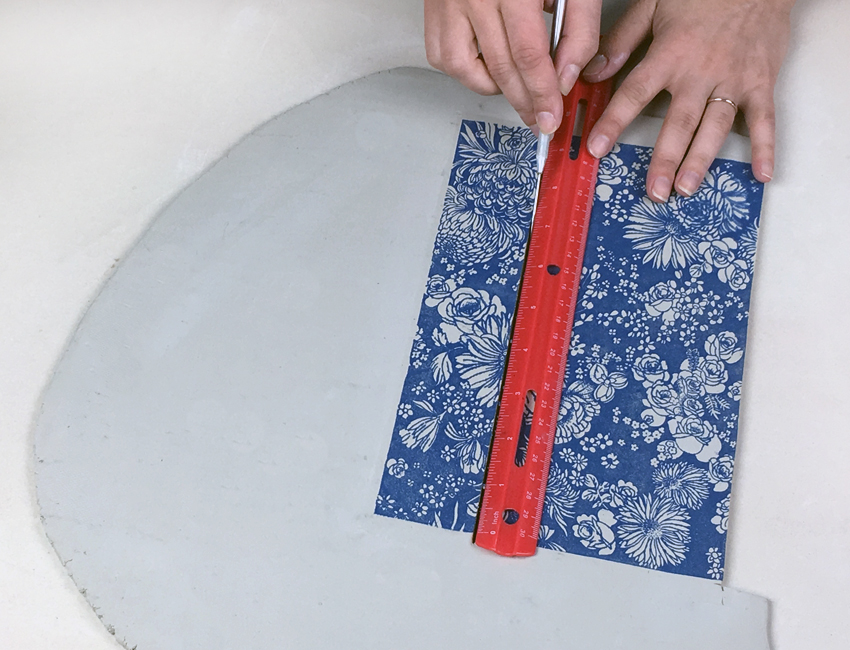
One underglaze transfer has a printed area that measures approximately 6" x 10", so we have a large enough area to work with. Begin by cutting out two rectangular parts, one for the walls of the cup and a smaller rectangle for the handle of the cup. The raw part of the slab can be used for the base of the cup.
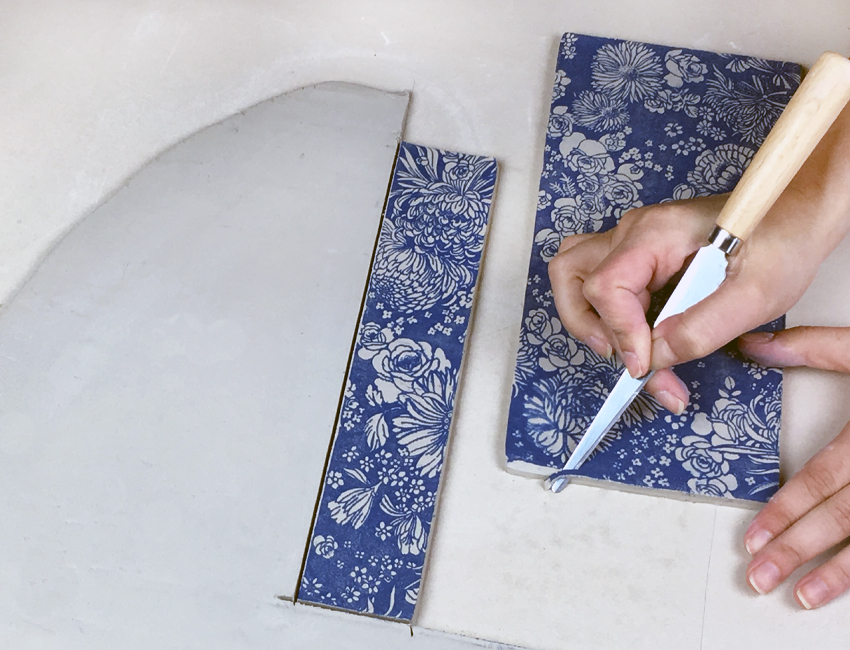
Use a knife to cut a 45-degree beveled edge in the short side of the rectangle that will make up the wall of the cup. Cut a -45-degree beveled edge in the opposing short side of the same rectangle.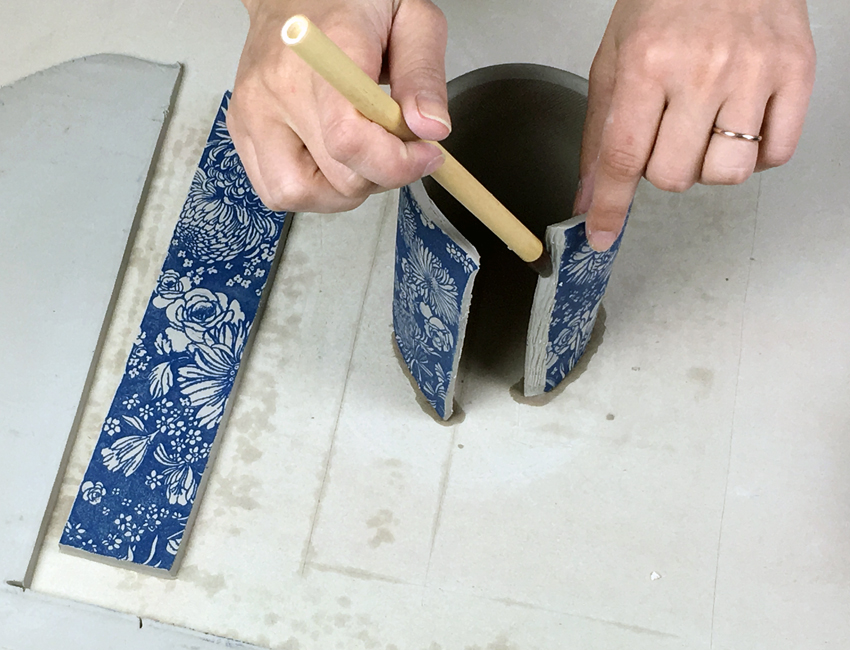
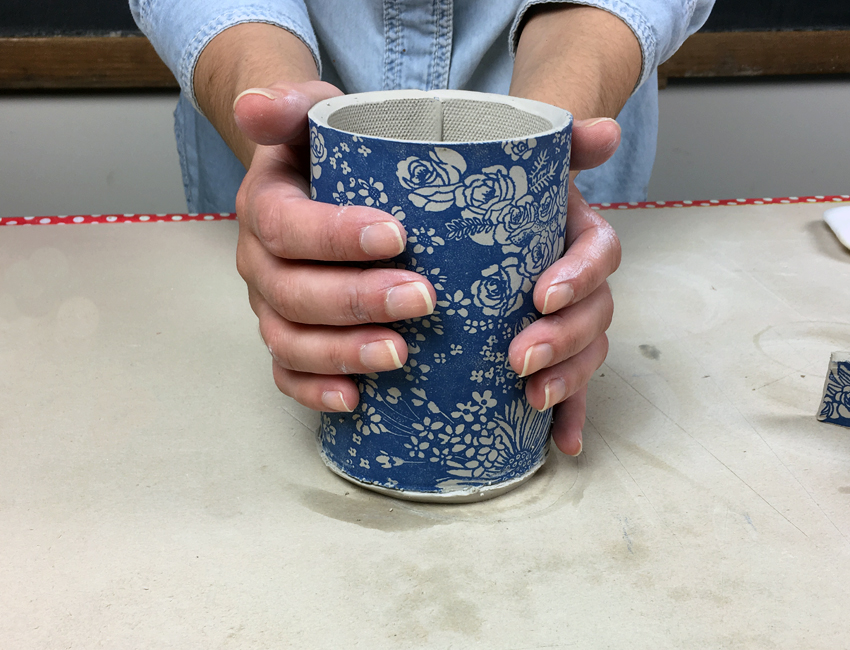
Stand the slab up onto the long side of the rectangle. Slip and score the beveled edges. Round the rectangle in so it forms a cylinder and bring the beveled edges together.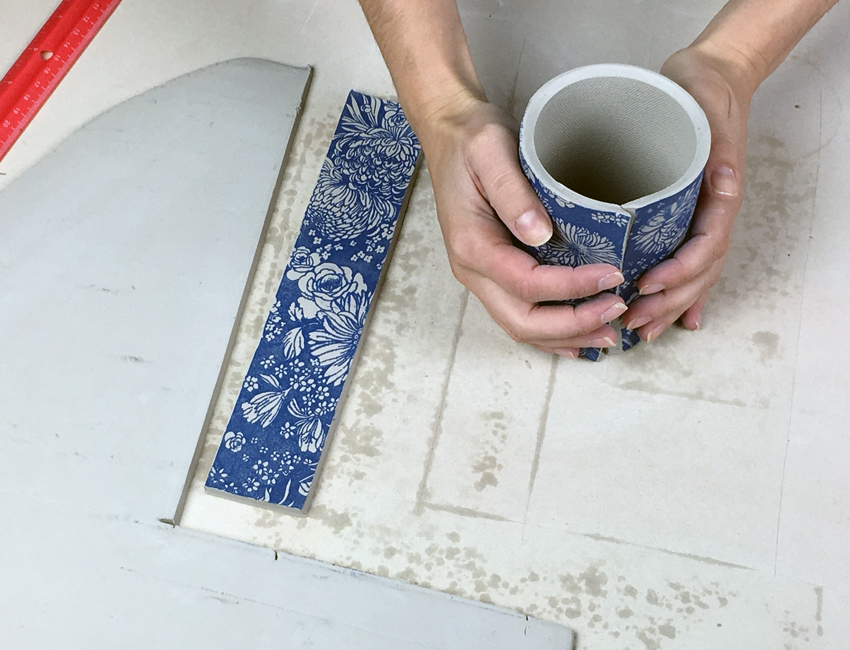
Secure the scored, beveled edges together and use your fingers to press on them until they form a tight bond.

Place the cylinder onto the raw slab and trace a circular guide around the outside of the cylinder. Lift the cylinder off the slab and cut out the circle. Take the handle slab and form it into a nice, curved handle shape and then set it aside.
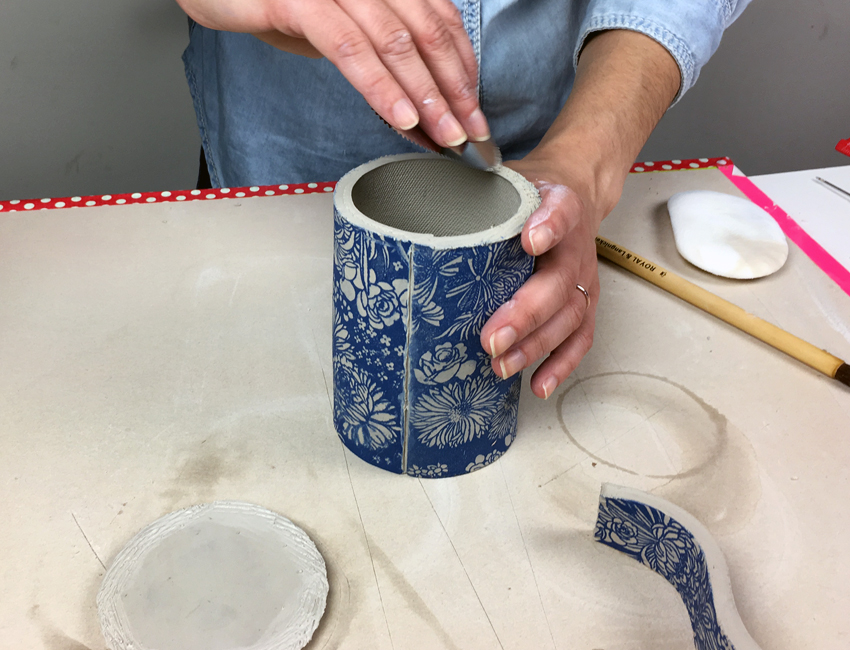
Score along one side of the cylinder and along the corresponding outer ring of the circle.
Apply slip, and press the scored areas together. Wiggle into place. Here is your cup!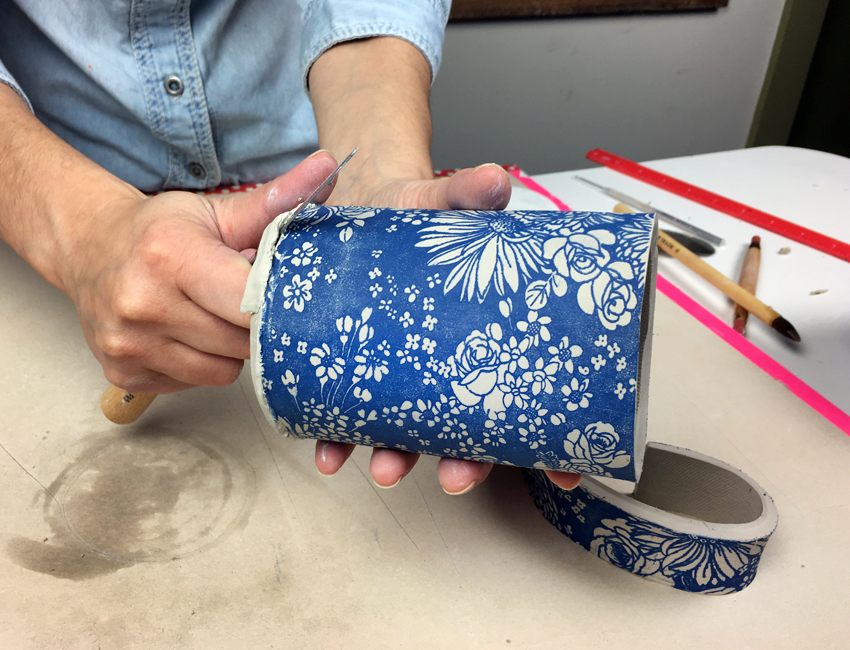
Carefully trim a beveled edge from the bottom of the cup. Alternatively, you could add a foot to the bottom of the cup. 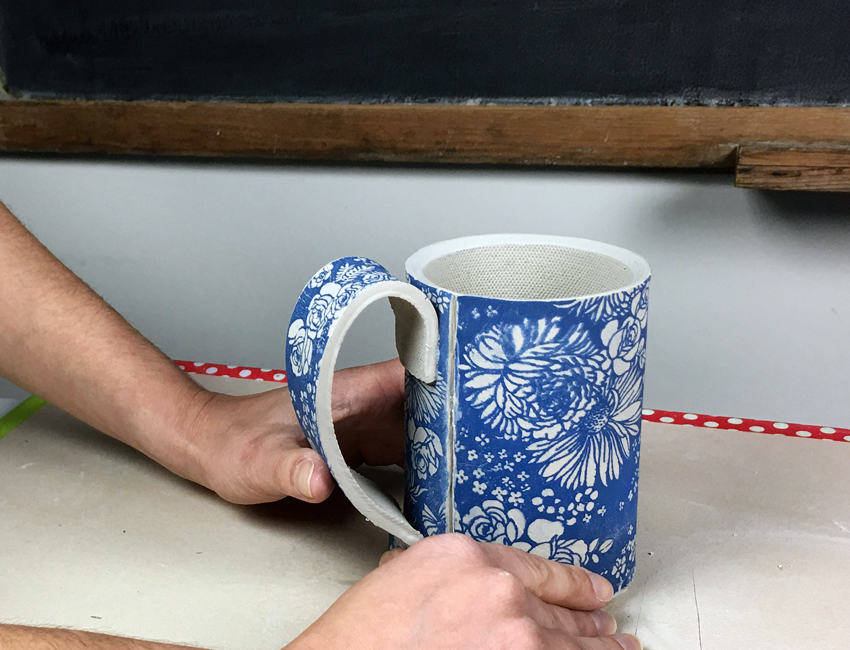
Hold the handle up to the cup and mark the two meeting points. Slip and score these meeting points on the cup and on the handle. Make the connection between the handle and the cup. Wiggle the handle and press on the meeting points until the connection is secure.
And there you have it, a wonderfully patterned handled cup! Bisque and glaze fire to the temperatures required by your clay and glaze. Underglaze transfers can be fired anywhere between cone 06 and cone 10.
In case you missed Part 1, here is the link: How to Apply Underglaze Transfers to the Clay Surface
About the Author