Make Your Own Holiday Ornaments Using Brilliant Luster!

All of the products that we use to make the ornaments are linked in the steps below. Follow along and click through to go directly to the product pages. 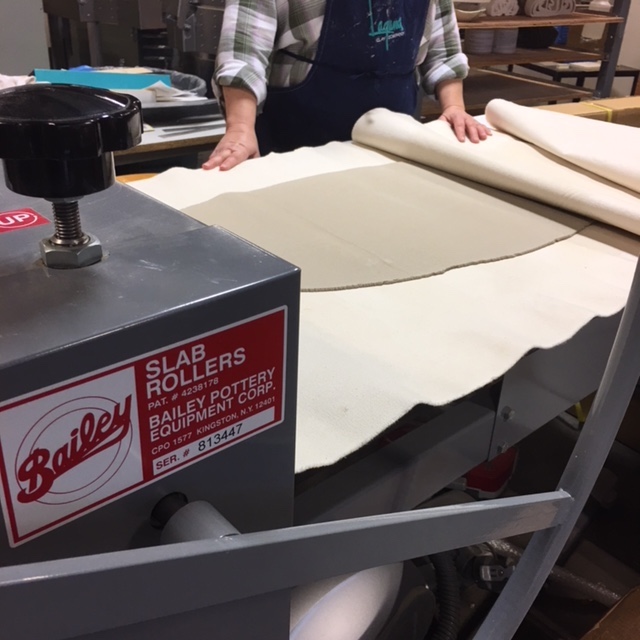
Step 1: You will want to begin this project with a slab of clay. We used our Bailey Slab Roller and the advantage of this is that we were able to set the thickness of the clay that we wanted before we rolled our clay through the machine. You can certainly use either a slab roller or a rolling pin. Either way, you want a large slab that is approximately 1/8" thick.
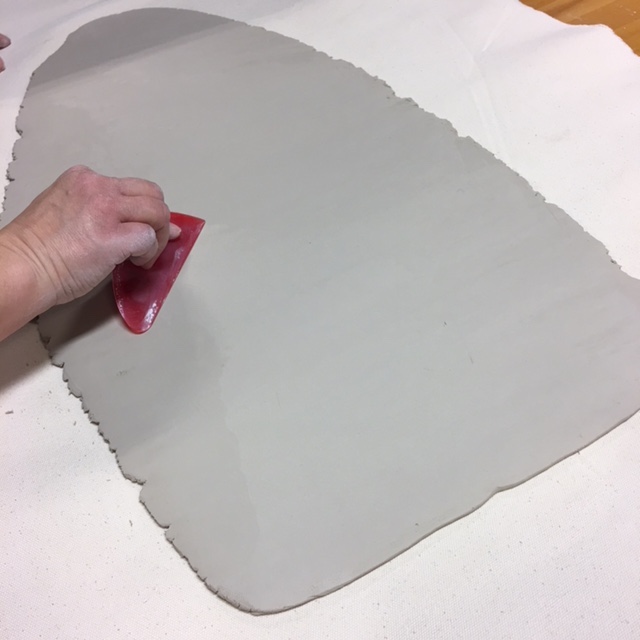
Step 2: Use a soft rib like the Sherrill Mud Tools Mud Rib 3: Red/Very Soft to smooth out any imperfections or canvas texture from your slab.
Did you know that the color of Sherrill Mud Tools Ribs denote the softness of the rib. From firm to soft they go: Olive Green, Blue, Bright Green, Yellow and Red. Each color also comes in a variety of shapes and profiles to meet a multitude of needs in the studio. They are made from a flexible plastic material that performs well and actually gets better with use. Unlike rubber, this material will not develop burrs. They actually burnish themselves as you use them. In fact, the more you use them the nicer they become!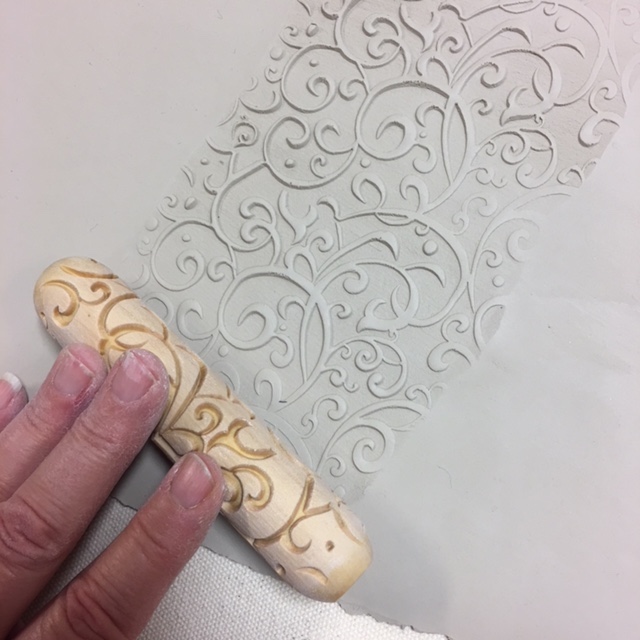
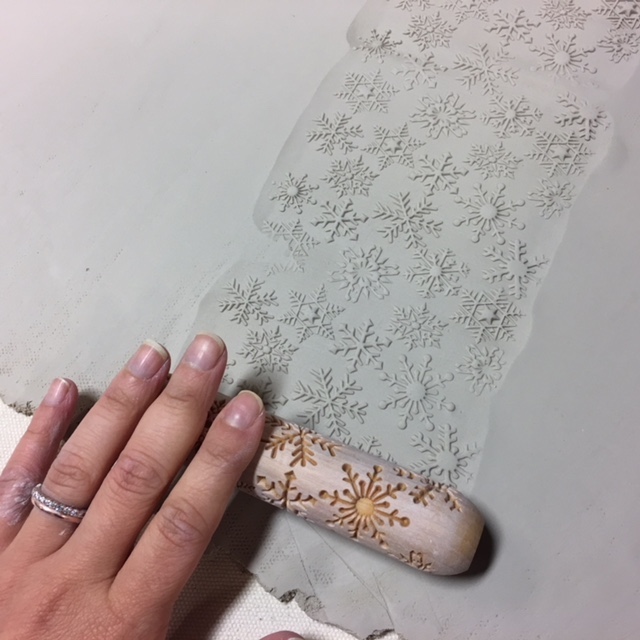
Step 3: Add texture using any texture tool you can think of! This is where the fun really begins. Pattern your clay slab with anything from string to stamps, rollers to buttons. Use your imagination and have fun with it!
Here, we used the lovely MKM Texcture Rollers which make the most perfect impressions in clay!
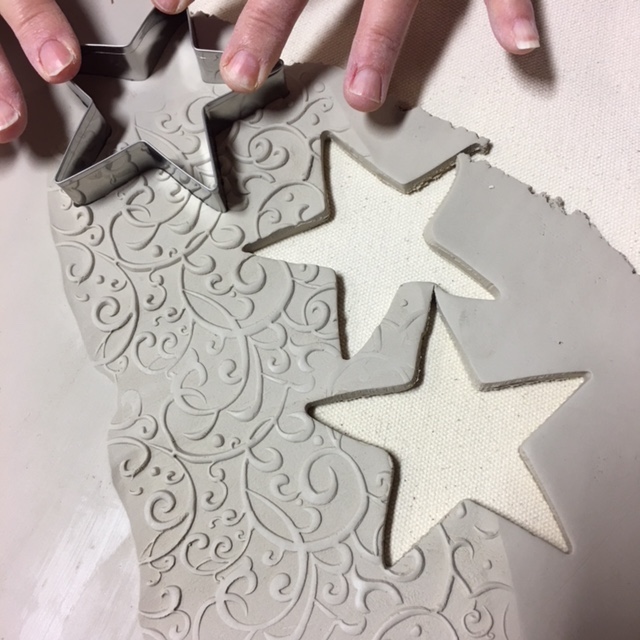
Step 4: Use Shape Cutters to cut out your ornaments from your textured slab. Again, this is your opportunity to get creative with your design. 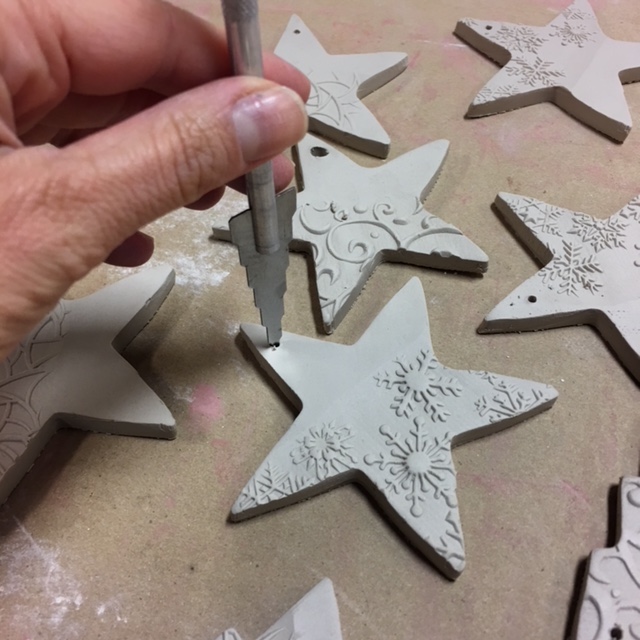
Step 5: Move your ornaments onto a board to dry and use a hole cutter to punch holes in one side. We used the handy Kemper Multi-Drill Tool to create uniform holes with ease in the tips of our stars. Allow your pieces to dry and then bisque fire them. We bisque fired our ornaments to cone 04.
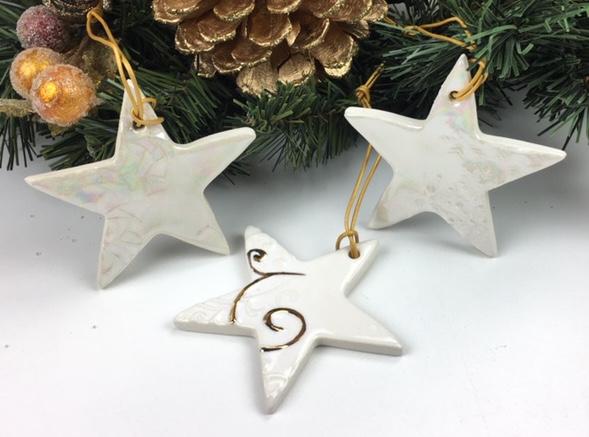
Step 6: For our wintery stars we chose Laguna's Translucent Cream glaze. We applied two coats using a brush and then fired them in our Bailey Top Loading Electric Kiln to Cone 5. We encourage you to put your own spin on this project. For example, you can use these steps as a guide to create Christmas ornaments or Hannukah gift tags. There are many glazes in stock to choose from so you can customize your designs in as many ways as you can imagine.
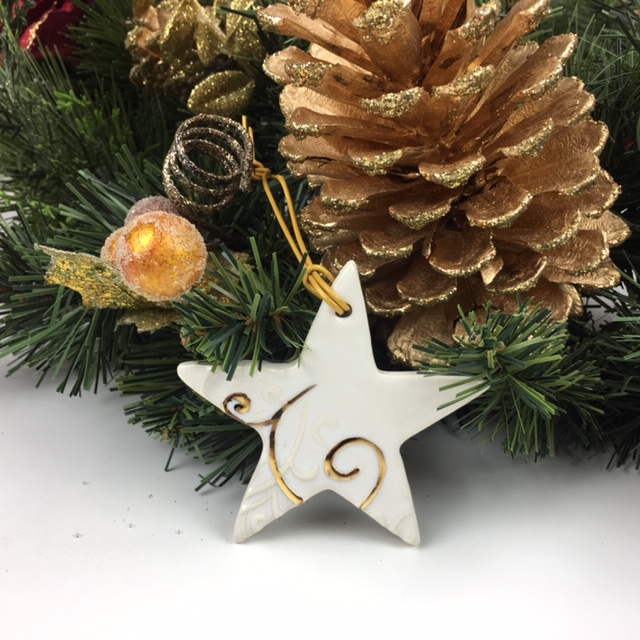
Step 7: The next step is to apply a Duncan Luster to the surface of your already glazed piece. In our sample ornaments, Mother of Pearl Luster was applied to the pieces on the left and right while Premium Gold Luster was applied to the piece in the center. Take note that the luster will take on the finish of whatever it's applied to, a matte glaze will make the luster appear matte for example.
Be sure you apply luster in a well-ventilated space or outside. The fumes can be hazardous to your health. Avoid breathing in the luster or getting the luster on your skin. You can protect yourself by wearing a respirator with vapor cartridges and gloves.
Begin by cleaning your glazed piece with rubbing alcohol to remove any dirt or oil. Always apply with a brush that is designated solely for use with that specific luster to prevent contamination. Do not stir or shake glaze. Place a small amount of overglaze on a glazed palette.
For Mother of Pearl Luster: For a swirled look, swirl on 1 coat, overlapping strokes. For a smooth look, brush on all strokes in the same direction. Correct application should produce a light blue tint that will become pearlescent when fired.
For Premium Gold or White Gold Luster: Apply one smooth coat. Do not let the Gold pool in an area; brush it out smoothly. Correct application should produce a deep red tint that will become a brilliant gold or white gold accent when fired.
For any luster, use Duncan Luster Essence to clean brush and let dry. Overglazed ware can be fired while it is still wet. The kiln must be clean, well-ventilated (do not overload) and follow a normal firing schedule. Do not touch wet decoration and handle as little as possible until ware is fired to avoid smudging. Stilt and fire the Luster to shelf cone 019-018.
About the Author