Making a Textured Ceramic Dish: Tools, Stamps & Glaze Process


A small ceramic dish can hold a surprising amount of detail. With the right tools and glaze combinations, a simple slab of clay can transform into a textured, functional piece designed for everyday use.
In this tutorial, we’ll walk through how to make a textured ceramic dish using porcelain, stamping tools, and some of our new favorite cone 6 glazes.
Watch the full process below:
Step-by-Step Process
1. Roll out the slab
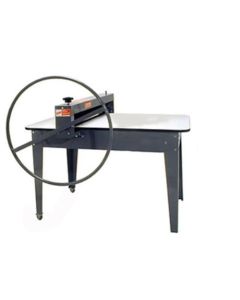
Start with BW Porcelain, rolled evenly using a Bailey slab roller. A consistent slab thickness ensures even drying and firing.
2. Cut the shape
Use a round biscuit cutter to cut a clean circle from the slab. This will form the base of your dish.
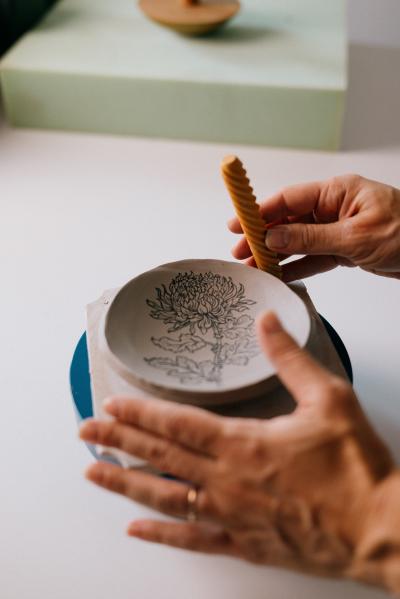
3. Add texture with stamps
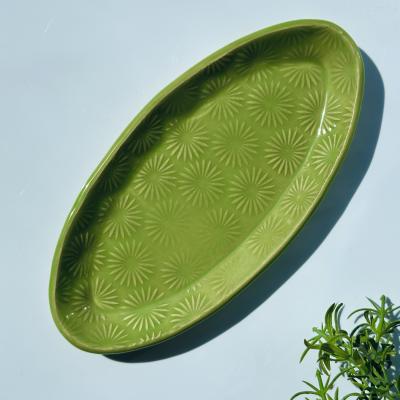
Press an MKM floral stamp into the surface to create layered texture and pattern. This step adds visual movement and helps the glaze break beautifully later.
4. Form the dish
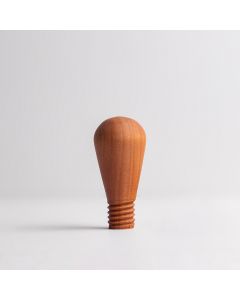
Drape the textured slab over a Garrity 5" Mushroom Anvil Top and (Universal) Handle to create a soft, organic curve. Let the clay settle naturally, then gently release.
5. Dry and bisque fire
Allow the piece to dry completely before bisque firing. Proper drying helps preserve the texture and prevents warping.
6. Apply glaze
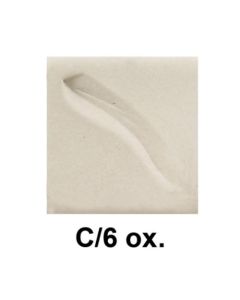
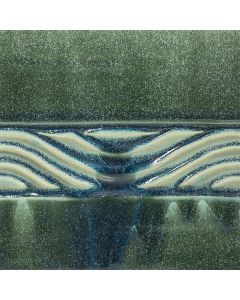
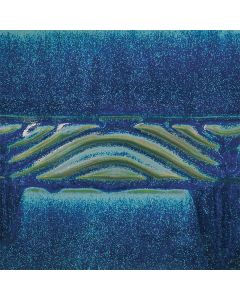
Once bisque fired, apply two AMACO Potter’s Choice glazes:
These glazes are ideal for textured surfaces, breaking over high points and pooling in recesses to highlight every detail.
7. Final firing
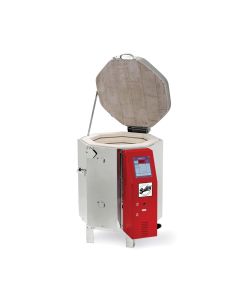
Fire to cone 6 in a Bailey top-loading electric kiln to achieve the final surface and color variation.
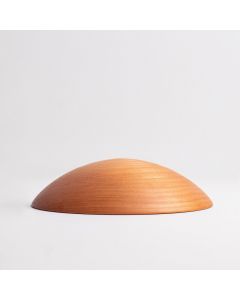
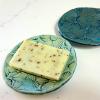
Final Result
The finished dish is small but versatile, perfect as a soap dish, jewelry holder, or everyday catchall.
A simple process, elevated through texture, form, and glaze.
Shop the Products Below:
About the Author

Related Posts
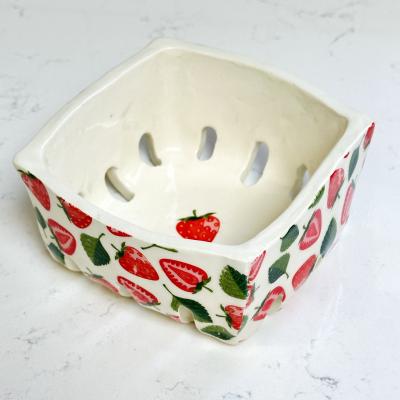
From Cardboard to Ceramic: How to Make a Berry Basket
DIY Screenprinted Ring Dish: A Printmaking Meets Clay Project
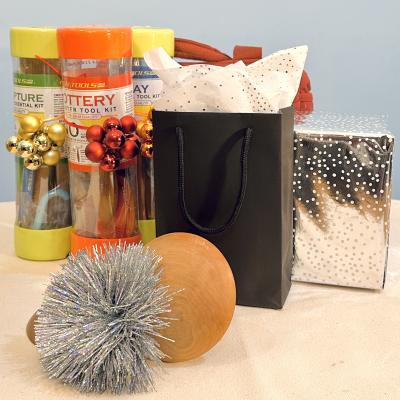
Bailey Pottery Gift Guide 2025: 7 Perfect Gifts for Clay Lovers
Fresh Green Spring Dish: A Textured Pottery Project Using an MKM Roller & AMACO Celadon Glaze
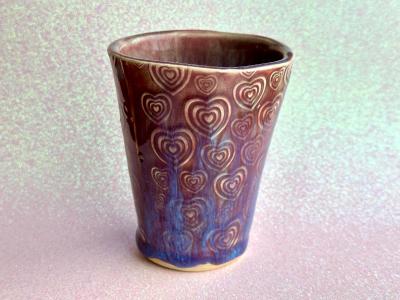
How to Make a Valentine’s Day Slab-Built Ceramic Tumbler
Related Products