From Cardboard to Ceramic: How to Make a Berry Basket


Fresh berries deserve better than cardboard.
This project takes the humble cardboard berry basket and transforms it into a durable, food-safe ceramic piece, perfect for picking, rinsing, storing, and displaying your summer harvest. We’ll walk you through each step, from rolling the slab to firing the finished glaze, with a sweet strawberry underglaze transfer for the final touch.
Watch the Full Process
Step-by-Step: Ceramic Berry Basket Tutorial
1. Roll a Slab
Roll out an even slab of clay large enough to fit your berry basket template.
2. Create a Template
Cut the seams on your cardboard berry basket so it lays flat. Place it on your slab.
3. Cut & Bevel Edges
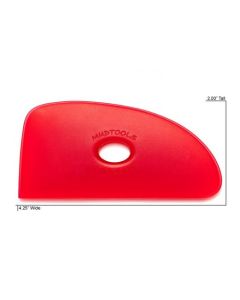
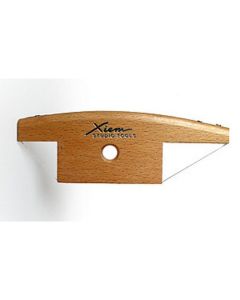
Cut around your template. Bevel the edges using a XIem Bevel Tool for angled joins. Score and apply slip to each edge.
4. Assemble the Basket
Carefully lift the walls, press seams together, and smooth connections.
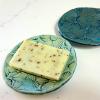
5. Add the Strawberry Design
Cut pieces of Strawberry Underglaze Transfers and place printed-side down on the clay. Apply a damp sponge to the back of the transfer paper. Burnish gently with a Mudtools Rubber Rib and peel away the backing paper.
6. Dry Slowly
Cover with plastic to allow slow, even drying and prevent cracking.
7. Bisque Fire
Fire to Cone 04.
8. Glaze for Vibrancy
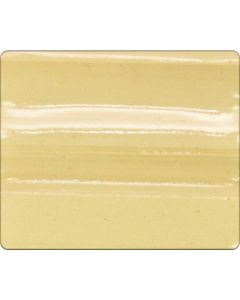
Apply a zinc-free clear glaze, such as HF-9 Zinc-Free Clear or Spectrum 1100 Zinc-Free Clear, to preserve the true hue of your underglaze.
9. Final Fire
Fire to Cone 5/6 (follow your glaze manufacturer’s guidelines).
10. Enjoy!
Your berry basket is now ready for everyday use functional, food-safe, and gorgeous.
Products Used
About the Author

Related Posts

A Complete Guide to Pottery Clay

Made With A Bailey Interview with Mike Griffin
DIY Screenprinted Ring Dish: A Printmaking Meets Clay Project
Bailey Pottery Gift Guide 2025: 7 Perfect Gifts for Clay Lovers
Fresh Green Spring Dish: A Textured Pottery Project Using an MKM Roller & AMACO Celadon Glaze
Related Products