DIY Screenprinted Ring Dish: A Printmaking Meets Clay Project


Looking for your next studio project? This screenprinted ring dish is a simple, satisfying way to combine texture, print, and form. Using just a few go-to tools, you can transform a rolled clay slab into a one-of-a-kind printed dish, perfect for jewelry, trinkets, or gifting.
Whether you’re new to screenprinting on clay or just looking to try something different, this project shows how a few thoughtfully designed tools can make each step smooth and enjoyable.

Step 1: Roll and Cut Your Clay
Start with Mid Smooth Stone Clay for a balanced, workable surface.
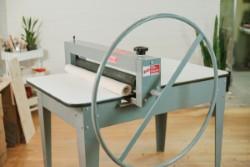
Use your Bailey Slab Roller to roll an even slab, the key to consistent thickness and a clean final form.
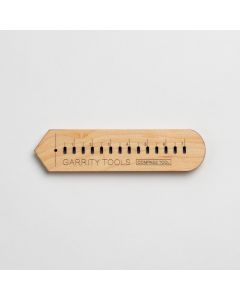
Next, cut your circle shape with the Garrity Tools Compass Tool (SKU C-750-CT).
This multifunctional maple tool cuts or scribes 14 different circle sizes (1–7 inches in diameter). You just need two needle tools to guide it, and when you’re not handbuilding, its pointed tip and flat sides come in handy at the wheel. Beautiful, practical, and handmade by the Garrity team in St. Louis, MO.

Step 2: Smooth and Screenprint
Before printing, refine your surface with a Sherrill Mud Tool Rib: 2 Yellow-Soft — this flexible tool smooths away imperfections and preps the clay for a clean transfer.
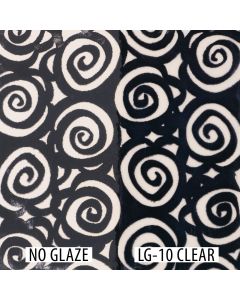
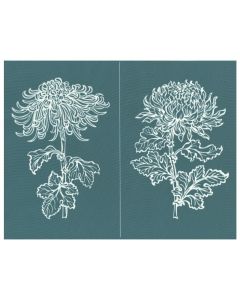
Next, it’s time to screenprint. We used AMACO Ceramic Printing Inks with our Ready-To-Use EZScreen Stencils.
These durable mesh stencils can be reused again and again with underglaze, inks, or paints. They’re perfect for bringing repeat patterns or detailed designs into your claywork.
To print: place the stencil directly on your slab and drag the ink across it using your rib, just as you would a screenprinting squeegee. Lift carefully to reveal your design, it’s always a satisfying moment!

Step 3: Form the Dish
Allow the printed slab to dry slightly (a fan helps), then place it print-side up on a piece of soft furniture foam.
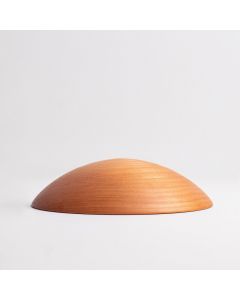
Now comes the magic: shaping your dish with the Garrity 5" Mushroom Anvil Top.
This beautifully crafted wood form helps shape your slab evenly and comfortably. Simply dust it lightly with cornstarch, we like filling a small cotton sock with cornstarch and securing it with a rubber band for easy dusting.
Press the anvil down swiftly against the foam to curve the slab into shape. The clay will mold against the mushroom, creating a gentle dish form. Carefully lift it away and let it dry.
(Note: The anvil handle is sold separately — you can swap one handle between multiple anvil tops.)

Step 4: Add Texture and Fire
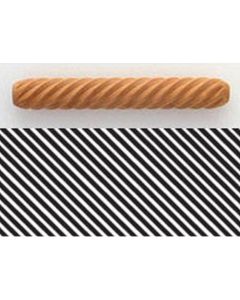
Once the dish is firm enough to handle, add visual interest to the rim with the MKM Texture Roller HR-20 (Diagonal).
These handheld rollers create clean, consistent texture. No handle needed! Just roll it gently with the palm of your hand for a raised diagonal pattern around the edge.
Allow the piece to dry fully before bisque firing to cone 04.
After firing, clean the bisqueware with a damp sponge and apply Michelman’s Wax Resist to the foot before glazing.
Step 5: Glaze and Finish
We finished our dish with Mayco SW-004 Zinc-Free Clear, fired to cone 5 in a Bailey Top Loading Electric Kiln for even, energy-efficient results.
You could also try AMACO HF9 Transparent for a slightly different finish.
The zinc-free clear glazes keep your printed details crisp and your clay body bright, letting the surface design shine through.
Tips for Best Results
-
Keep your slab thickness consistent (¼” or slightly less works best).
-
Let your printed surface dry before forming, it prevents smudging.
-
A light dusting of cornstarch makes all the difference in easy release.
-
Try layering multiple stencil patterns for a more complex look.
Final Thoughts
We loved making this screenprinted ring dish. It’s a beautiful way to bring printmaking into your clay practice, whether you’re working at home or in the studio.
If you give this project a try, we’d love to see your results! Tag us @BaileyPottery and share your version on Instagram.
Here is our video showing the complete process:
About the Author

Related Posts
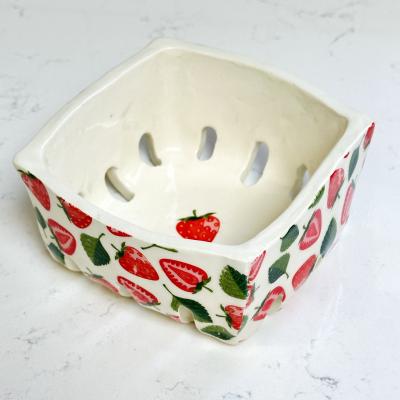
From Cardboard to Ceramic: How to Make a Berry Basket
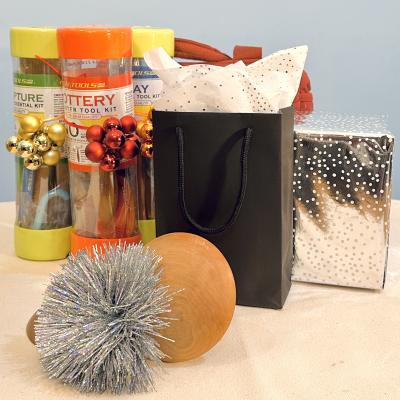
Bailey Pottery Gift Guide 2025: 7 Perfect Gifts for Clay Lovers
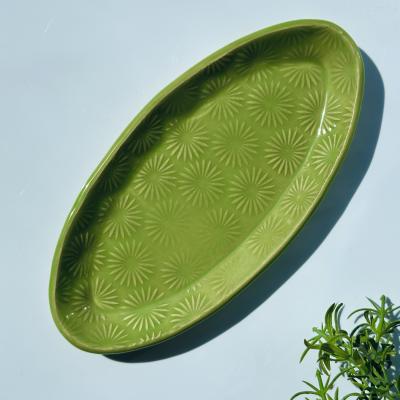
Fresh Green Spring Dish: A Textured Pottery Project Using an MKM Roller & AMACO Celadon Glaze
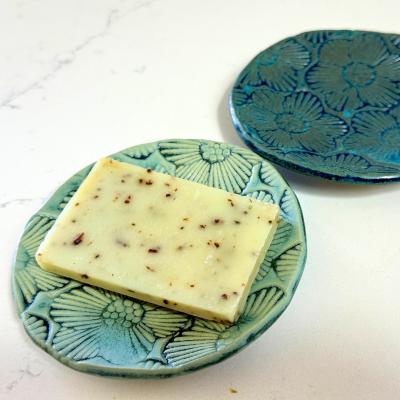
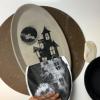
Making a Textured Ceramic Dish: Tools, Stamps & Glaze Process
DRD/II Assembly Instruction Video
Related Products