How to Make a Valentine’s Day Slab-Built Ceramic Tumbler


Handmade Pottery for Valentine’s Day
Valentine’s Day is the perfect excuse to slow down, get your hands in clay, and create something thoughtful and lasting. This slab-built tumbler project combines clean construction with playful heart texture, making it ideal for gifting—or keeping for yourself.
Below is a step-by-step guide to creating your own Valentine’s Day inspired ceramic tumbler using reliable studio tools and techniques.
Materials
-
Mid White Clay C6 or Mid-Range Clay
-
Circlematic Form Finder Templates (Shape “P”)
-
2½" biscuit or cookie cutter
-
Slip & water
-
Speedball Glaze Blue Flame
-
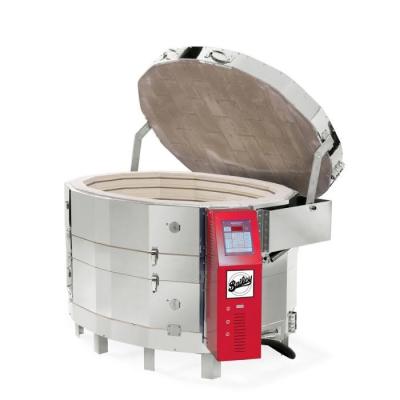
Bailey Top Loading Electric Kiln
Step-by-Step Instructions
1. Roll an Even Slab
Roll out your clay using the Bailey Mini Might II Table Top Slab Roller. Use the provided shims to create a slab thickness between ¼" and ½". An even slab ensures consistent drying and a strong finished piece.
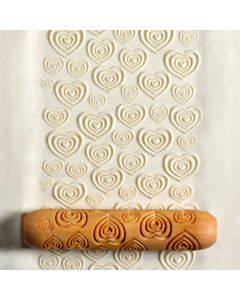
2. Add Texture
Run the MKM Hearts Big Hand Roller evenly across the slab to create a uniform heart pattern. Apply steady pressure to ensure the texture transfers cleanly.
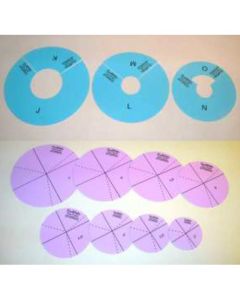
3. Cut the Slab Shape
Using the Circlematic Form Finder Set, select Shape “P” and cut your slab from the textured sheet. This shape is designed to curl smoothly into a cylinder.
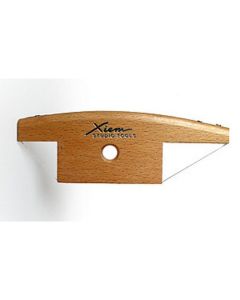
4. Bevel the Edges
Use the Xiem Bevel Cutter to angle both vertical edges of the slab. Beveled edges create a tighter seam and cleaner join when forming the cylinder.
5. Form the Cylinder
Gently curl the slab into a cylinder. Slip and score both edges thoroughly, then join them together. Use a Xiem Serrated Rib to compress and reinforce the seam from both the inside and outside.
6. Attach the Base
Cut a 2½" circular base using a biscuit or cookie cutter. Slip and score the bottom edge of the cylinder and the base, attach, and smooth the connection.
7. Dry Slowly
Allow the tumbler to dry covered at first, then uncover gradually until bone dry. Slow drying helps prevent cracking and warping.
8. Bisque Fire
Bisque fire the piece to cone 04.
9. Glaze & Final Fire
Apply a mid-range glaze—pink, red, purple, white, or any color that speaks to you. Fire in a Bailey top loading electric kiln to the temperature recommended by the glaze manufacturer.
Enjoy or Gift
Gift your handmade tumbler to someone you love, or make yourself a favorite drink and enjoy a quiet moment of reflection. However you choose to use it, handmade pottery brings beauty and intention into everyday life.
Happy crafting from Bailey Pottery!
About the Author

Related Posts
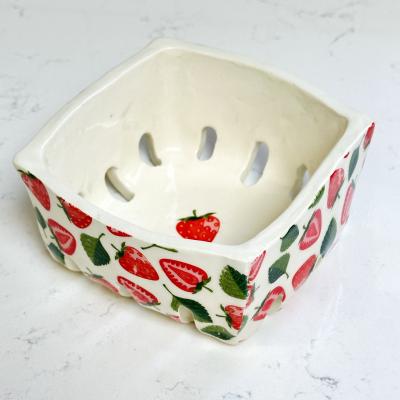
From Cardboard to Ceramic: How to Make a Berry Basket
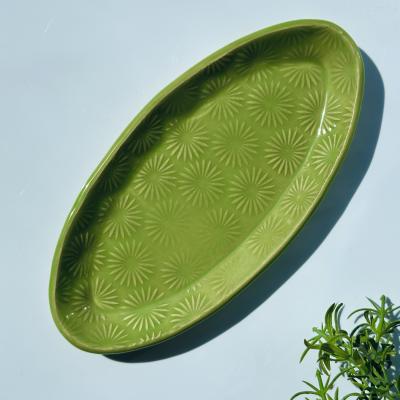
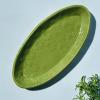
Fresh Green Spring Dish: A Textured Pottery Project Using an MKM Roller & AMACO Celadon Glaze
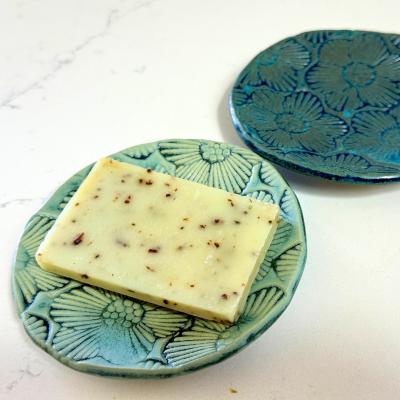
Making a Textured Ceramic Dish: Tools, Stamps & Glaze Process
Choosing the Right Kiln Size

Pottery Supplies Holiday Checklist for 2025
Related Products