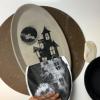
Make Uniform Plates with GR Pottery Forms

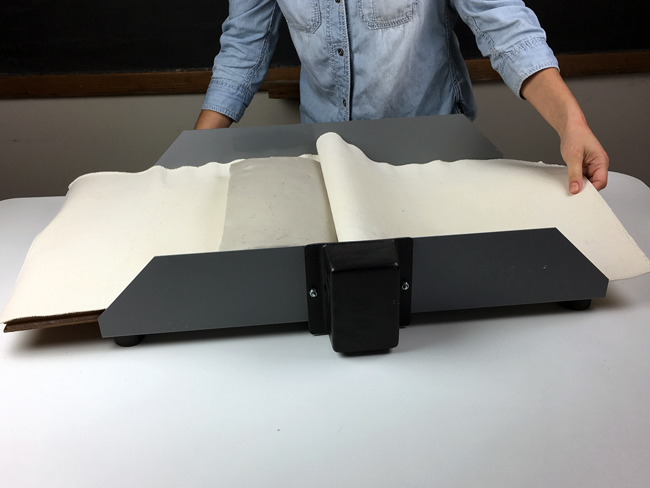
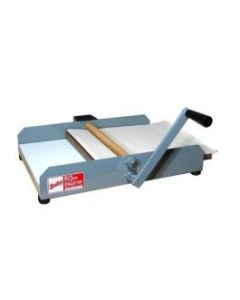
Start by rolling out a slab of clay. Make the thickness of the clay slab slightly thicker than the desired thickness of your finished ceramic plate. We used the Bailey Mini-Might II Table Top Slab Roller to create our slab.
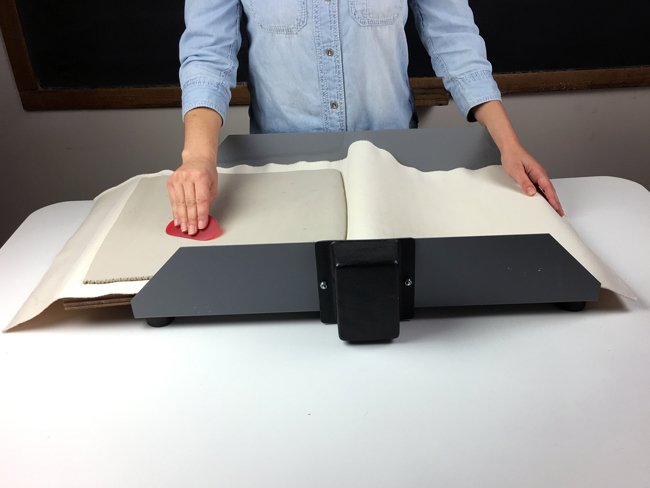
Smooth out the canvas texture from the surface of the clay using a pottery rib. Hold the rib in one hand, and drag it over the surface of the clay until the canvas texture is removed.

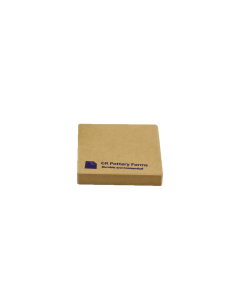
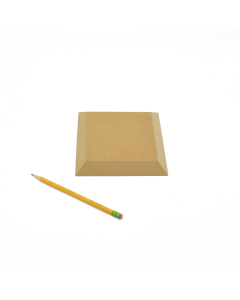
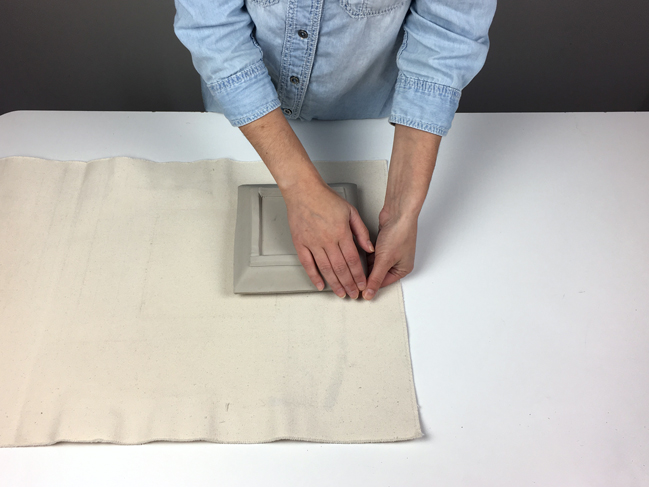
Choose a Wood Drape Mold and place the side with the largest dimension down against the surface of the table. Here we will be using the 6.5" x 6.5" Square Wood Drape Mold.

Lay the clay slab over the top of the wood mold. Allow the clay to make as much contact with the mold as possible. 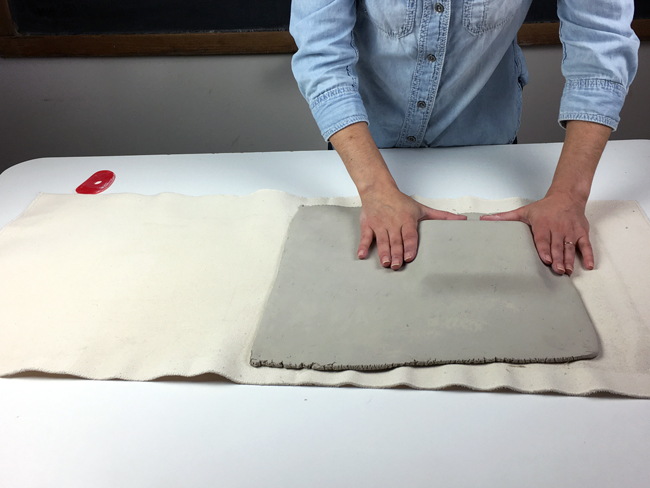
Using your hands, press the slab down and against the mold on all sides.
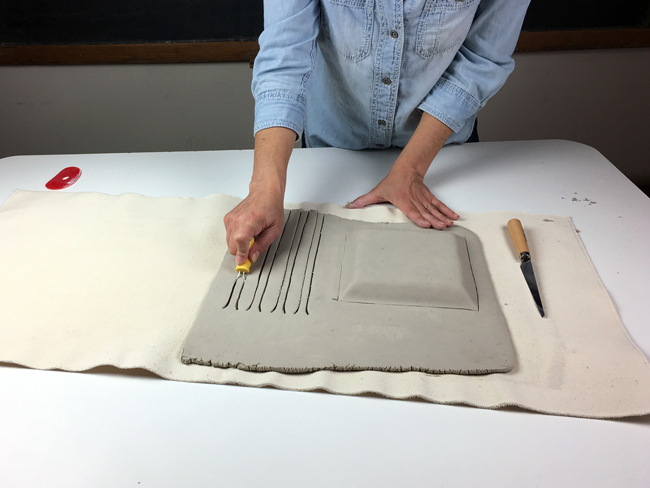
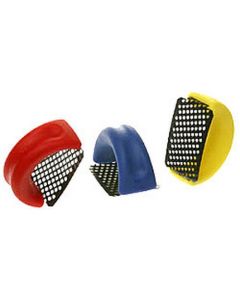
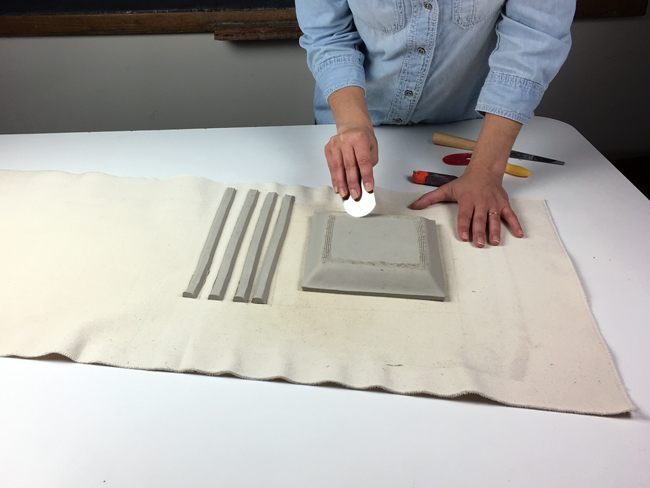
Cut around perimeter of the plate using a fettling knife. Then drag the foot maker toolthrough the remaining area of clay to make four strips. These strips will make up the foot of your plate.
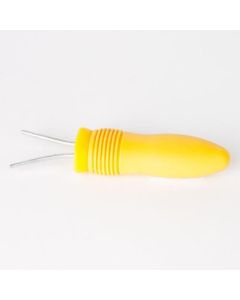
Use a scoring tool to scratch the surface of the clay, in a pattern that marks where the foot will go.
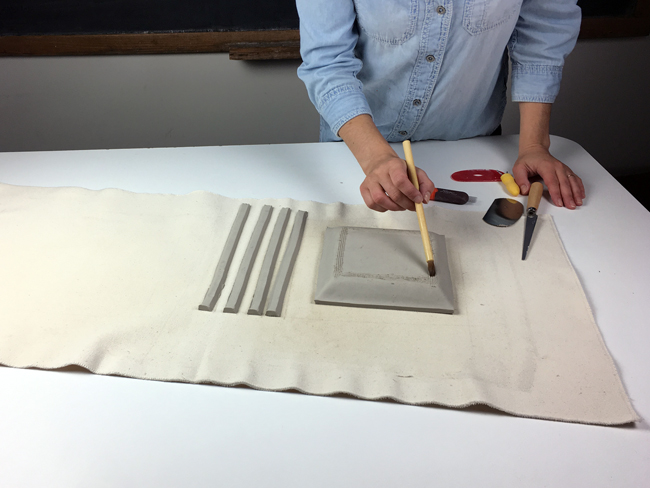
Apply a small amount of slip (liquid clay) or water with a paintbrush to the scored area.
One-by-one, add the strips of clay to the scored area designated by your scoring and slipping. Trim the strips as necessary to create a balanced foot ring. Gently push the strips down to secure the foot ring into place.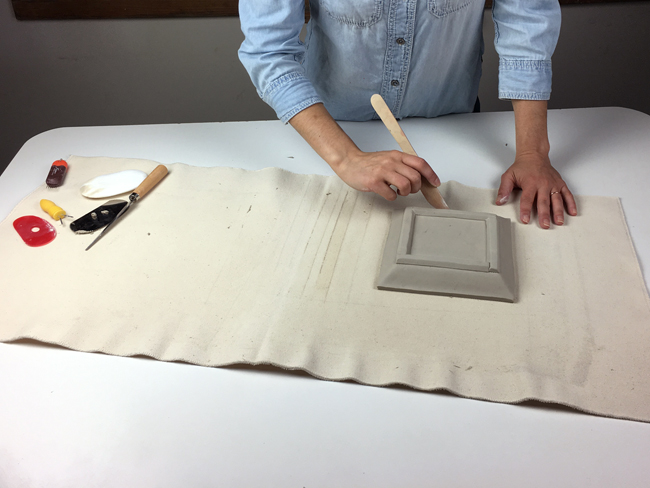
Drag a wood modeling tool around the inner and outer edges of the foot ring to clean up the connection. Allow your piece to dry to a soft leather hard state.
Place your piece, still on the mold, onto the spacer tool to lift it up and off the table. Use your hands to press downward along the backside of the rim to define the shape and prevent warpage.
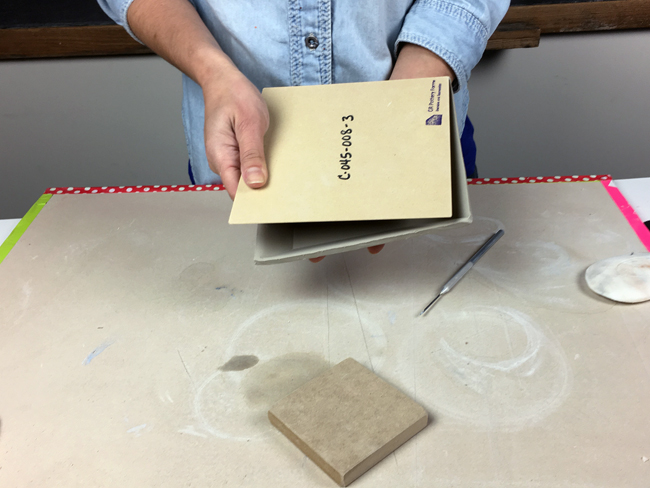
Carefully remove the wood mold from the inside of the clay piece. Set the piece aside to dry to a dry leather-hard state.
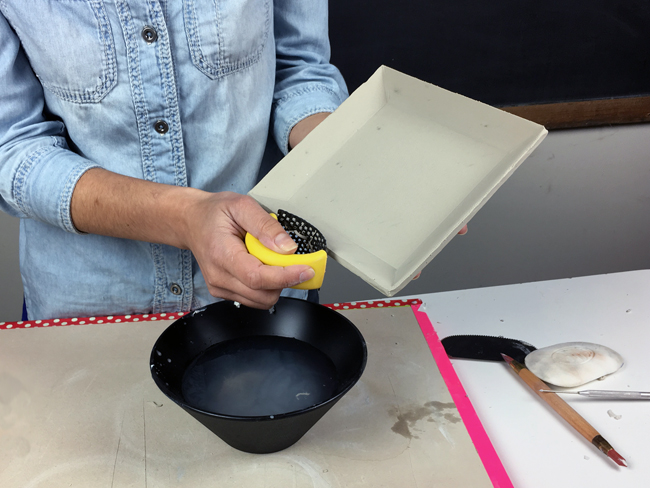
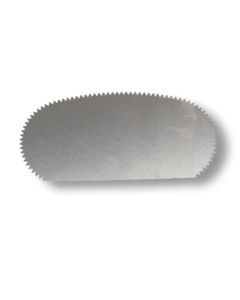
Use a shredding tool to remove a small amount of excess clay around the rim of the plate until the edges are level.
To smooth the rim, do a pass around the rim with a soft rubber rib and then follow up with a finishing sponge. And, there you have it! Repeat the process with the same mold to create a uniform set or choose another size mold to create a coordinating set.
All the tools needed for this project can be found in one place. Click the links below to shop the tools.
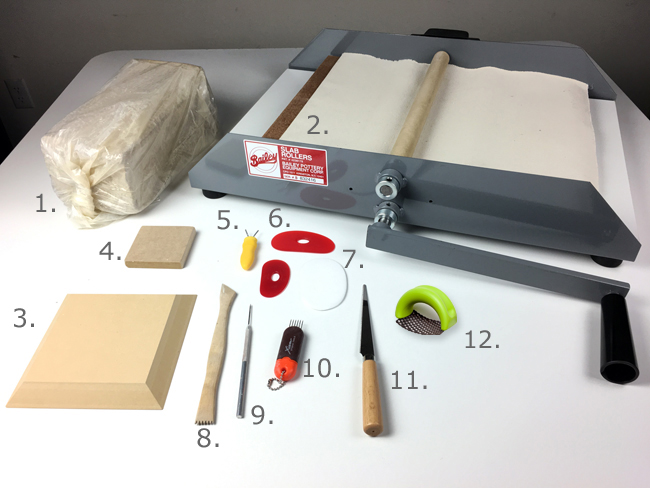
1. Moist Clay | 2. 16 inch Mini Might II Table Top Slab Roller 3. GR Pottery Form Wood Drape Mold | 4. Spacer for Drape Molds | 5. Foot Maker for Wood Drape Molds | 6. Sherrill Mud Tool Rib | 7. Mudsponge Finishing, White | 8. Wood Modeling Tool | 9. Needle Tool | 10. Scoring Tool| 11. Fettling Knife |12. Shredding Tool
Click to see our blog post on the benefits and features of the Bailey Mini-Might II.
About the Author

Related Products