Project: Personalize a Valentine, Plus 14 Red and Pink Glaze Picks!

Today we are demonstrating a fun and easy project, perfect for Valentine's Day. Because there is nothing more iconic on Valentine's Day than a Valentine itself, we are showing how you can create personalized ceramic Valentines! This project puts a unique spin on a classic gift.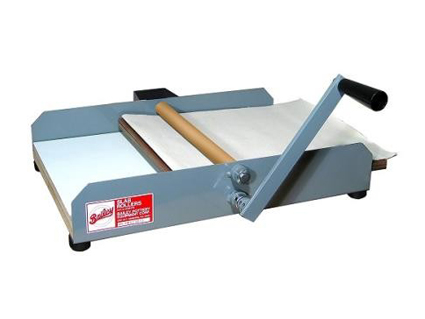

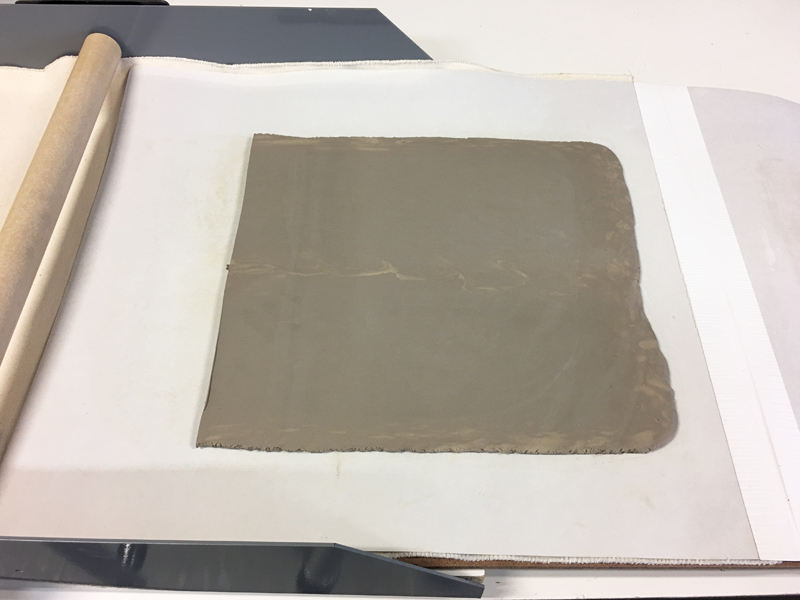
Step 1. To begin, roll out a slab of clay. We used our 16" Bailey Mini Might II to roll out Cone 6 #240 White Clay by Standard. To adjust the thickness of the clay slab add or subtract the masonite shims on the Mini-Might Slab Roller. Run a small ball of clay through the slab roller to determine your desired thickness prior to rolling out your total amount of clay.
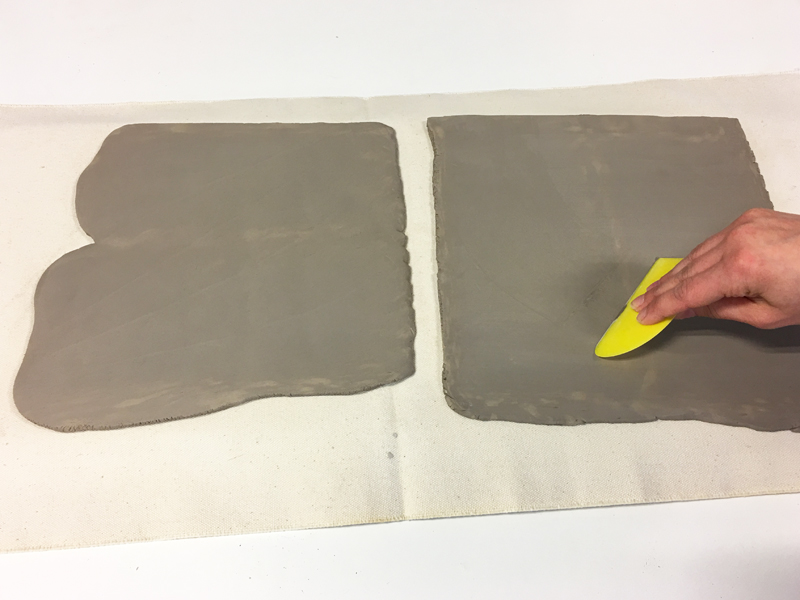
Step 2. Once you have rolled a slab, smooth the surface of the slab using a soft rubber rib.
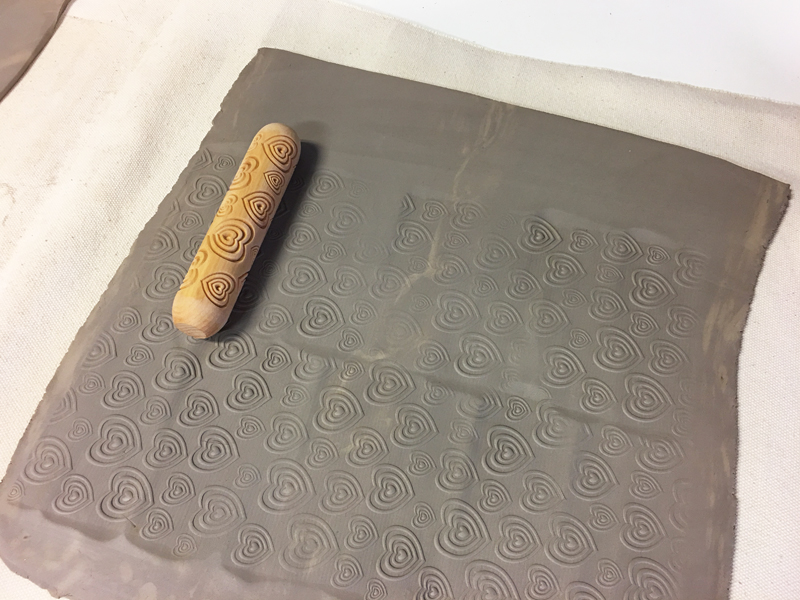
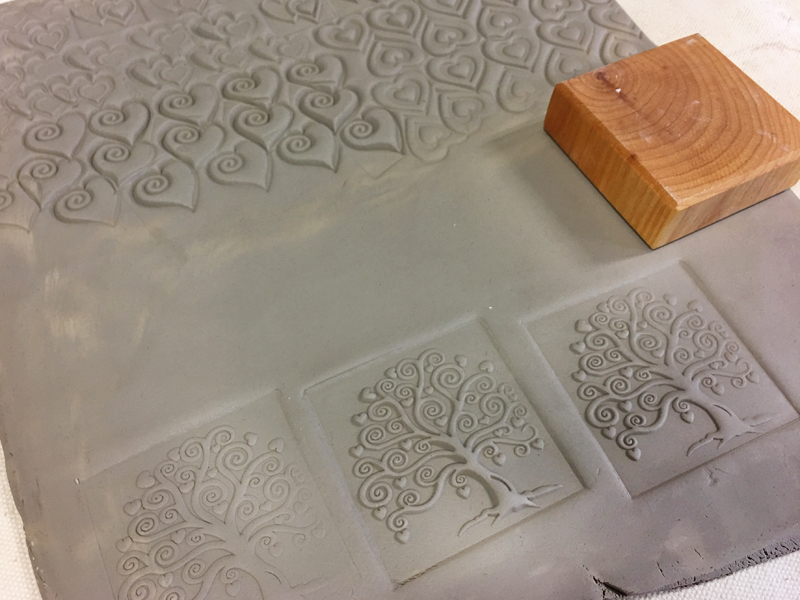
Step 3. Here is the part where you get to put your own personal touch on these Valentines. Use MKM stamps or any other texture tools to decorate your slab of clay. We used MKM heart shaped rollers and stamps.
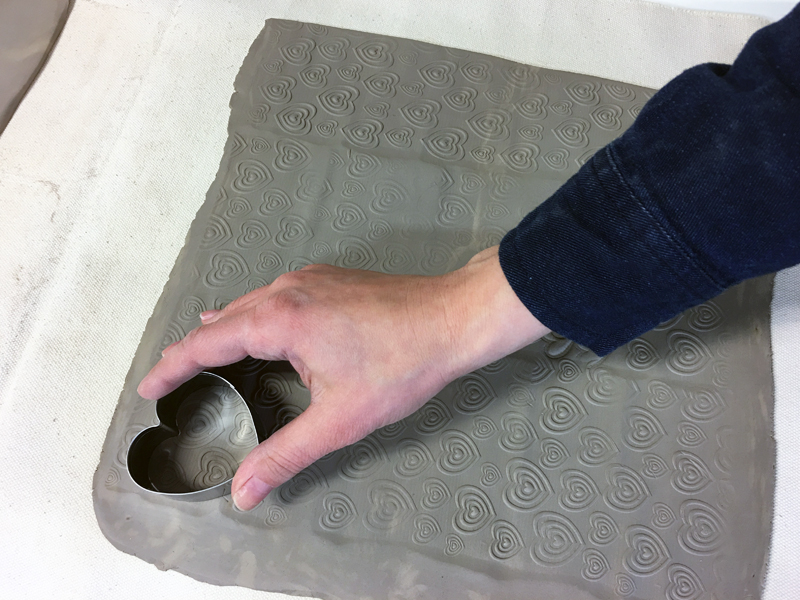
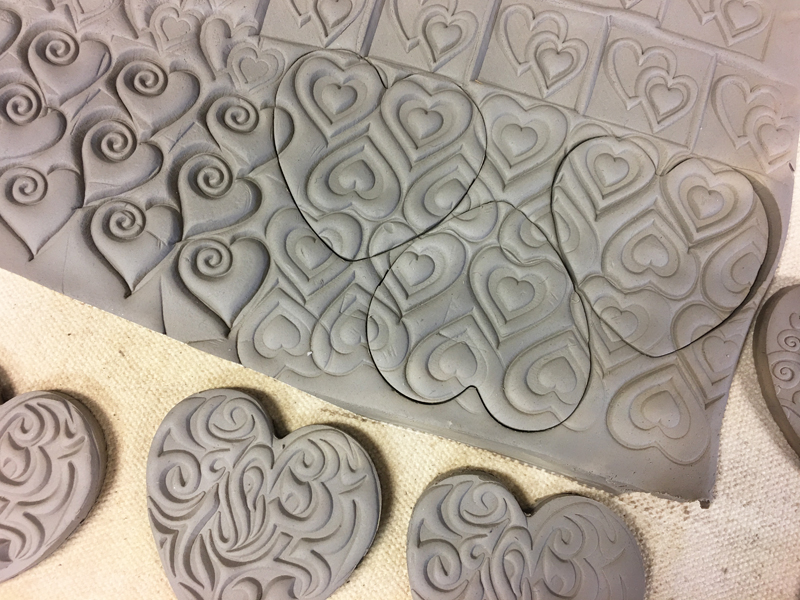
Step 4. To create the form of the Valentine, use shape cutters like our 5-piece heart cutter set to cut out heart shapes.
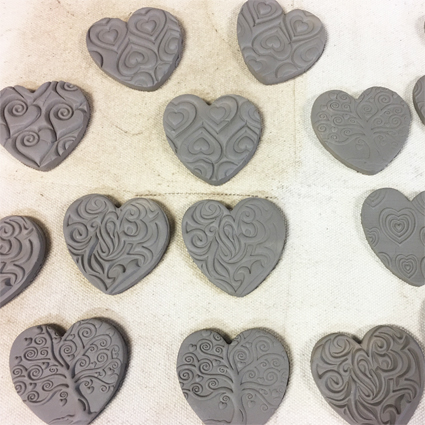
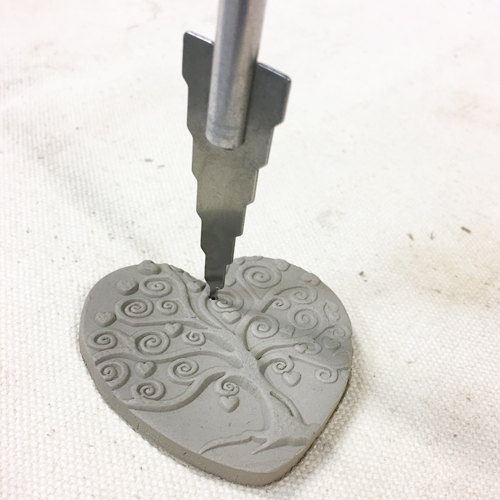
Step 5. If you want to be able to hang your Valentines, you will want to poke a hole in them while they are still leather hard. Let your Valentine hearts set up a little bit on canvas or drywall and then poke a hole through the top of them using a drill or needle tool.
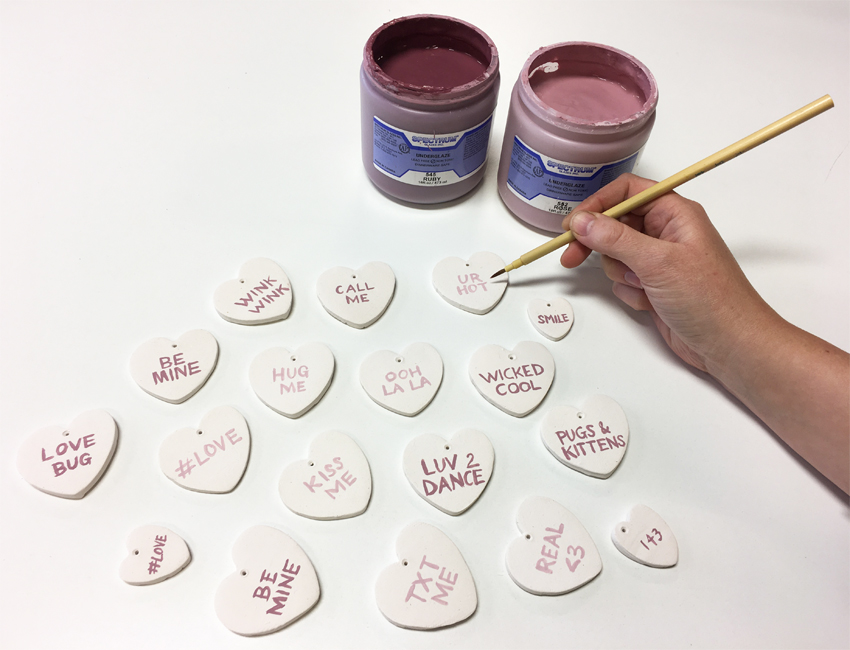
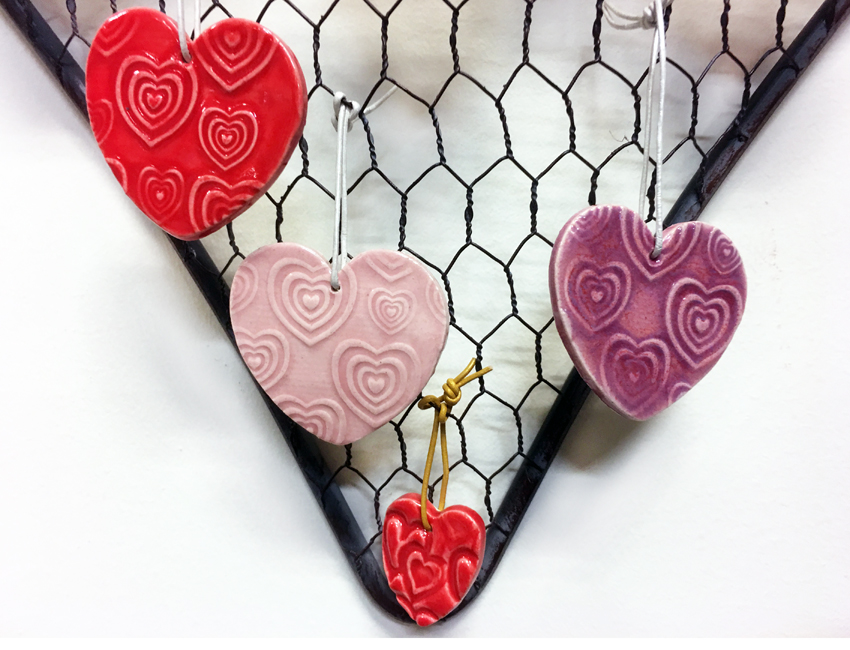
Step 6. Bisque fire and decorate your Valentines. After we bisqued ours to cone 04, we used Spectrum Ruby Underglaze and Spectrum English Rose Underglaze to write messages on the backside of each tile. Once the underglaze is dry, flip the tiles back over and glaze the surface. We used four pink and red glazes so that we would have a cohesive group. The glazes we used are: Amaco PC-59 Deep Firebrick, Amaco C-50 Cherry Blossom, Laguna MS222 Sang-de-bouef, and Coyote MBG071 Really Red.
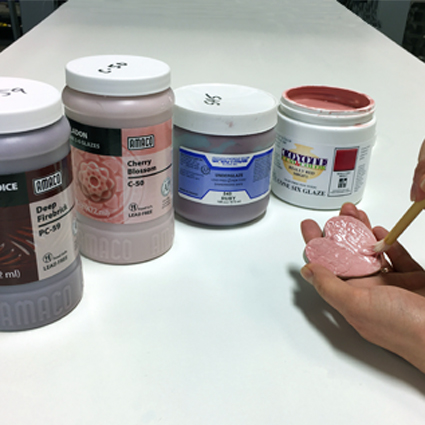
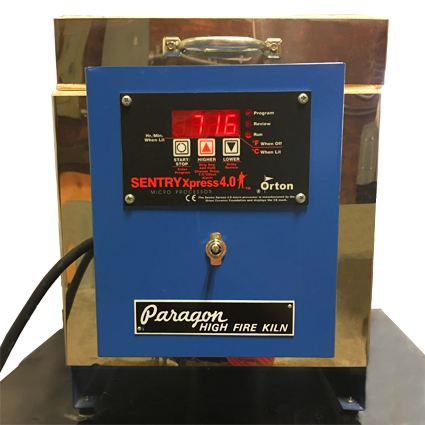
Step 7. Glaze fire your Valentine hearts. Apply 1-3 coats of glaze to the surface of each heart using a small mop brush. We fired our hearts to cone 5 in our handy Caldera-XL Test Kiln by Paragon.
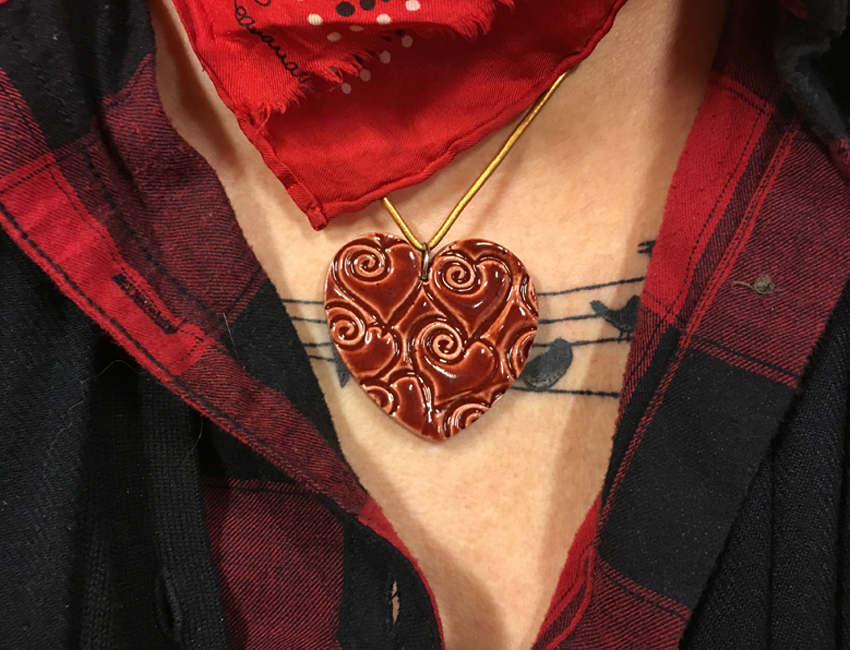

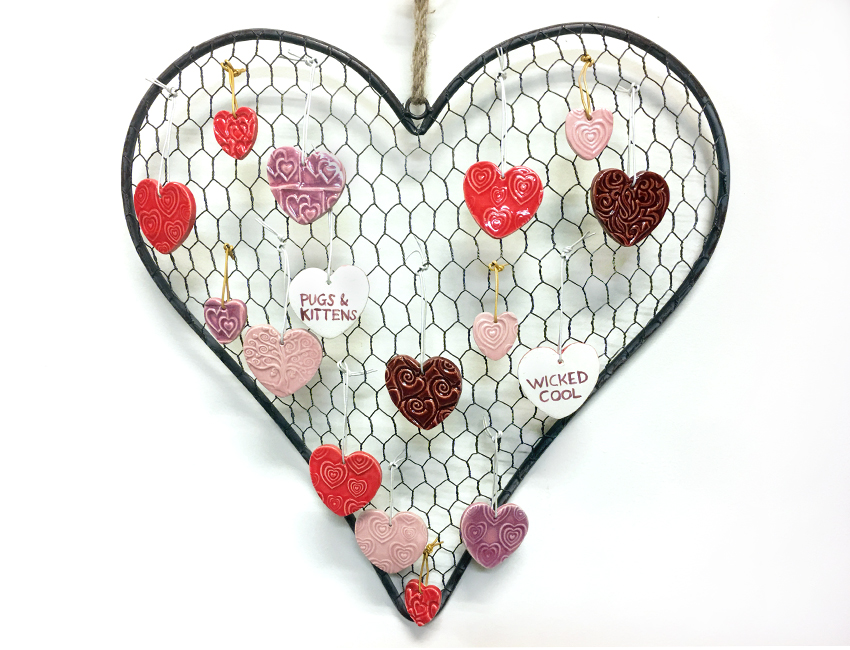
Step 8: Unload your glazed Valentines and add finishing touches. Thread a leather or fabric cord through the hole you created in the top of the hearts. Now, these Valentines can be used as gift tags, worn as pendants, or used to decorate a space!
Links to Tools: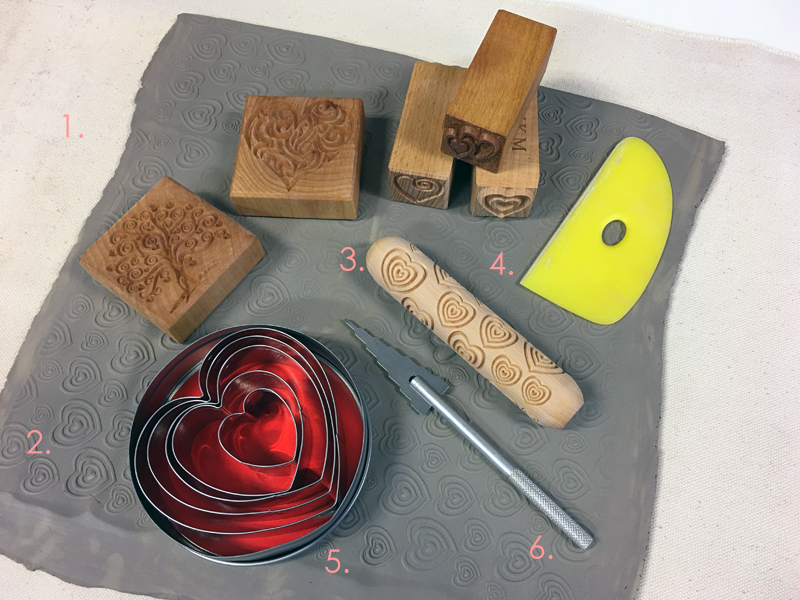
1. Bailey 16" Mini Might II Table Top Slab Roller | 2. Mid Range Stoneware Clay | 3. MKM Texture Tools | 4. Mud Tools Rib | 5. Kemper Multi-Drill Tool not pictured above: | 6. Glaze Brushes | 7. Electric Kiln | 8.Caldera XL-Test Kiln by Paragon | Links to glazes below:
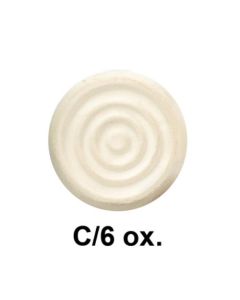
Pink is in and red is a perennial favorite! With Valentine's Day coming up and hearts ready to decorate with glaze, we've picked out 14 pink and red glazes that are lovely as can be. The glazes numbered 1-3 are low fire glazes that should be fired between cones 06 and 04. Glazes numbered 4-14 are mid range glazes that should be fired between cones 5 and 6. Follow the links below to learn more about each glaze.
1. Fuschia | 2. Strawberry Sundae | 3. Peppermint Twist | 4. Cherry Blossom | 5. Weeping Plum | 6. Scarlet Red | 7. Fire Opal | 8. Really Red | 9. Sang-de-bouef | 10. Tutu Pink | 11. Texture Pomegranate | 12. Brilliant Sunburn | 13. Deep Firebrick | 14. Chun Plum
About the Author

Related Products