Handbuilding Cylindrical Vases with Coyote Texas Two Step Glaze


Steps:
1. Gather Your Materials
Before you begin, collect the necessary tools and supplies:
- Clay: Choose a mid-fire or high-fire clay suitable for your glaze and firing process.
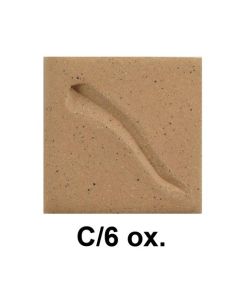
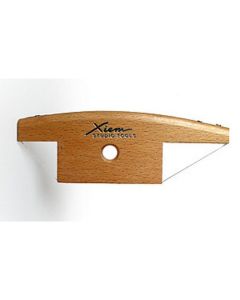
- Tools: Basic handbuilding tools like a rolling pin, scoring tool, sponge, ribs, needle tool, fettling knife, and a Xiem bevel cutting tool for angled edges.
-
Equipment: A slab roller or rolling pin for consistent slabs.
- Glaze: Coyote Texas Two Step Glaze for the unique oil-spotted finish.
- Workspace: A clean surface to work on and plastic to loosely cover your work during drying.
2. Prepare Your Clay
- Wedge the Clay: Start by wedging your clay thoroughly to remove air bubbles and ensure a uniform texture.
- Roll the Slab: Using a slab roller or a rolling pin, create an even clay slab approximately 1/4 inch thick. Keep the thickness consistent across the slab for uniformity in your vase walls.
3. Create the Vase Forms
- Cut Your Shapes: Use a ruler or template to cut rectangular slabs for the walls and circles for the bases. Adjust dimensions based on the size of your vases. Use a Xiem bevel cutting tool to cut the slab edges at a 45-degree angle for a cleaner seam.
- Form the Cylinders: Score and slip the angled edges of the rectangular slab. Curl the slab into a cylinder and press the edges together to form a strong seam. Smooth and reinforce the joint with a rib.
- Attach the Base: Score and slip the bottom edge of the cylinder and the circle base, then attach them securely. Smooth the seam with a rib or sponge to ensure a clean connection.
4. Refine and Add Details
- Smooth the Surface: Use a damp sponge or rib to refine the vase's surface and smooth out any seams.
5. Let Your Pieces Dry
- Slow Drying: Cover the vases loosely with plastic to allow slow and even drying, reducing the risk of cracks. Let the pieces dry completely to the bone-dry stage before firing.
6. Bisque Fire the Vases
- Place the bone-dry vases in the kiln and bisque fire them according to your clay’s recommended temperature.
7. Apply the Glaze
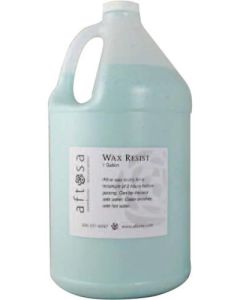
- Apply Wax Resist: Use Aftosa’s Wax Resist on the underside of the vases to keep the glaze from sticking during firing.
- Glaze the Vases:
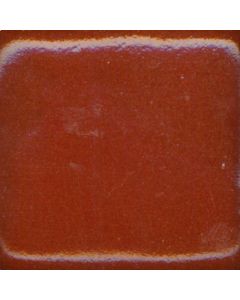
- Start with 2 coats of Brick Red TX 2 Step Undercoat (MBG142) applied evenly.
- Allow the undercoat to dry fully, then layer 3 coats of Texas Rose TX 2 Step Overcoat (MBG152) over the top using a fan brush. Ensure each coat dries before applying the next.
- Clean the Bottoms: Wipe the base of the vases to remove any glaze and prevent sticking in the kiln.
8. Glaze Fire
- Fire your glazed vases to the appropriate temperature for Coyote Texas Two Step Glaze, following the glaze manufacturer’s instructions.
- To enhance the oil-spot effect, consider using a slow cooling cycle during the firing process.
9. Arrange the Final Look
- Once the vases have cooled, fill them with fresh Anemone flowers or other seasonal blooms to showcase their beauty.
Tips for Success
- Keep It Simple: Let the clean vase forms and the bold glaze finish be the focal point of the project.
- Experiment with Application: The thickness of the glaze layers directly affects the final result. Thicker applications create larger oil spots, while thinner coats result in finer spotting. Test on a sample piece before glazing your project.
- Coyote Recommendations: For optimal results, use 2 coats of the Step One Undercoat and 3 coats of the Step Two Overcoat. Adjust thickness to achieve your desired effect.
When fired to Cone 5/6 in an electric kiln, Coyote’s Texas Two Step glazes interact beautifully to create a unique oil-spotted finish. Varying glaze thickness can dramatically alter the outcome, offering endless possibilities for customization.
January 28, 2025
|
Read Time: minutes
|
Edited at: June 20, 2025
|
View: 1471
|
Categories: Tips & Techniques
|
By: Lyla @ Baileys
About the Author

Related Products


Helpful Hints on Clay Storage
August 4, 2016

DIY Hand-Built Bowl
October 2, 2017

The 5 Types of Kiln Shelves You Need to Know About
May 16, 2017


Designing Custom Gas Kilns for Pottery Studios and Schools
March 18, 2026

Who Are Pugmills For?
March 6, 2026