Heart Dishes for Valentines Day

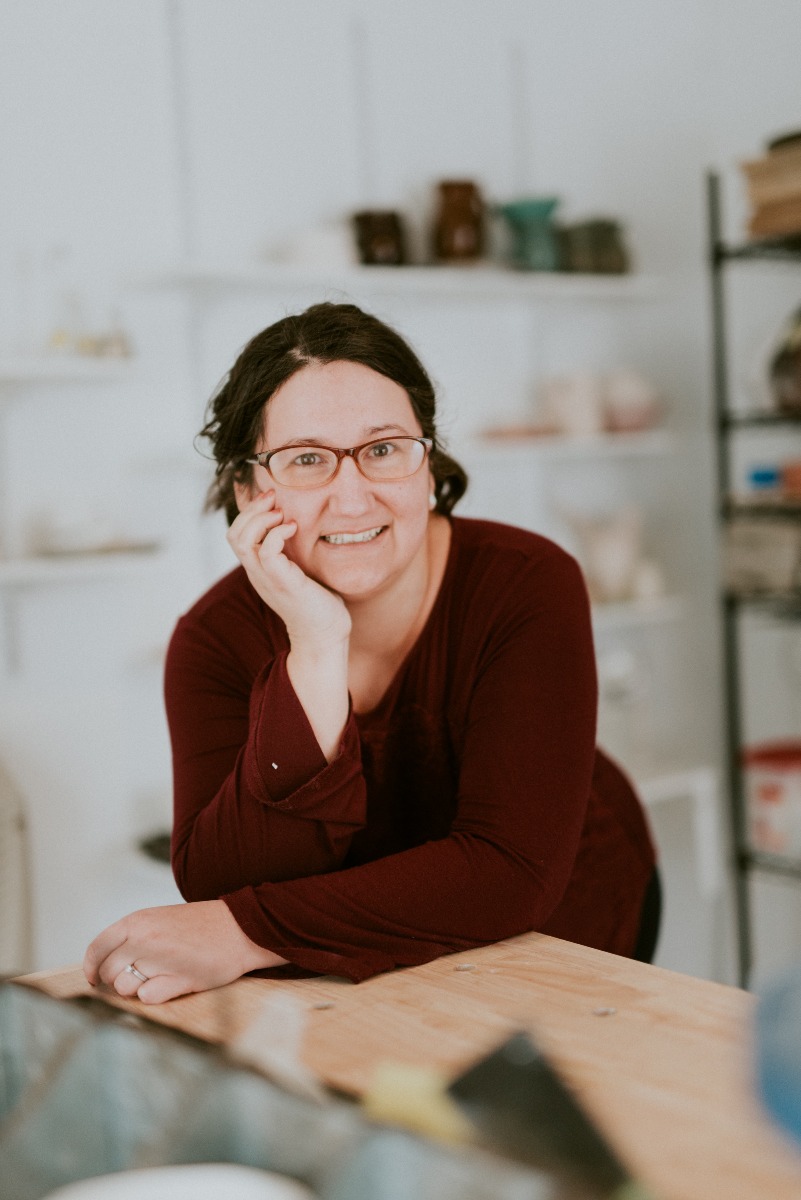
My name is Vanessa Mattsson-Boze, and I am a part-time potter living in Madison, Wisconsin with my husband and two kids. I graduated from UW-Madison with a degree in art but took a hiatus from ceramics to enter a career in IT. A few years ago I returned to clay with renewed interest in making it a part of my everyday life. We converted our detached garage into a studio and as my kids have grown what started as a nap-time hustle grew into more dedicated studio practice. I still work in IT, but am able to spend at least an hour each day nurturing my need to make.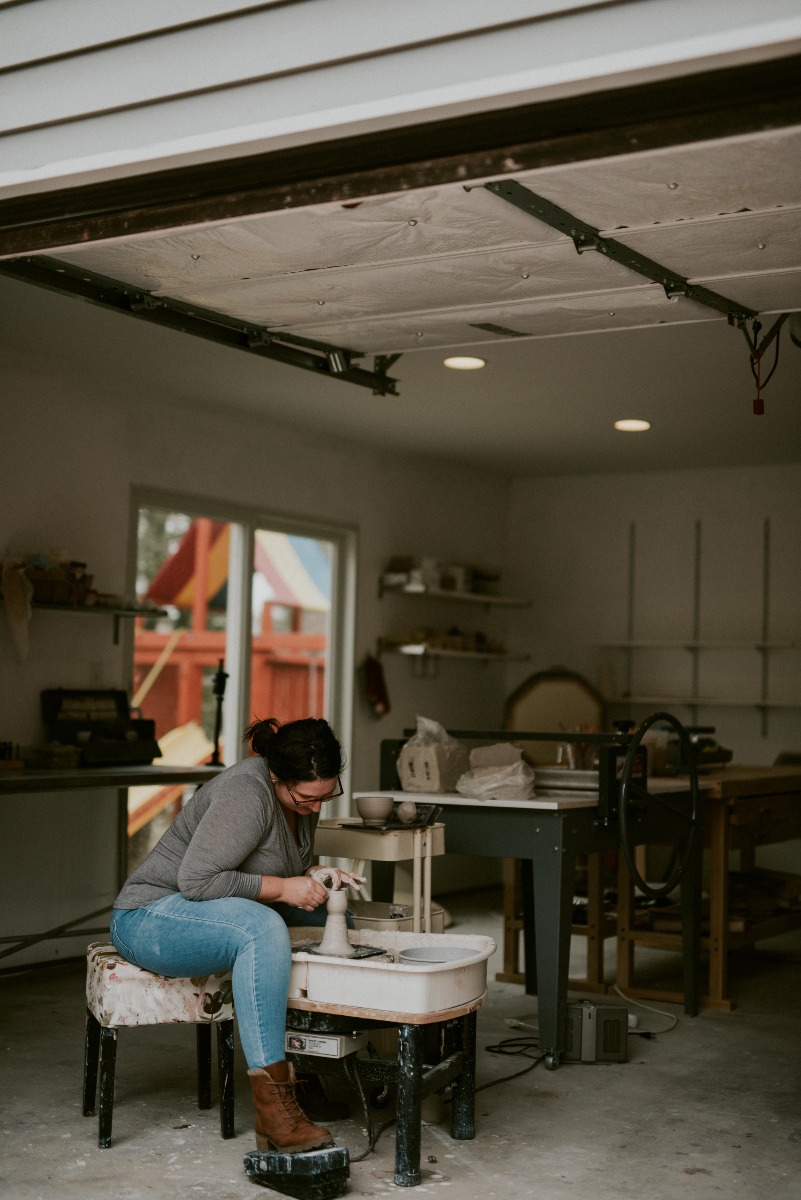
My love of clay started on the wheel, but since my time in the studio is so often piecemeal, I have found myself hand building more and more. These heart dishes started as a playful attempt at using up some random clay scraps, and have evolved over time as I have refined the form. They are relatively quick and uncomplicated, and a fitting Valentine’s Day project.
Tools: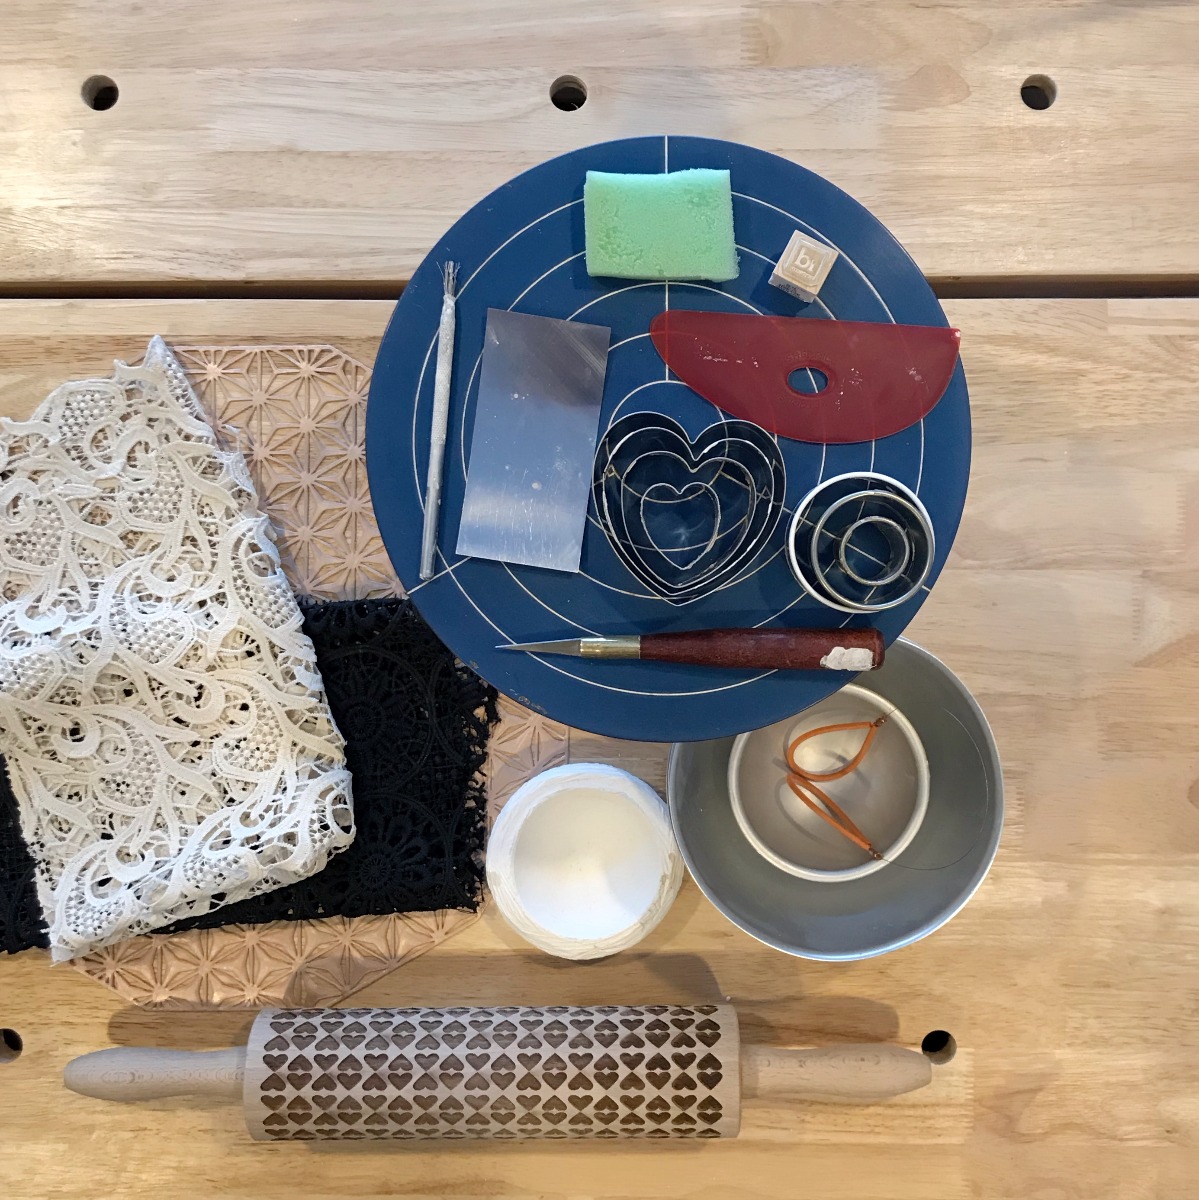
Graduated circle shaped cookie cutters, Slipping and scoring tool, Hemisphere forms, Rolling Pin or Slabroller, Stamp,Sponge, Texture tools - fabric, lace, roller, etc, Ribs, Fettling knife, Graduated Heart shaped cookie cutters
Instructions: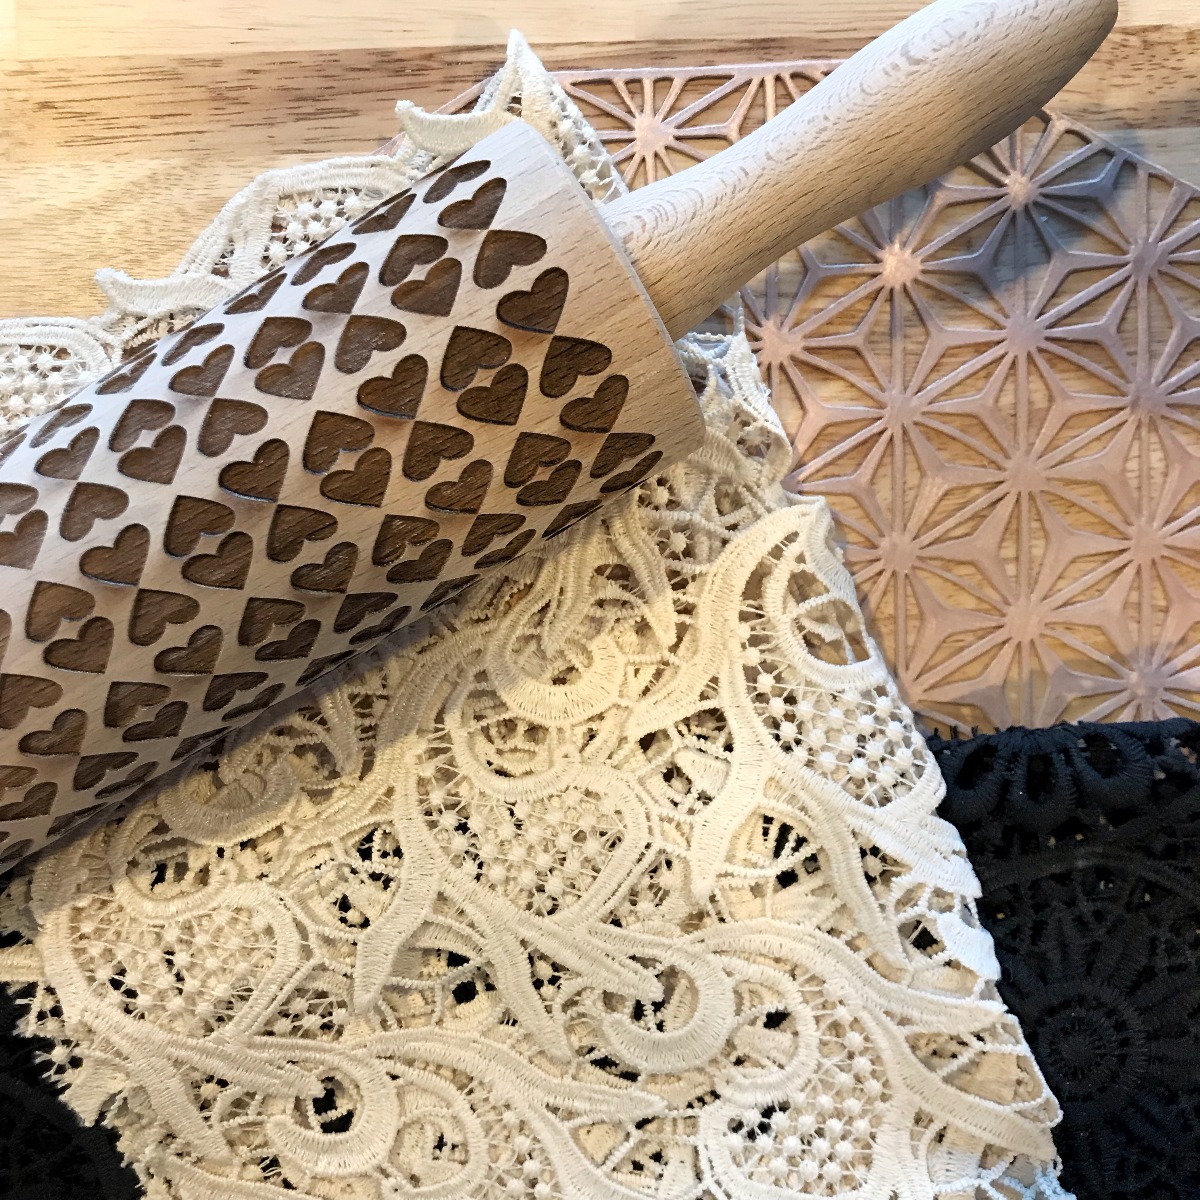
I’ve made these dishes both with and without texture, and personally, I prefer the visual interest of the textured ones. It not only provides a more interesting surface, but it can also enhance your glaze choices. Lace is always a go-to texture for me; I prefer the thicker bridal lace you can find at fabric stores. I also have a variety of vinyl placemats in various designs in addition to other texture rollers. 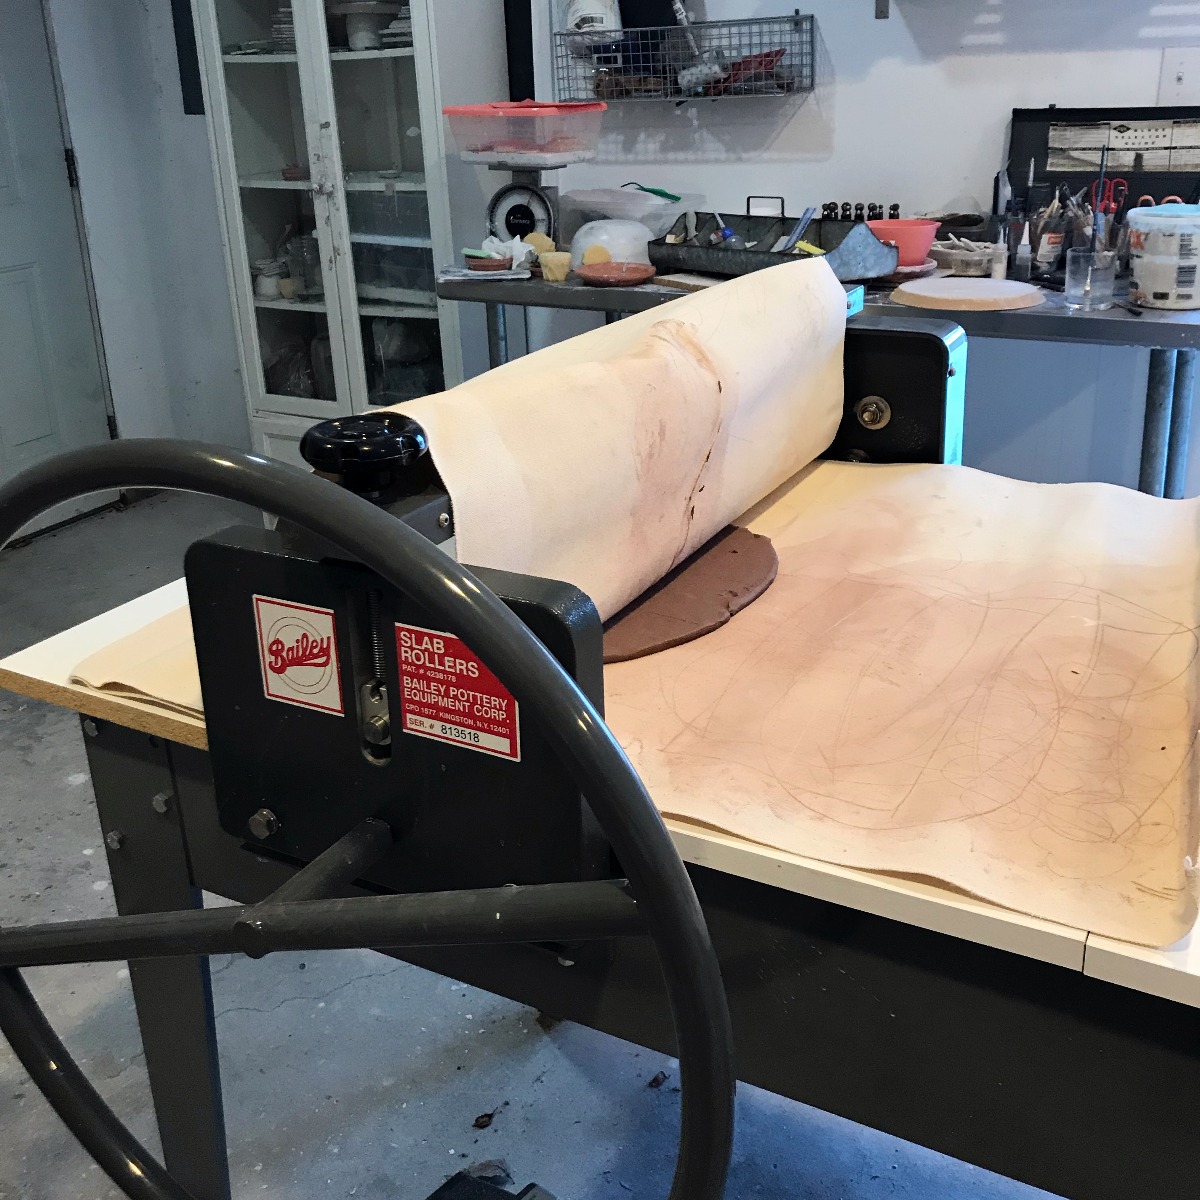
To begin, roll out a slab between 1/4” and 1/8” thick. Here, I've used my Bailey Basic 30 D Slab Roller to do so.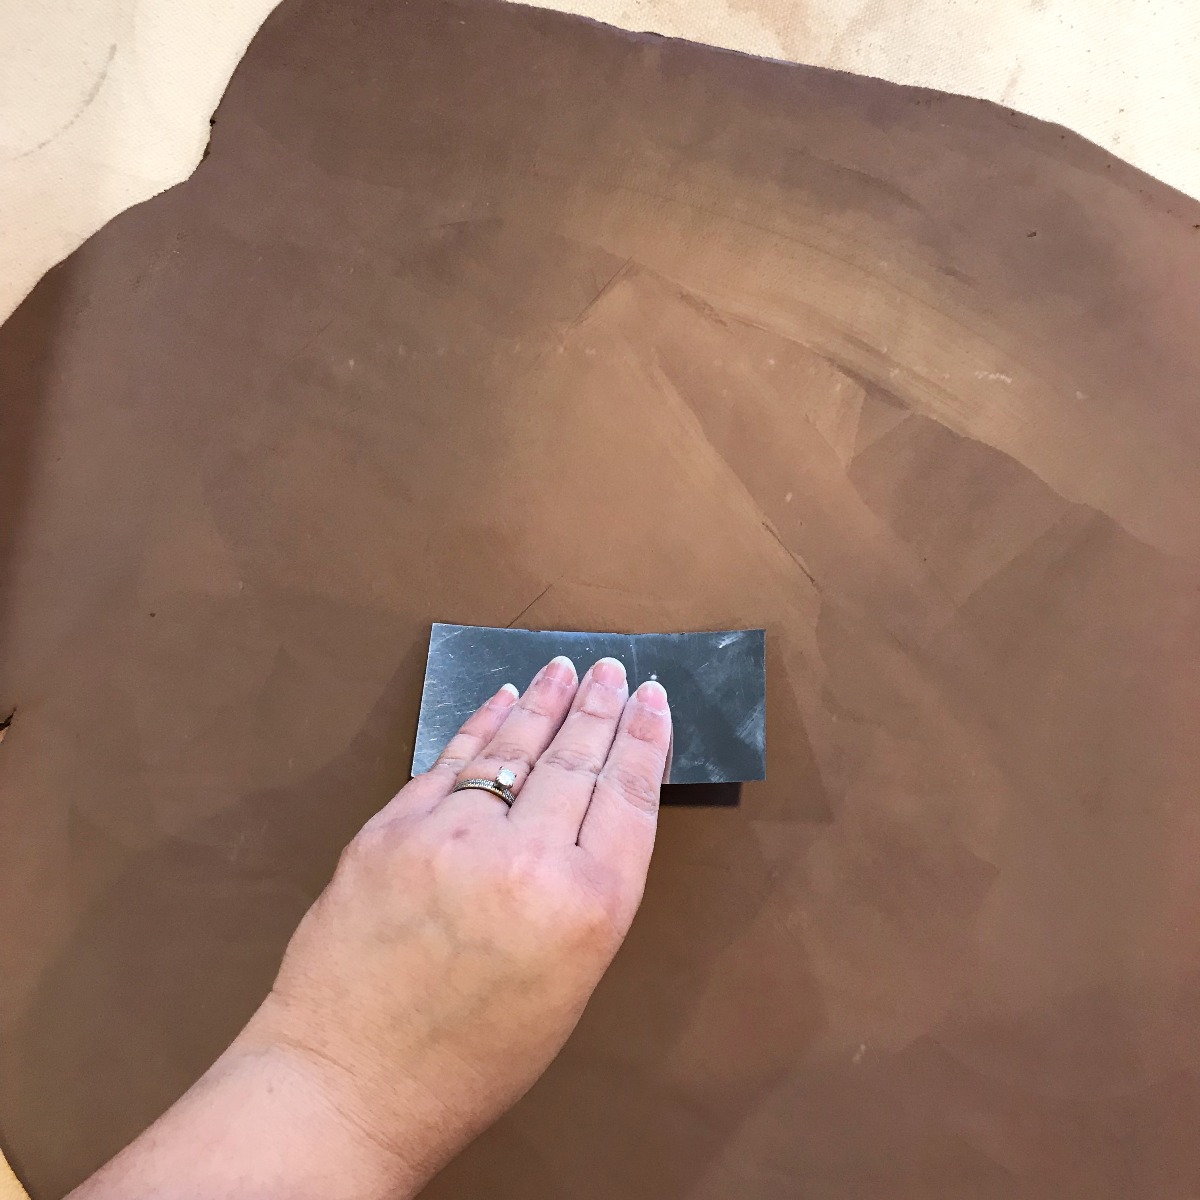
Using a rib, compress the slab and smooth out the canvas texture. When I work with porcelain I like to roll the porcelain between two sheets of craft foam, this eliminates the canvas texture.
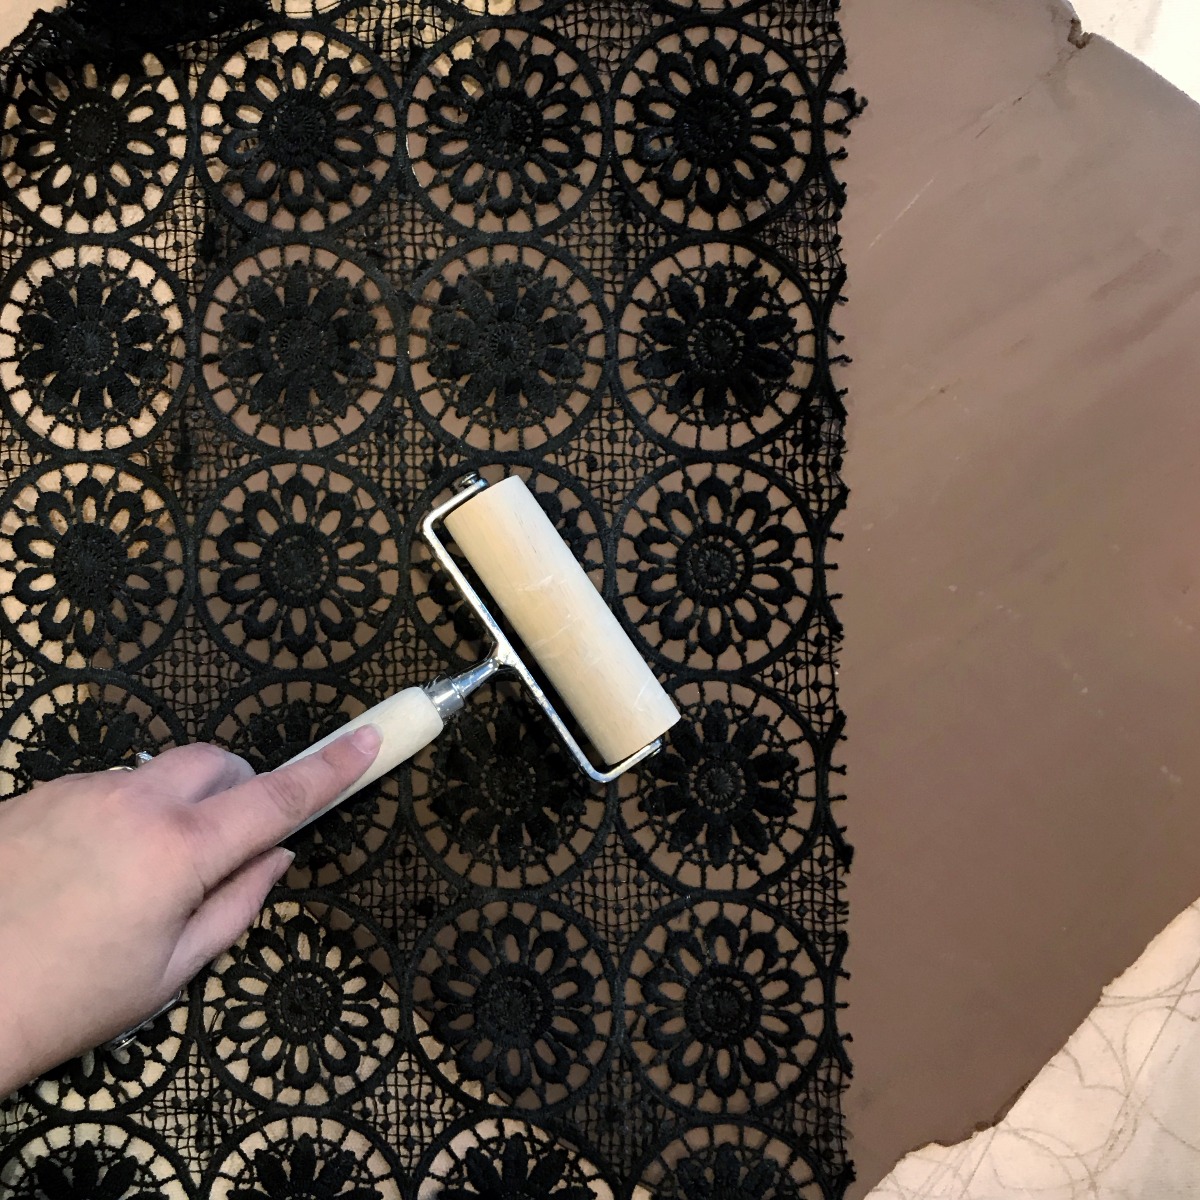
Next use lace or another textured surface to roll an impression into the clay
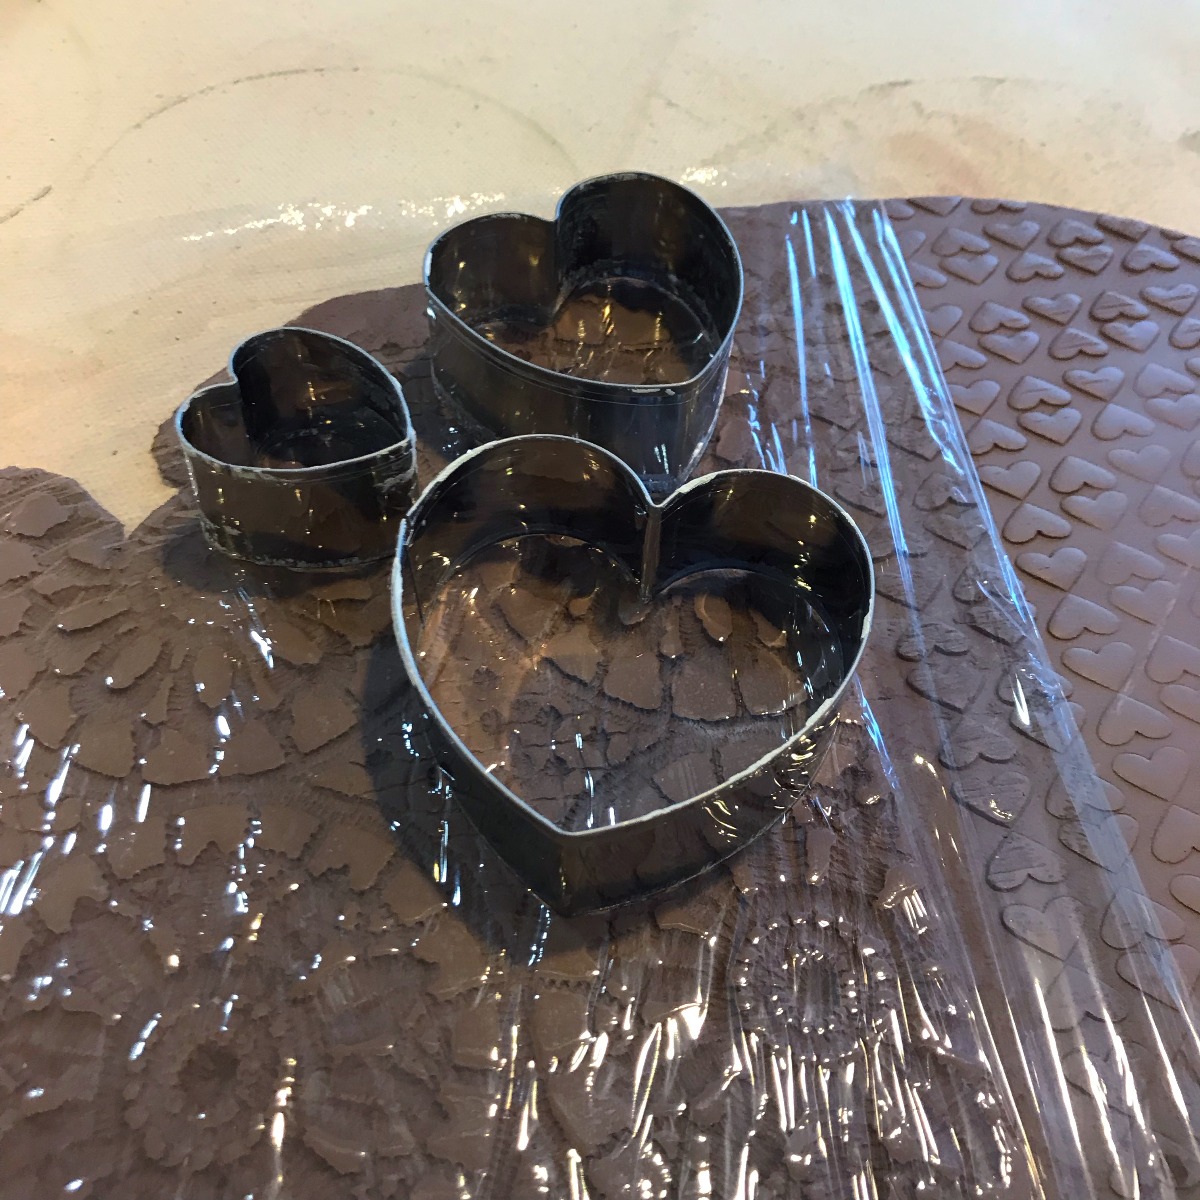
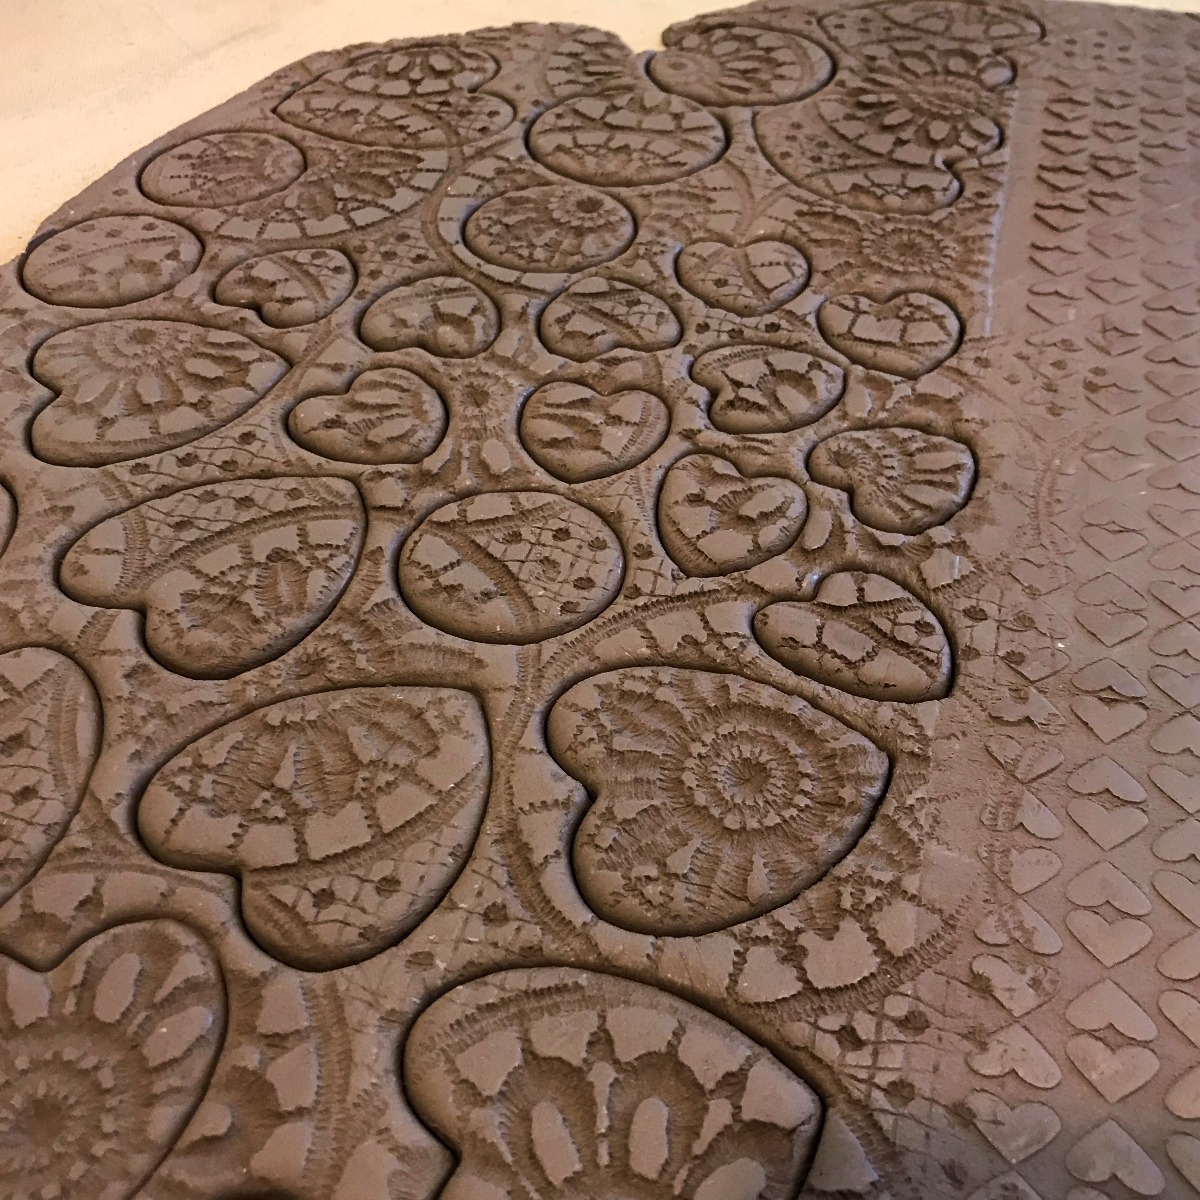
For each dish, you will need to cut out 5 hearts and one circle. To create smooth edges lay a sheet of thin plastic wrap over the slab before cutting into it with the cookie cutters. It’s easy to cut out the pieces for a bunch of these dishes at once, so it’s helpful to have a Tupperware container on hand to store the extra pieces so they don’t dry out as you’re working.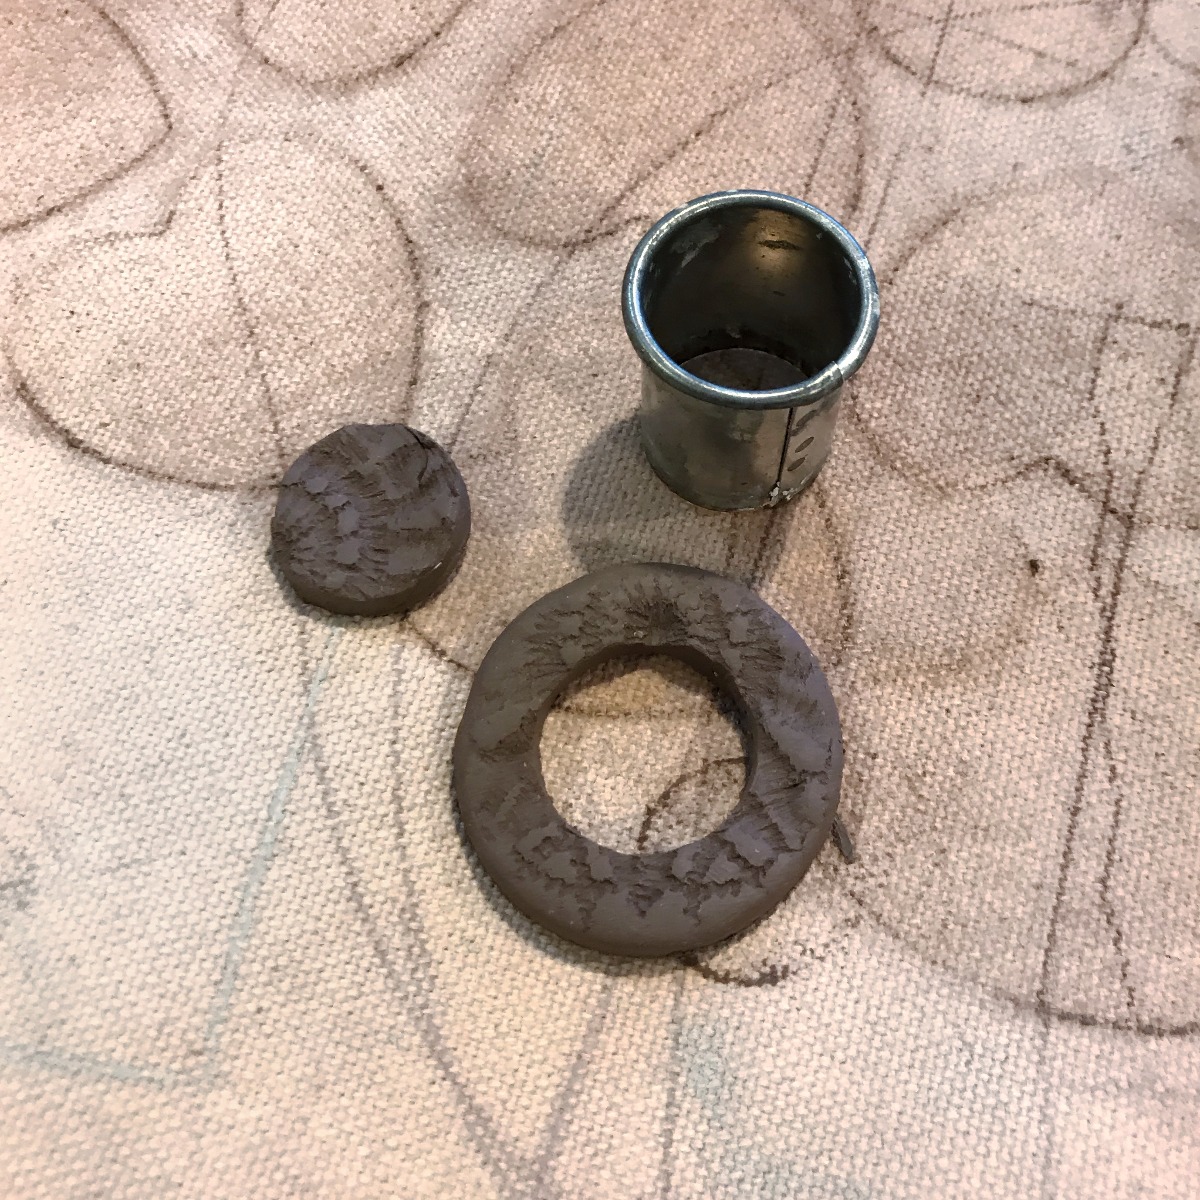
Cut a smaller circle out of the center of your circle shape. These will form the foot of your dish.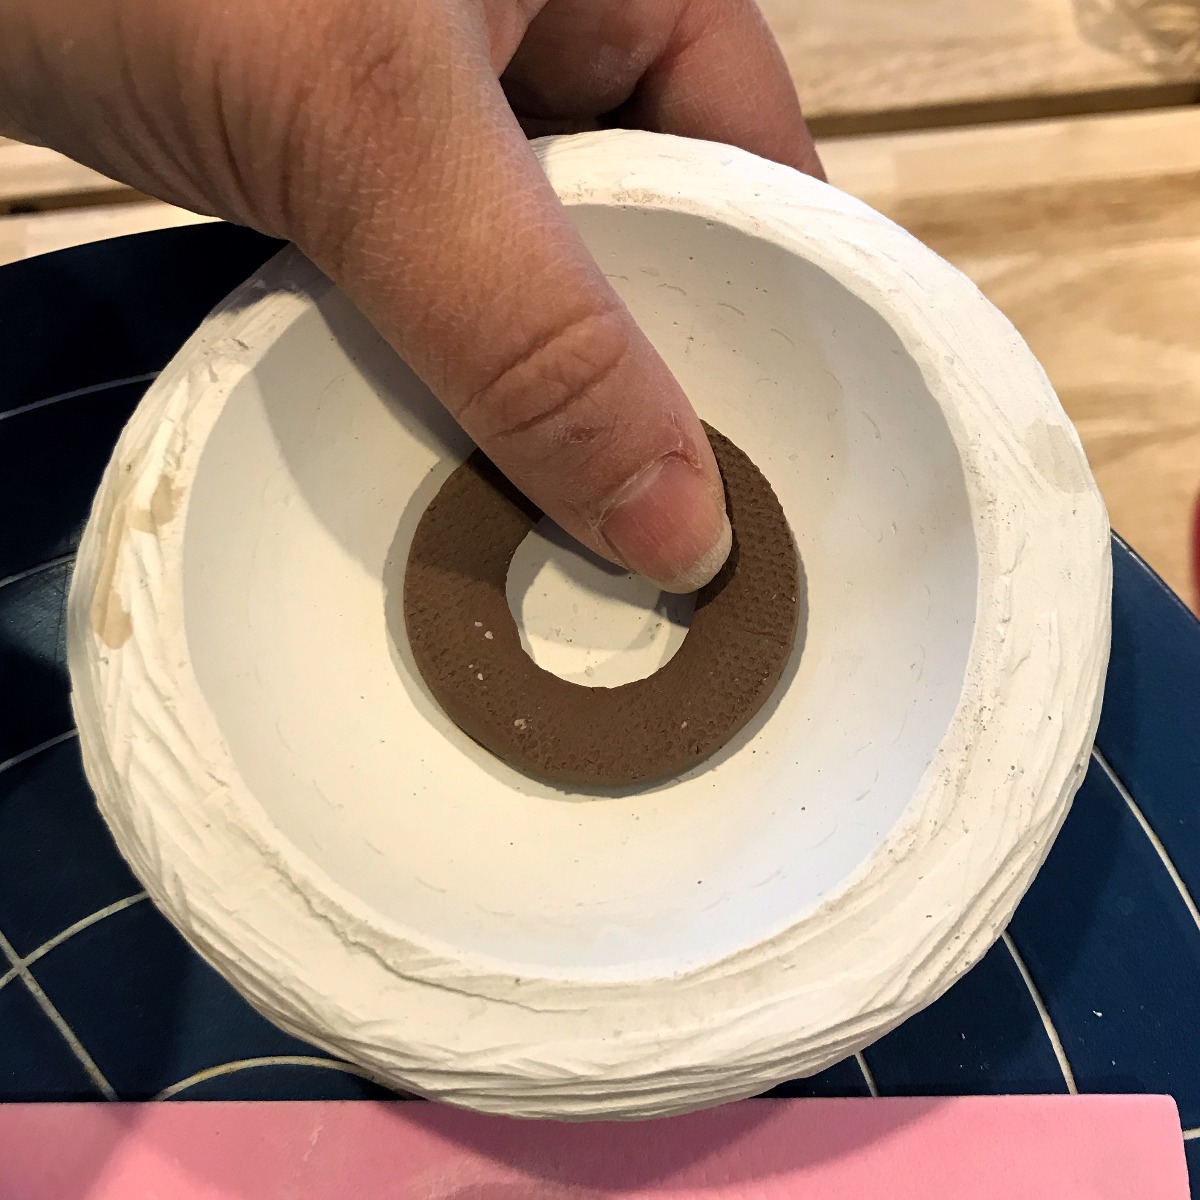
Use a plaster mold or other form to shape your slab donut and form the angle of the foot ring. I have a variety of molds laying around the studio, but you could also achieve the same effect by forming the donut around a small ball.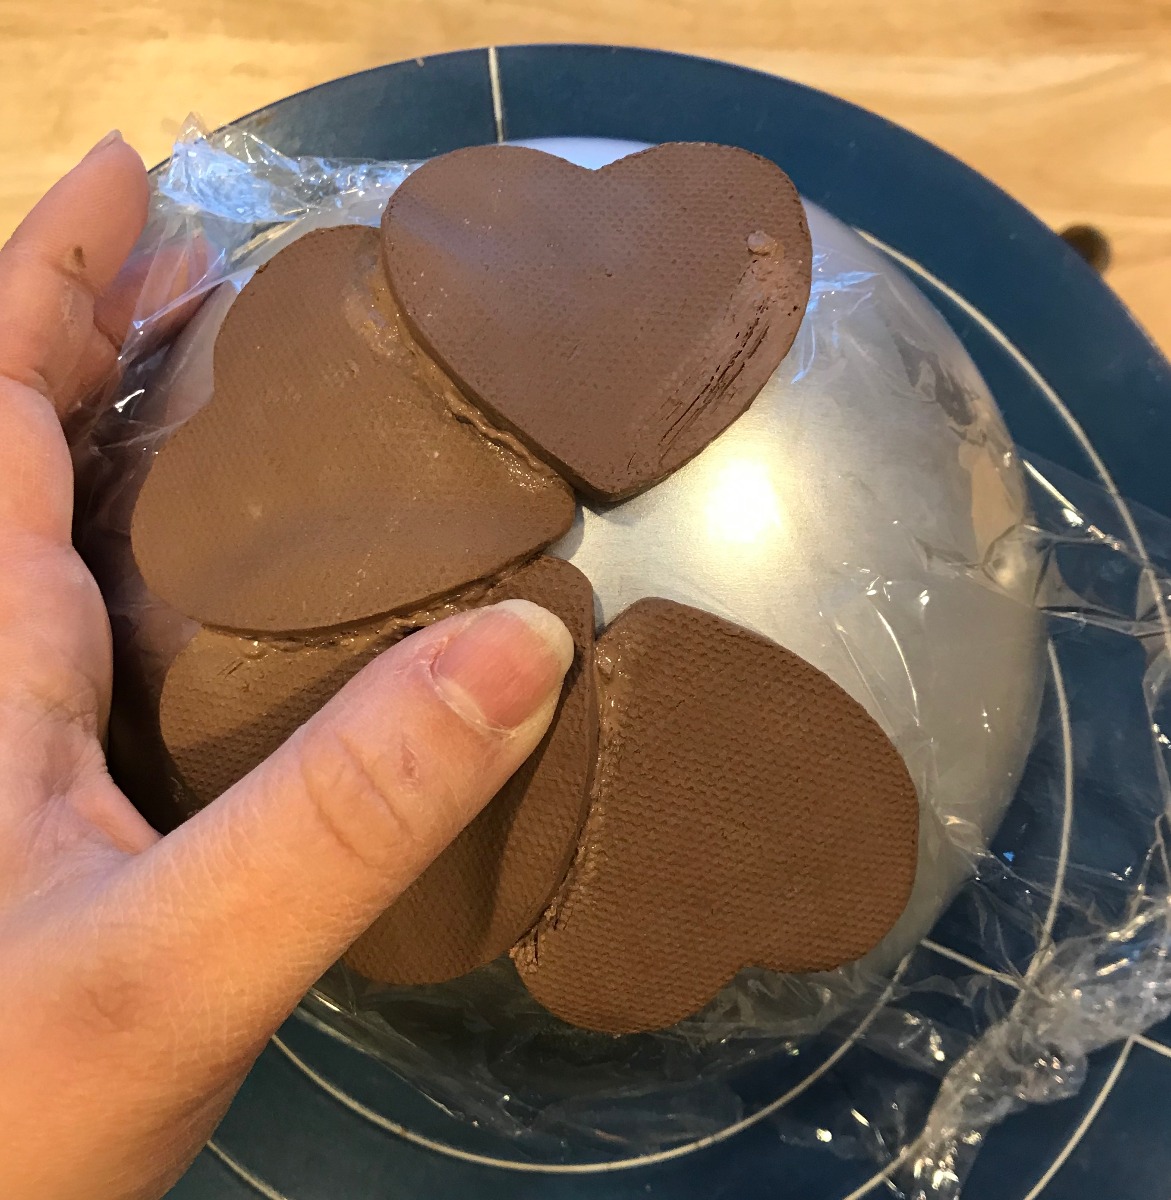
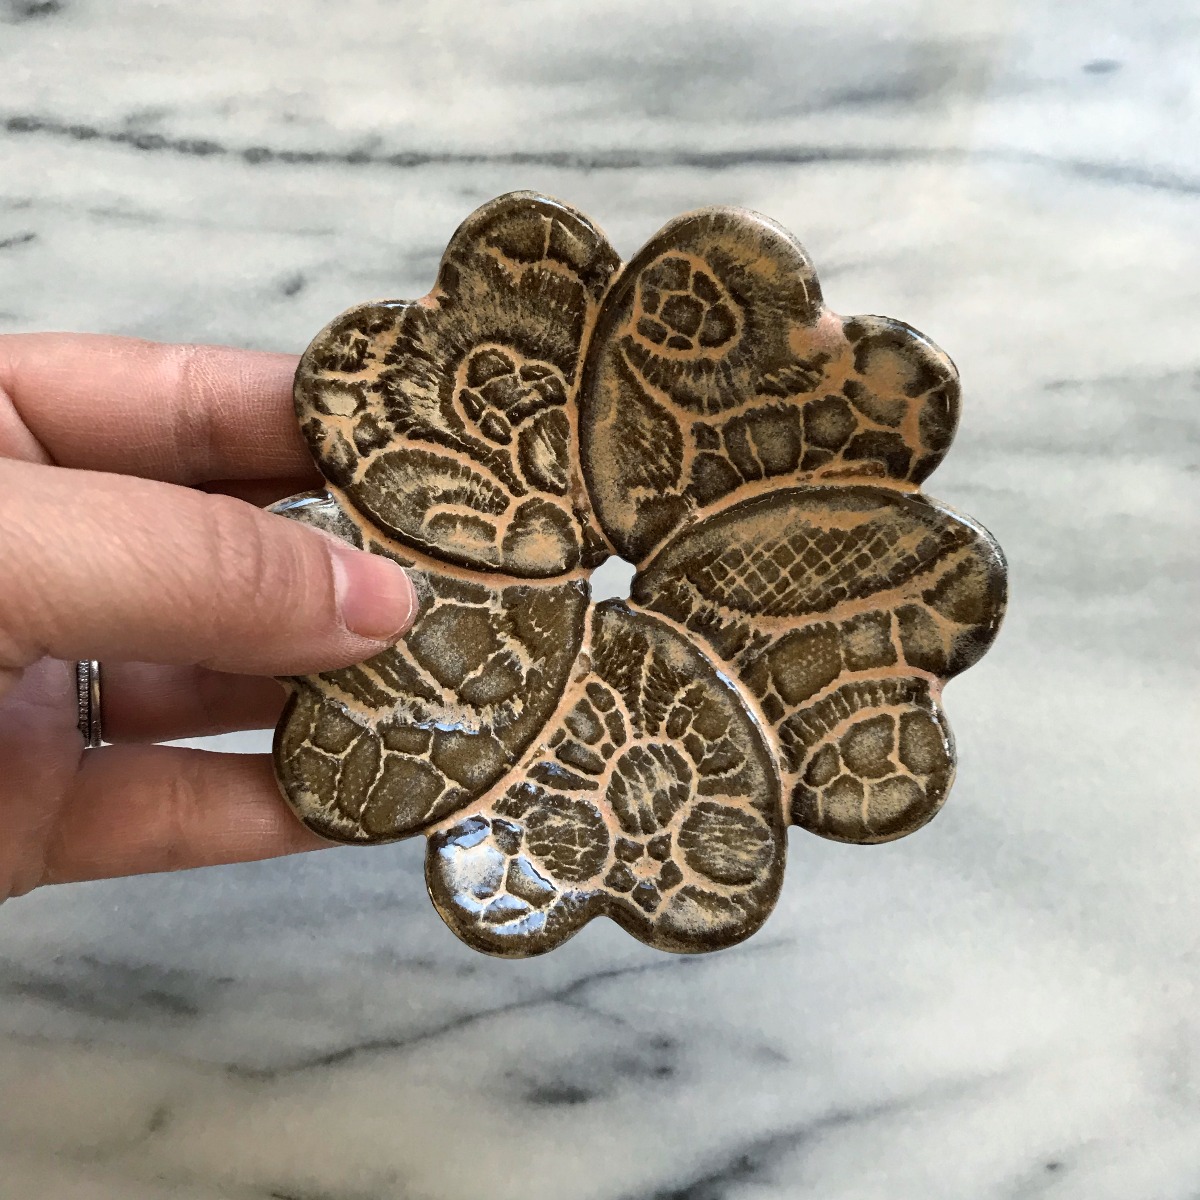
Lay out 5 hearts around a spherical form leaving a 1/4”-1/2” gap in the center. Slip and score the areas that overlap and press along all of the joins to secure the connection. If you are using a non-absorbent surface lay a sheet of plastic wrap over the form to prevent the dish from sticking as it dries. If you cut the heart shapes in graduated sizes you will need to be sure to use like-sized hearts for each dish, but you will end up with a nice set of nesting dishes.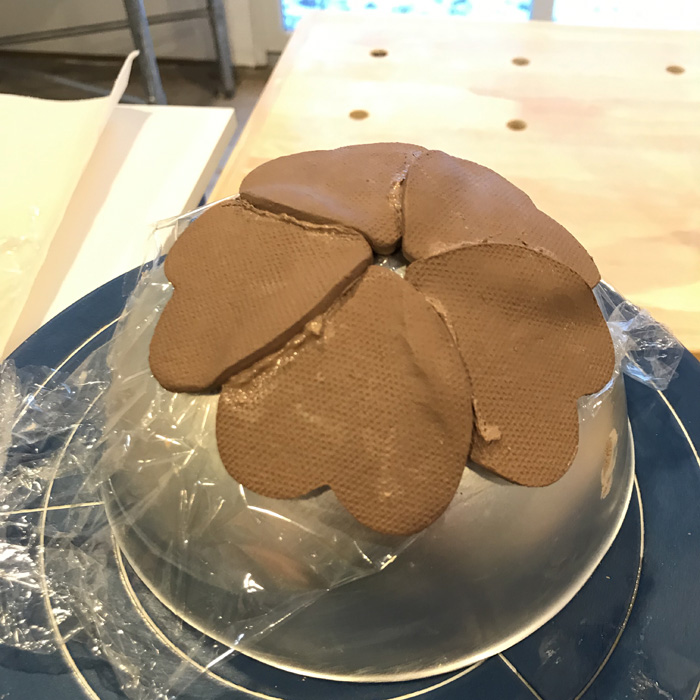
Clean up the joints and smooth the edges with a sponge.
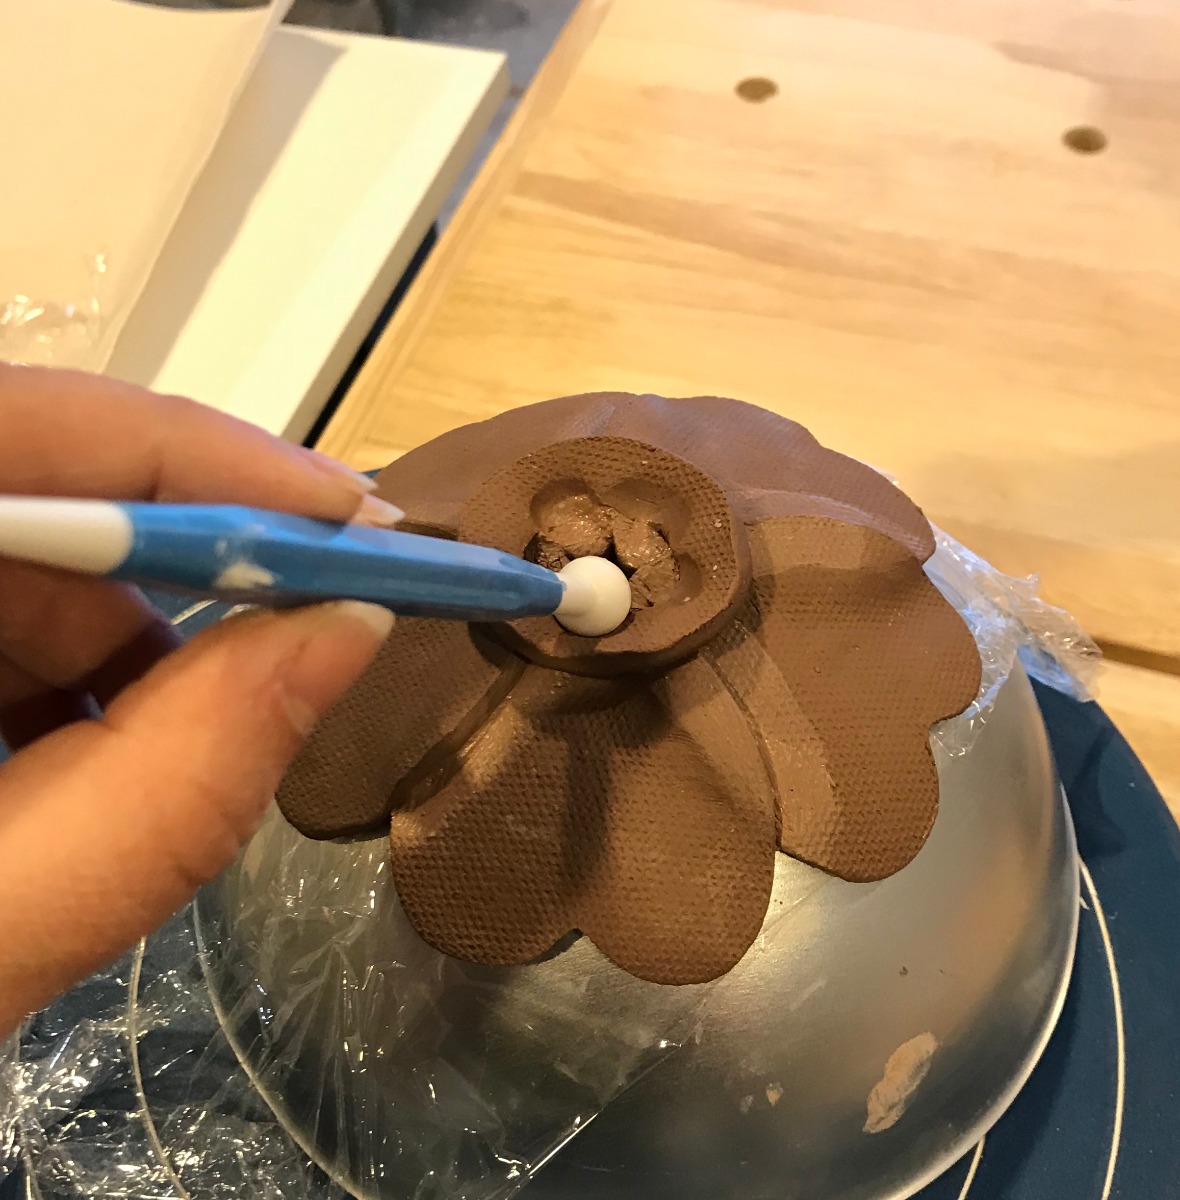
Slip and score the base of the foot ring and attach it to the dish. Using a round modeling tool, press five indentions into the foot. This not only provides a decorative element but also strengthens the join.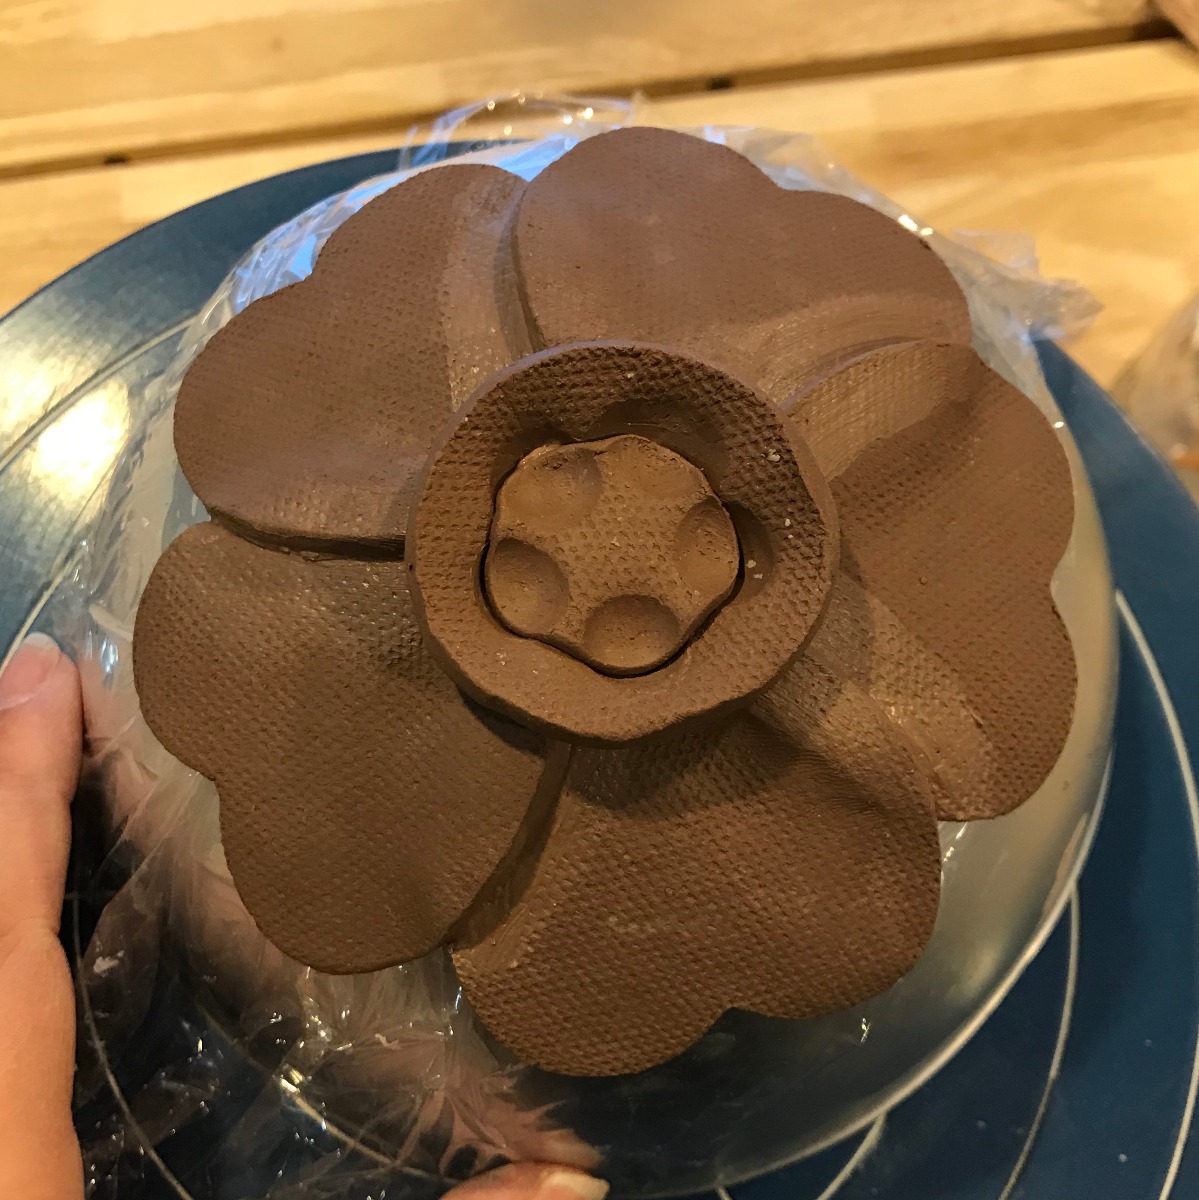
Add the smallest disc cutout back to the base, and again use the round tool to attach it to the foot. Now is also the time to add any makers mark or stamp.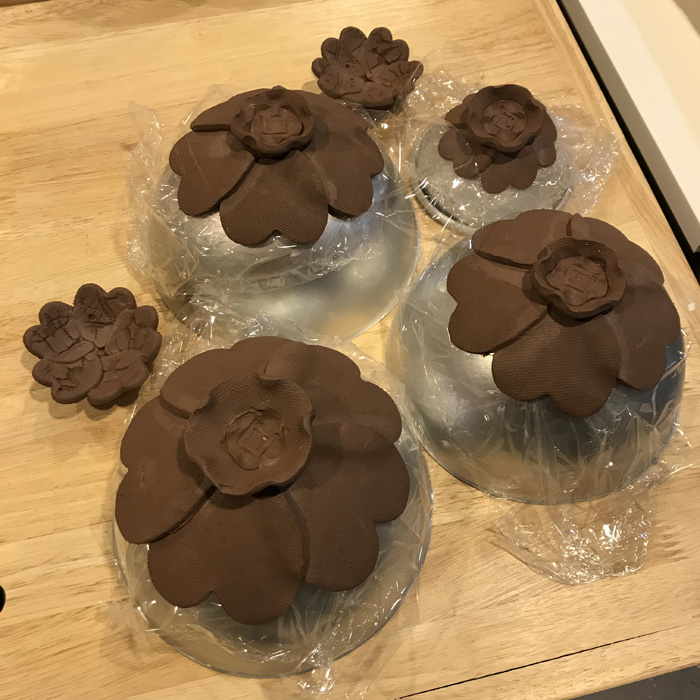
Allow the dishes to dry slowly to avoid cracks along the joint lines. I transferred these pieces into a damp cabinet, but you could also cover them loosely in plastic or a damp sheet. 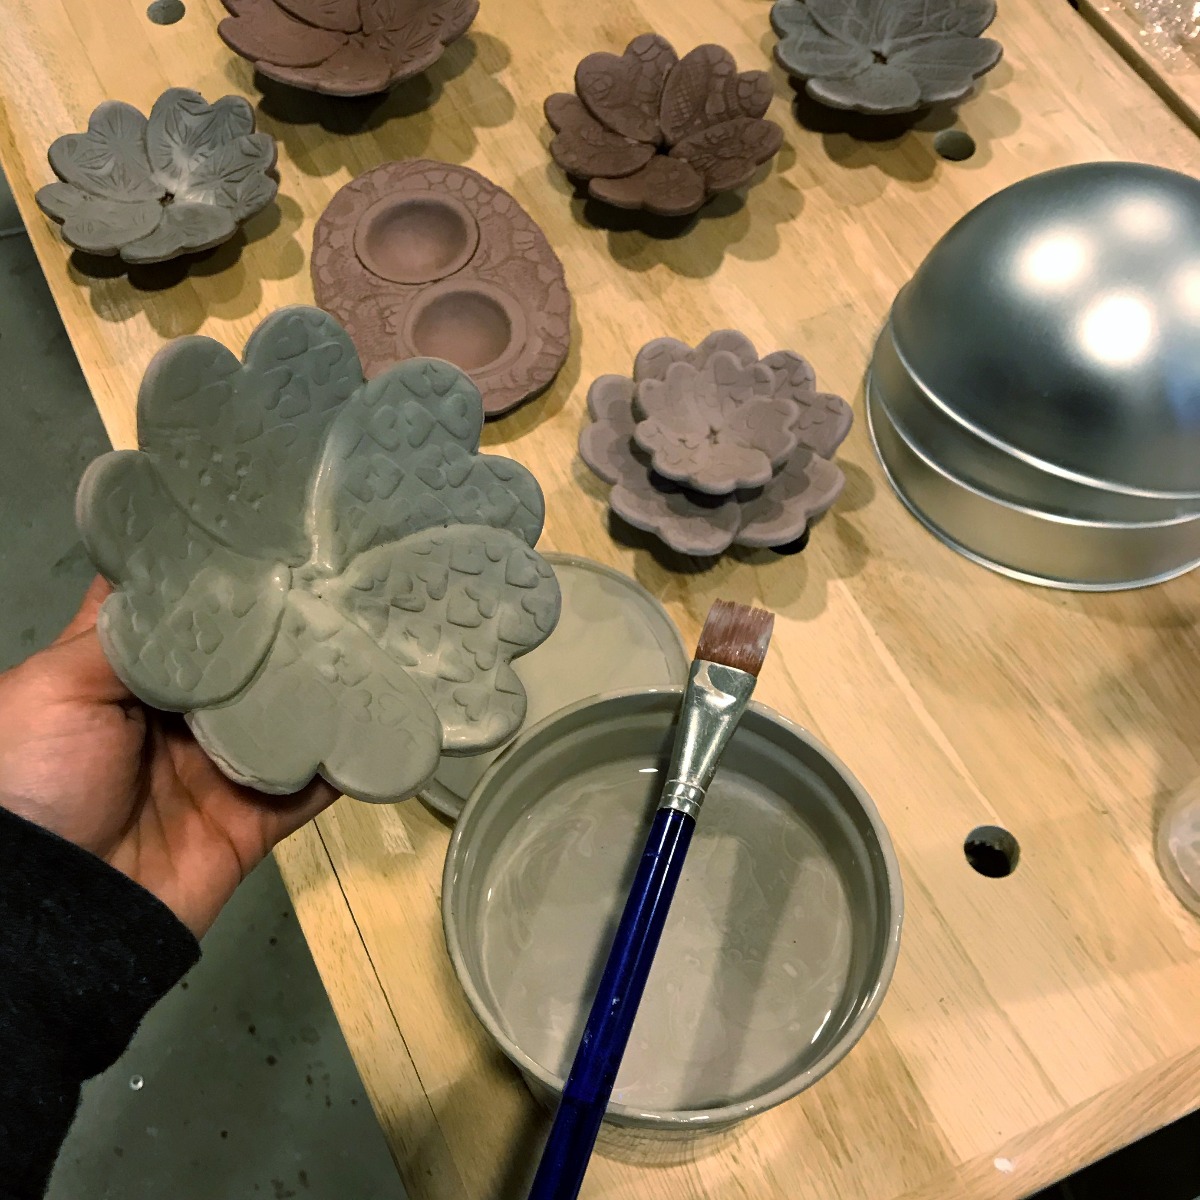
Optionally apply slip when the dishes have firmed up. I do this with some of the earthenware dishes, but leave the porcelain ones untouched.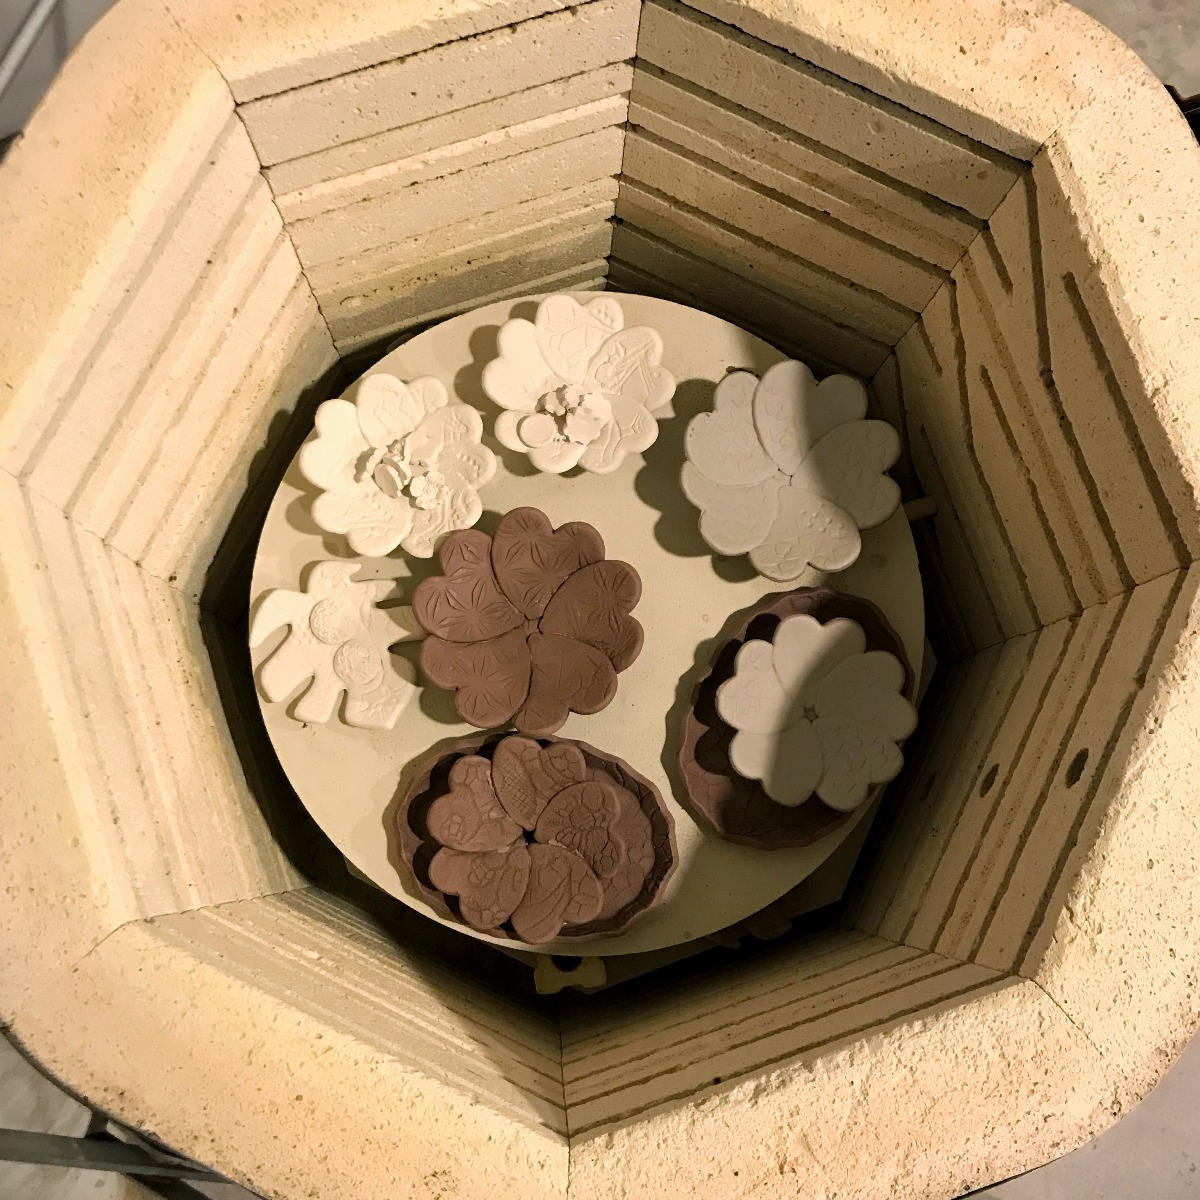
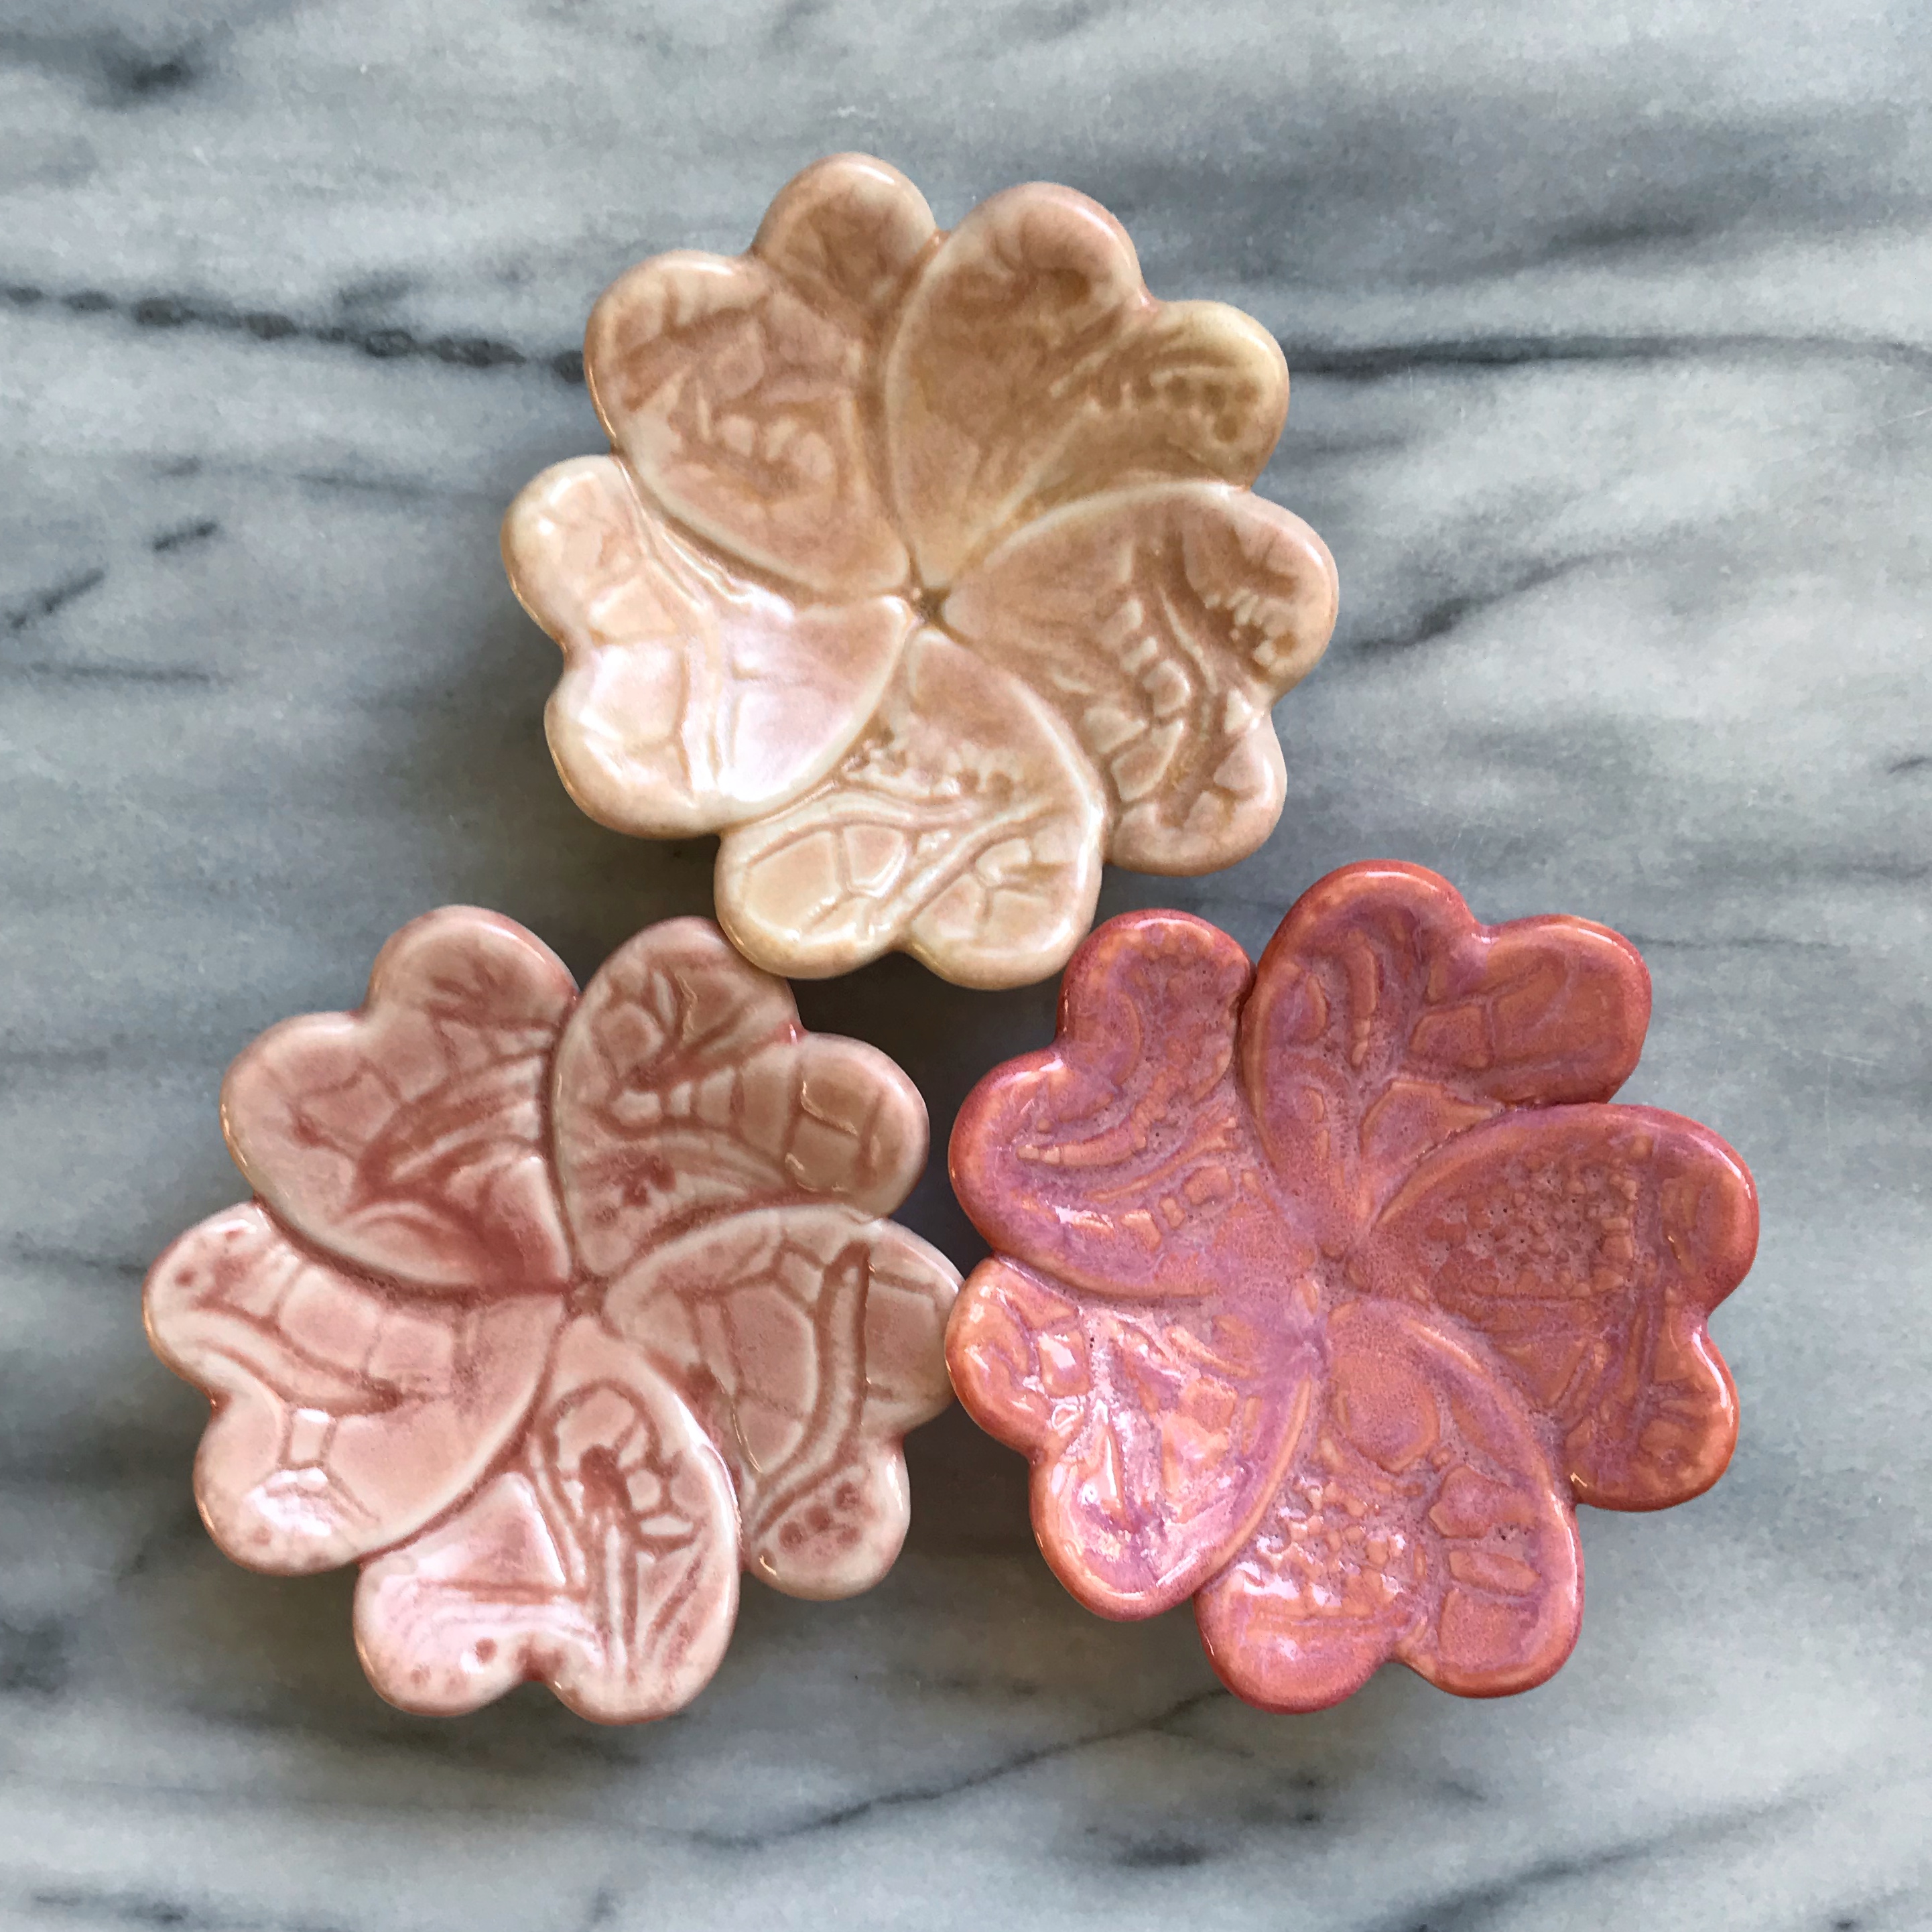
Finished Examples: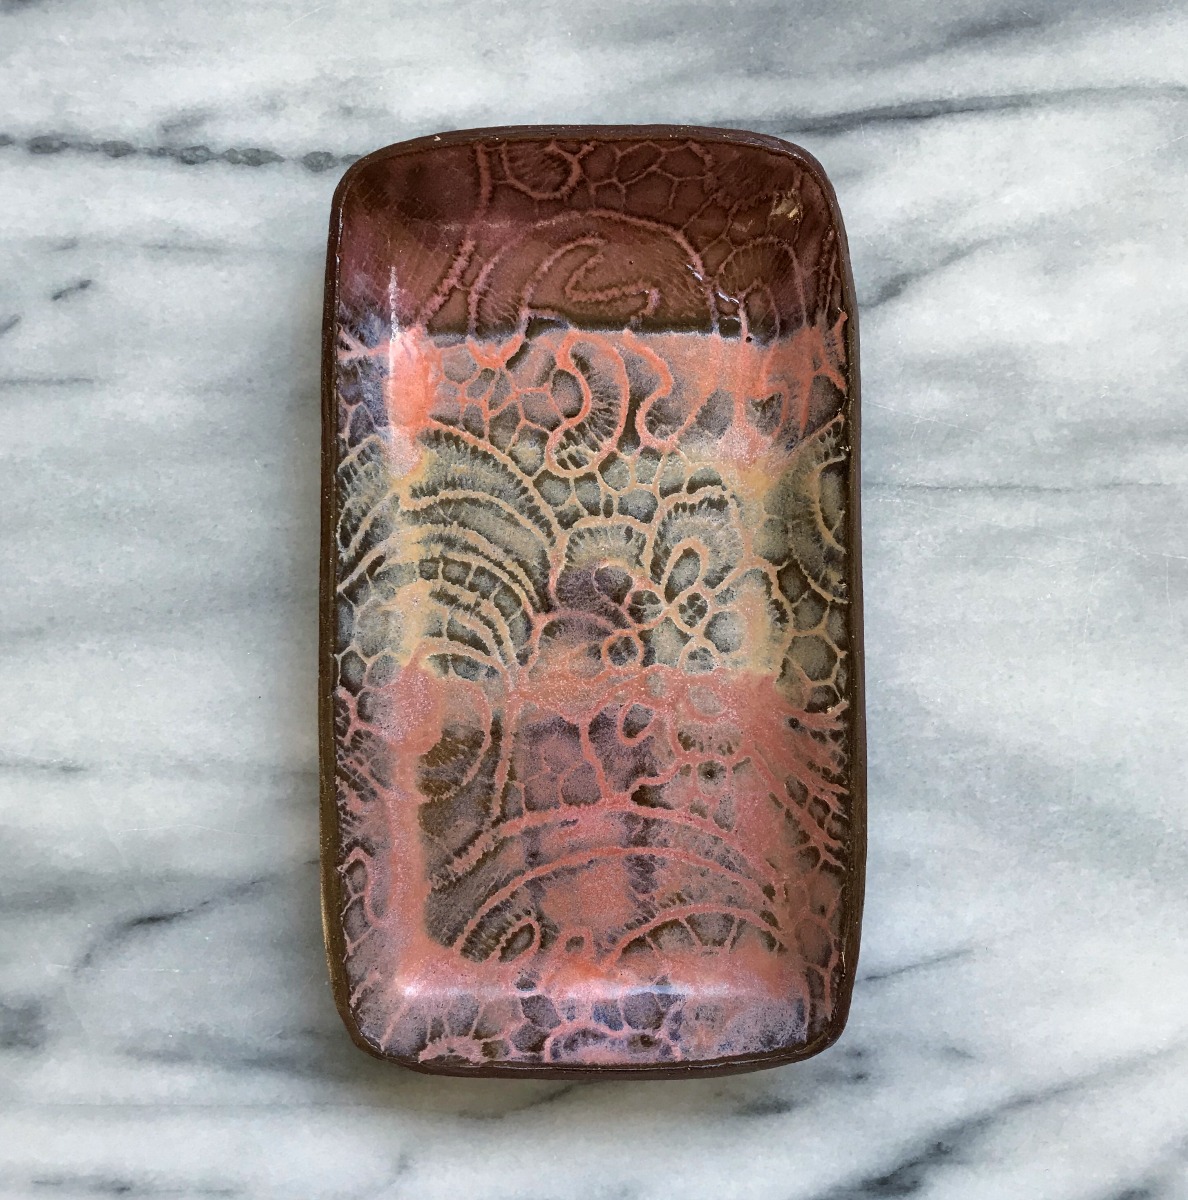
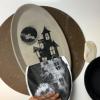
Earthenware cone 5 From top to bottom: Sunset Pink, Archie’s base, Rhubarb 
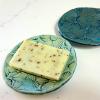
Porcelain cone 5 Clockwise from top: Archie’s Base, Sunset Pink, Rhubarb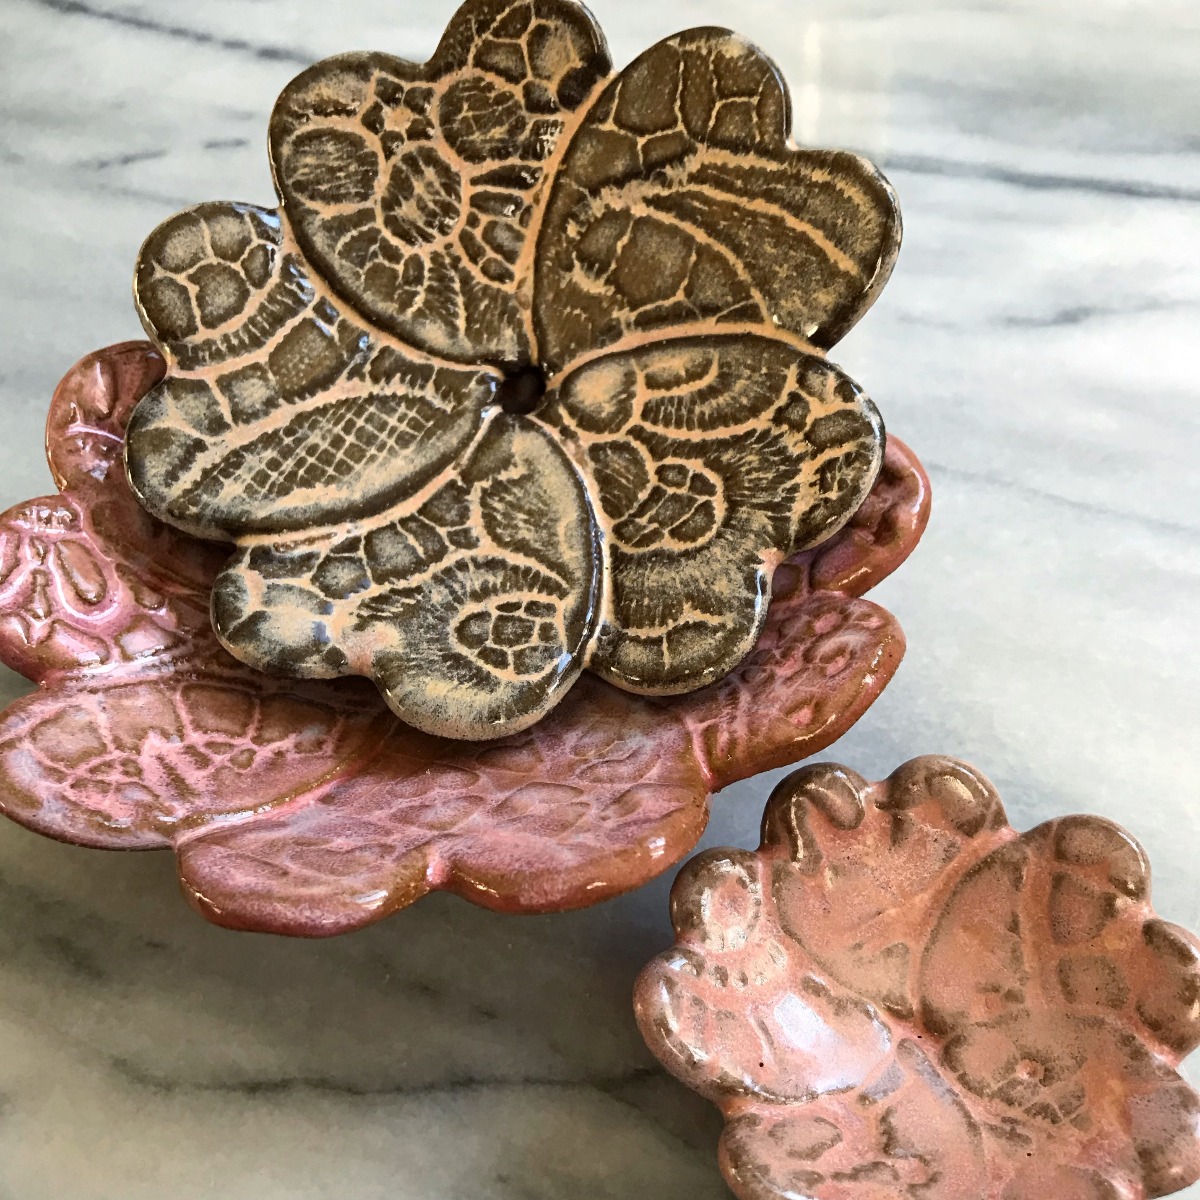
Earthenware cone 5 From largest to smallest: Sunset Pink with Archie’s Base on top, Archie’s Base, Rhubarb withArchie’s Base on top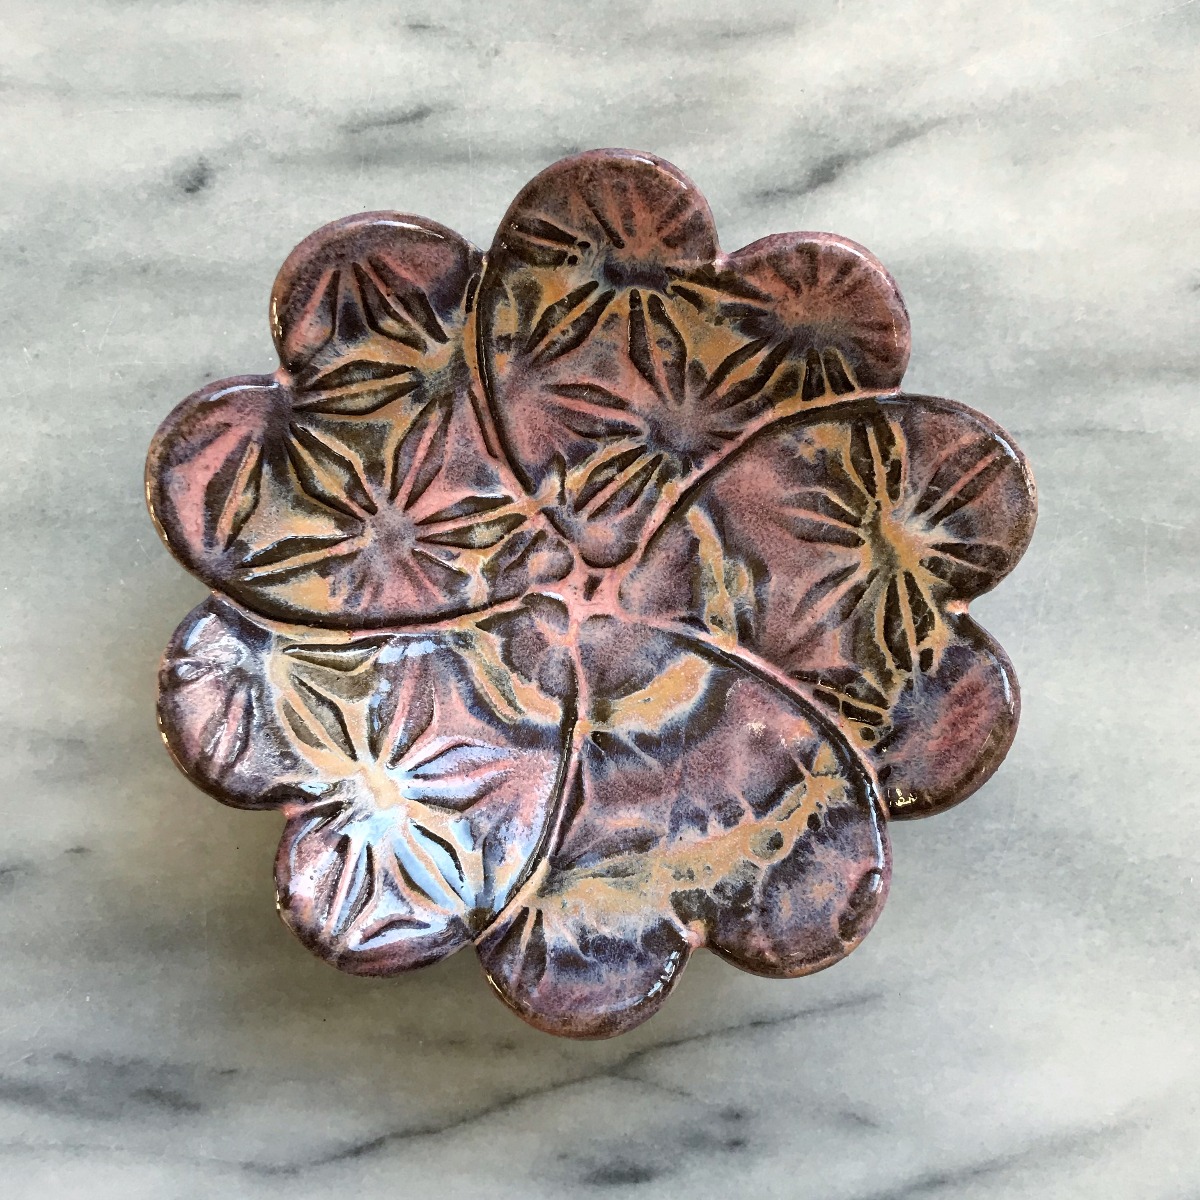
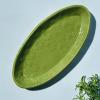
Earthenware cone 5, Archie’s Base over bands of Sunset Pink
About the Author