How to Apply and Fire Water-Slide Ceramic Decals

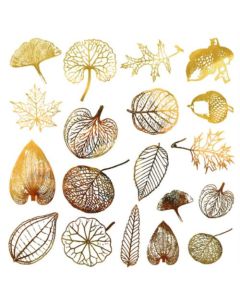
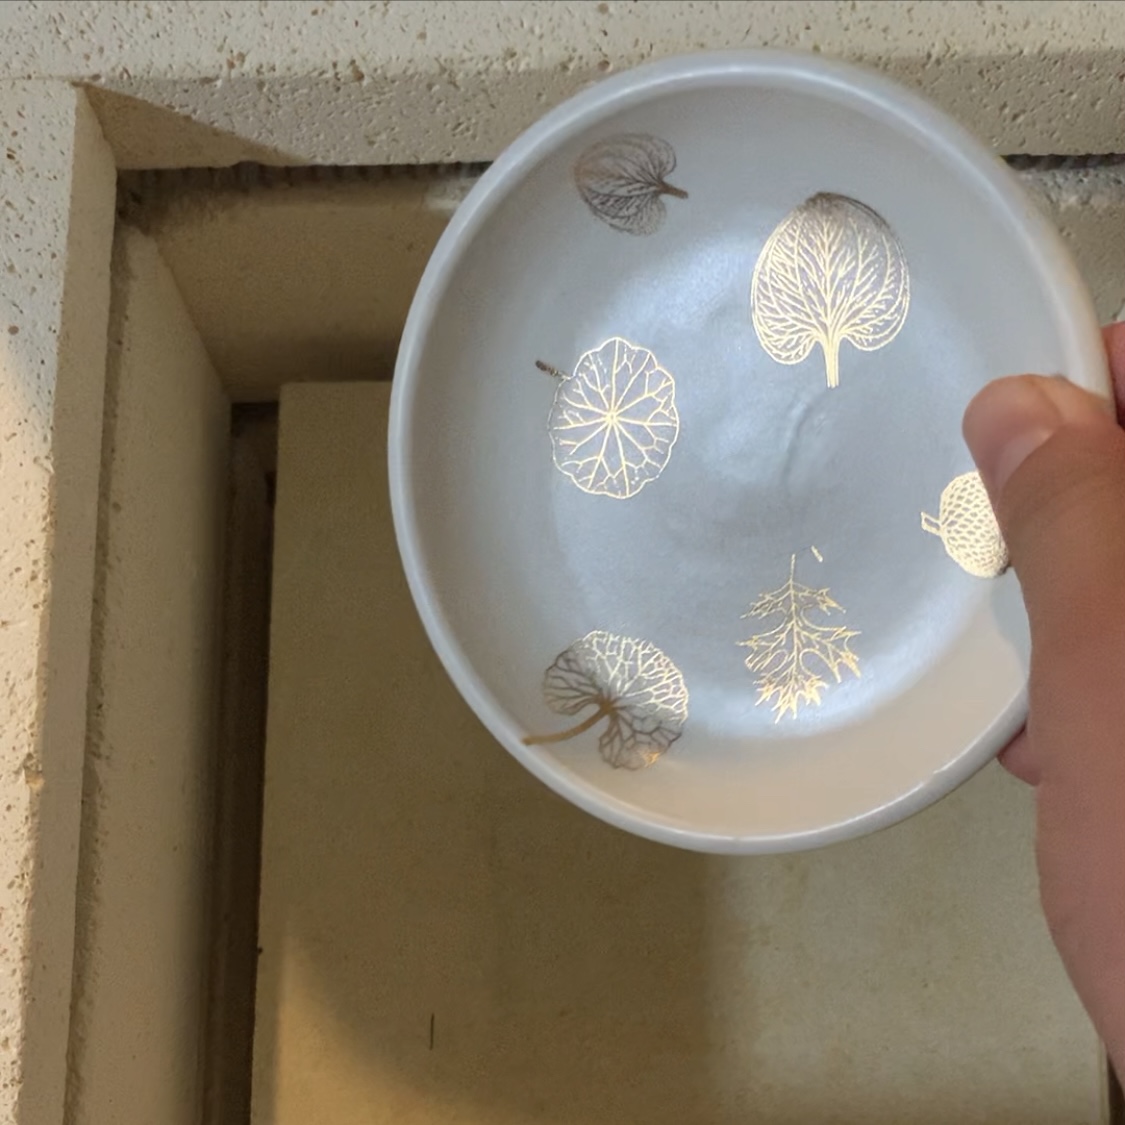
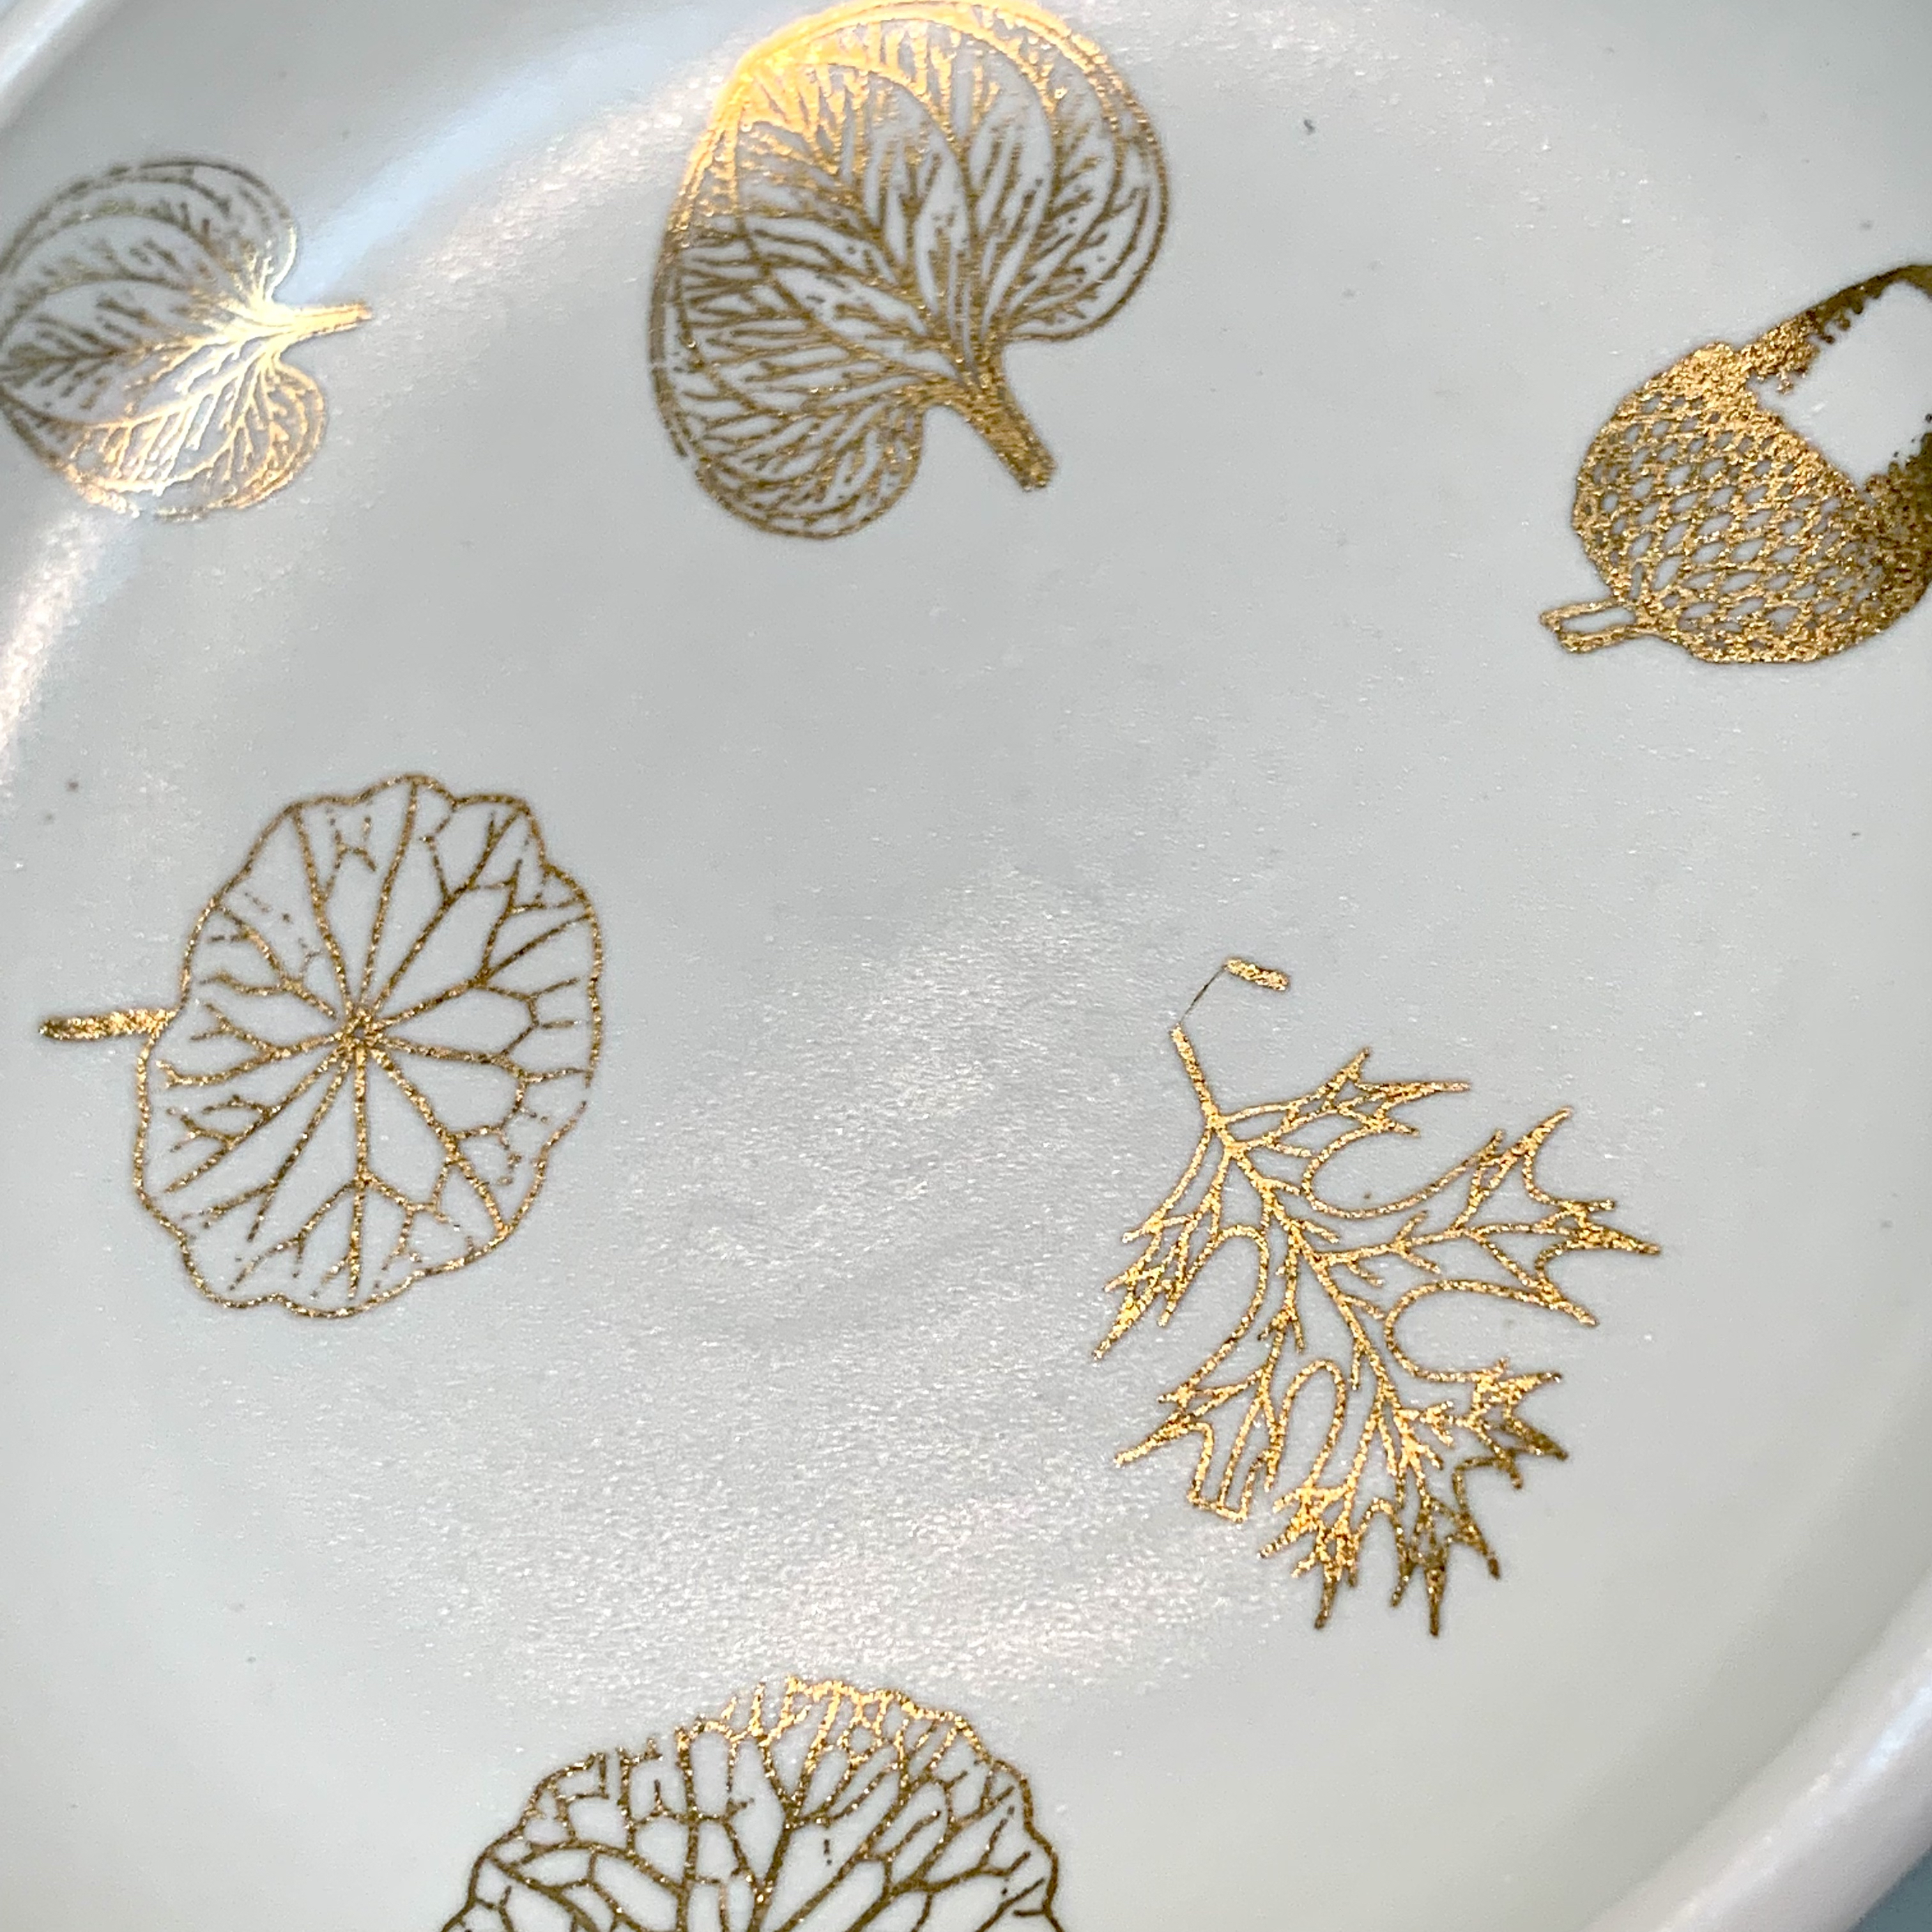
Water-slide ceramic decals are transfer prints created out of ceramic materials. We will show you how you can use ceramic decals to enhance your two and three-dimensional ceramic forms with graphic details and vibrant colors. Ceramic decals offer a myriad of decorative possibilities. You can experiment using decals on top of a single glaze or over layered designs. Decals are a wonderful way to enhance a fired piece with an additional decorative element. When fired correctly, decals are fused onto the glaze during the firing and become a permanent part of the piece. Made from colored mineral pigments and precious metals, ceramic decals come in single colors, full color, and in metallic gold and platinum. The decals we offer come in a wide range of patterns and images.
Application Process: To apply your decals you will need scissors, a bowl of warm water, a small flexible squeegee or rubber rib, a soft lint-free cloth, a glazed ceramic piece and a kiln. Begin by washing your ceramic in warm water. Then remove the protective wax paper from the top of your decal if present.
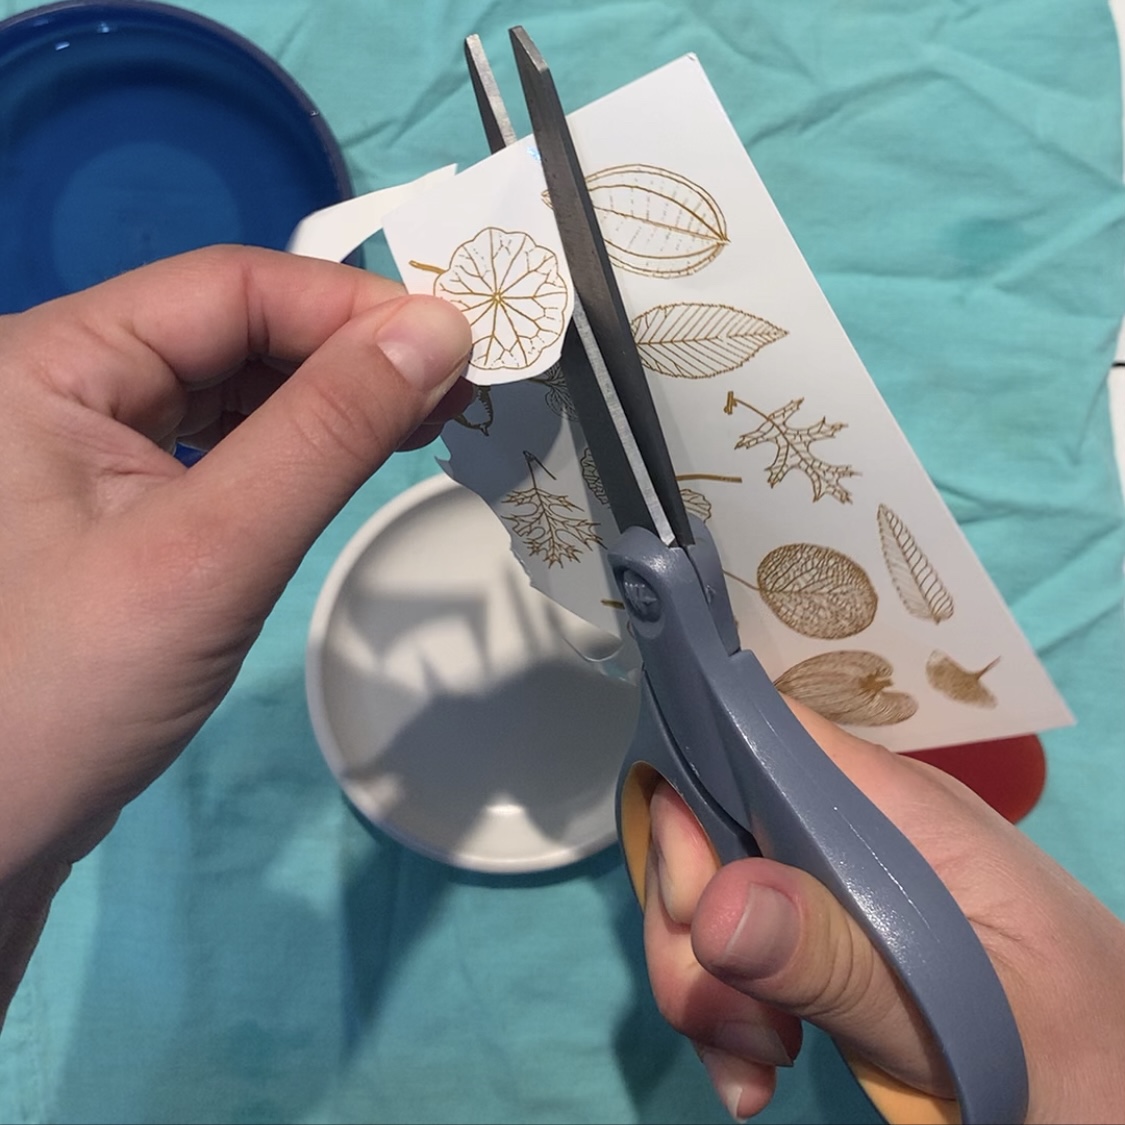
Next, carefully cut around the printed design (if there are mulitple images on one sheet). Trim around the decals as close to the image as possible.
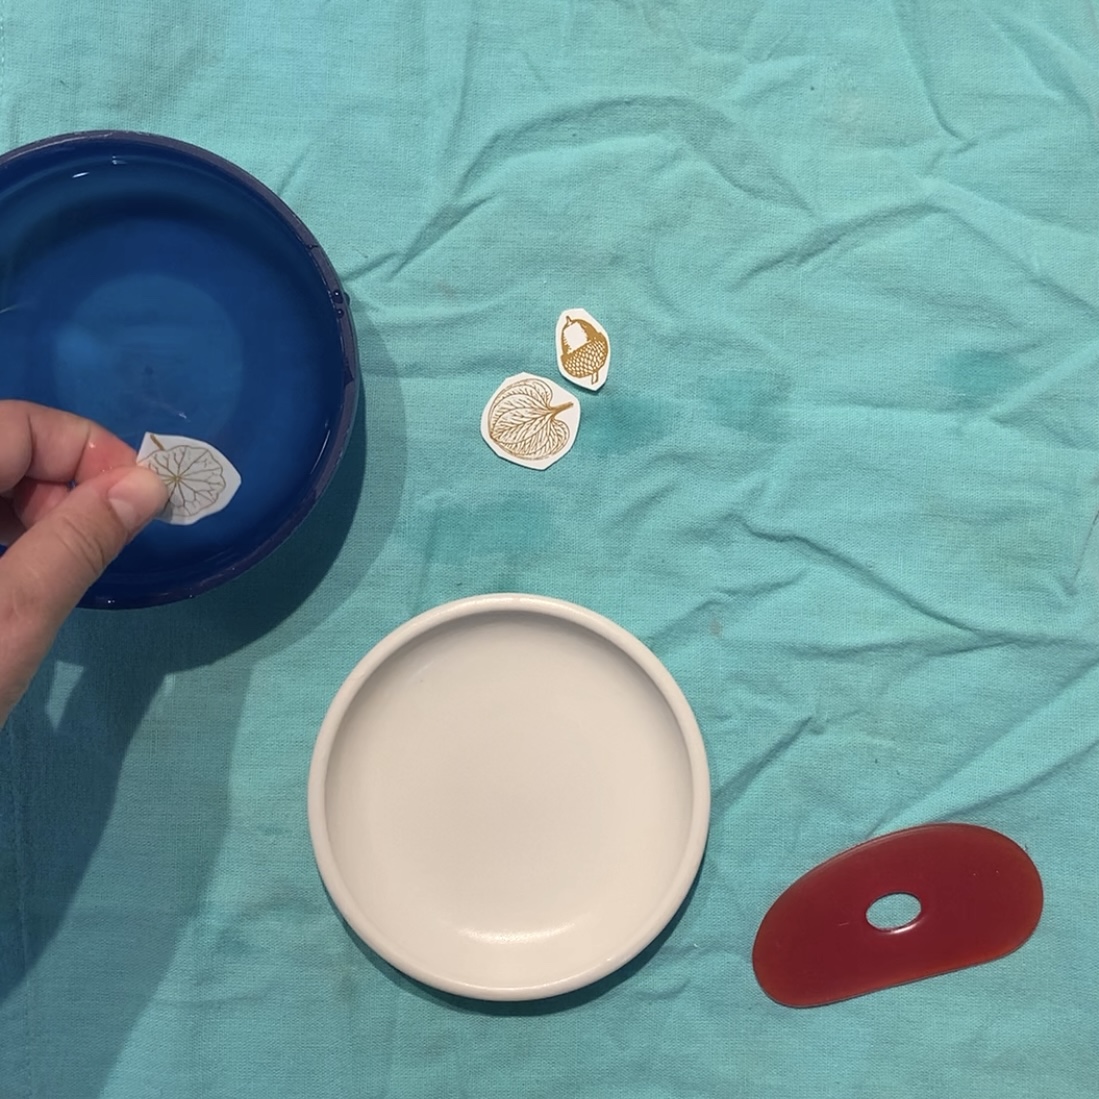
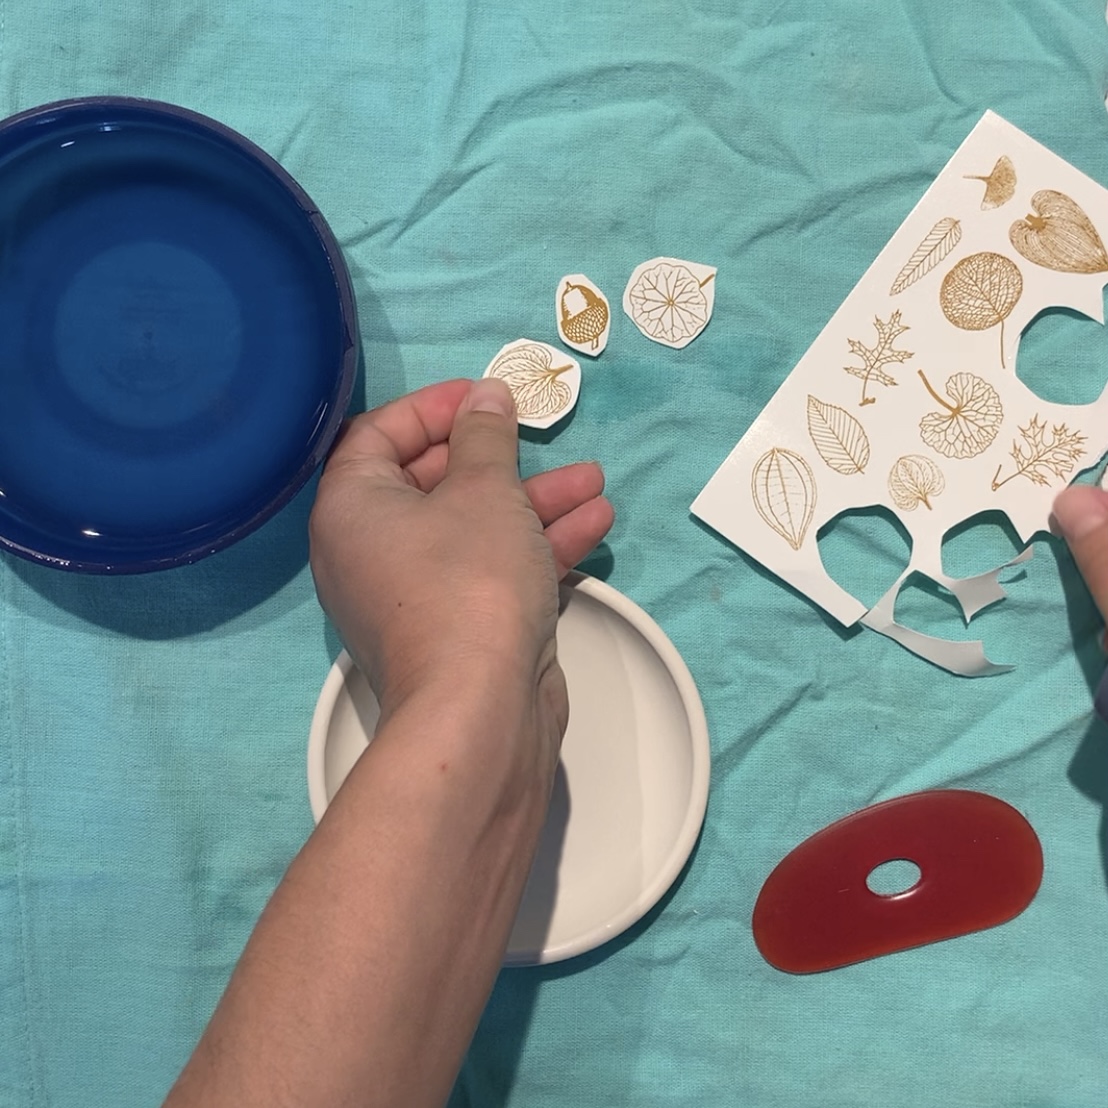
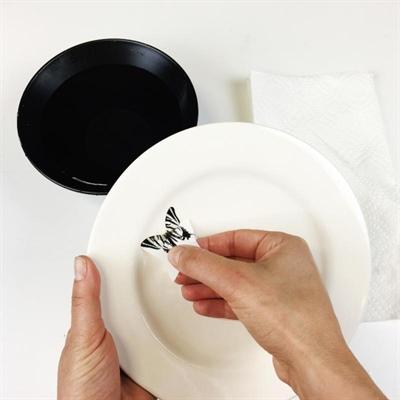
Next, fully immerse the decal into your bowl of warm water. Wait approximately 30 seconds until the paper is completely wet. Place the decal face-up onto the ware in the position that you want it to be.
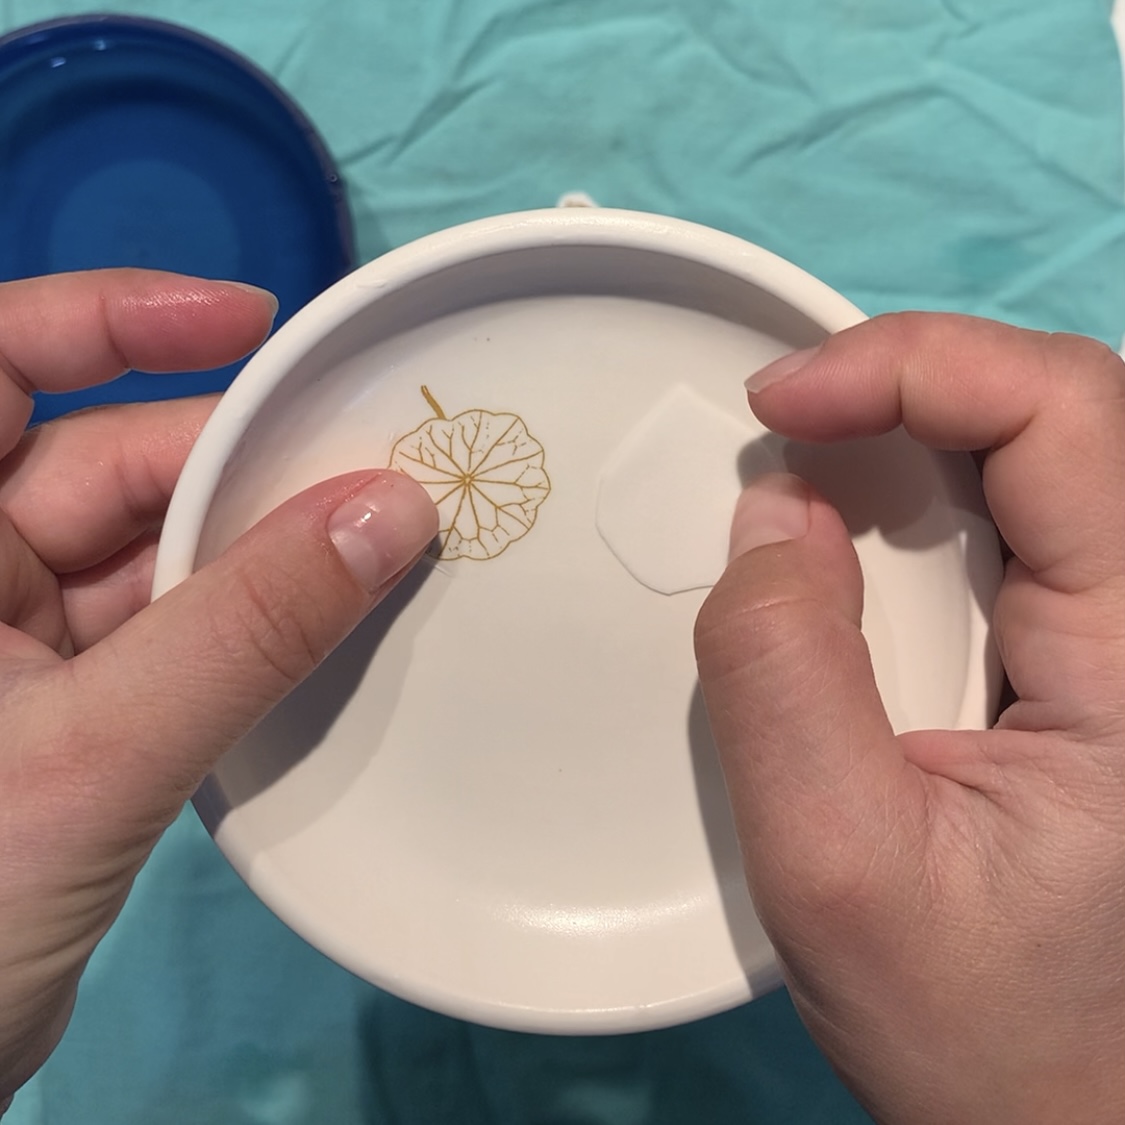
Gently slide the white paper backing out from between the decal and the ware. The white paper backing should slide away with ease, leaving behind the image attached to a clear covercoat film.
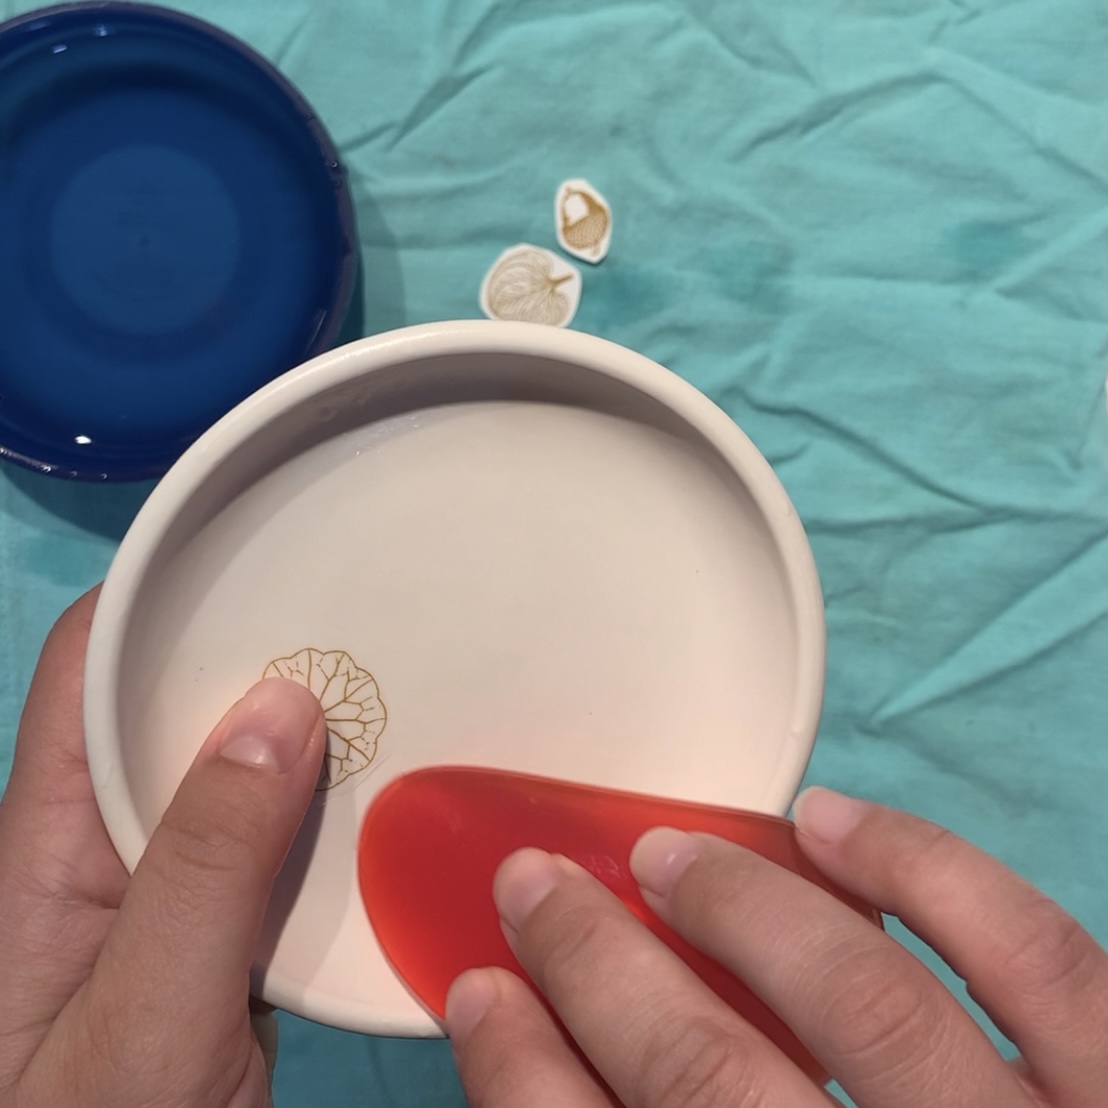
Carefully hold your decal in place while you use your squeegee or rubber rib to push out any water or air bubbles from underneath the decal. Start from the center of the decal and move outward to the edges, rotating your ceramic as you go. ** Sherrill MudTools make excellent soft and medium rubber ribs. These are great tools to use when removing air bubbles from underneath the decal.
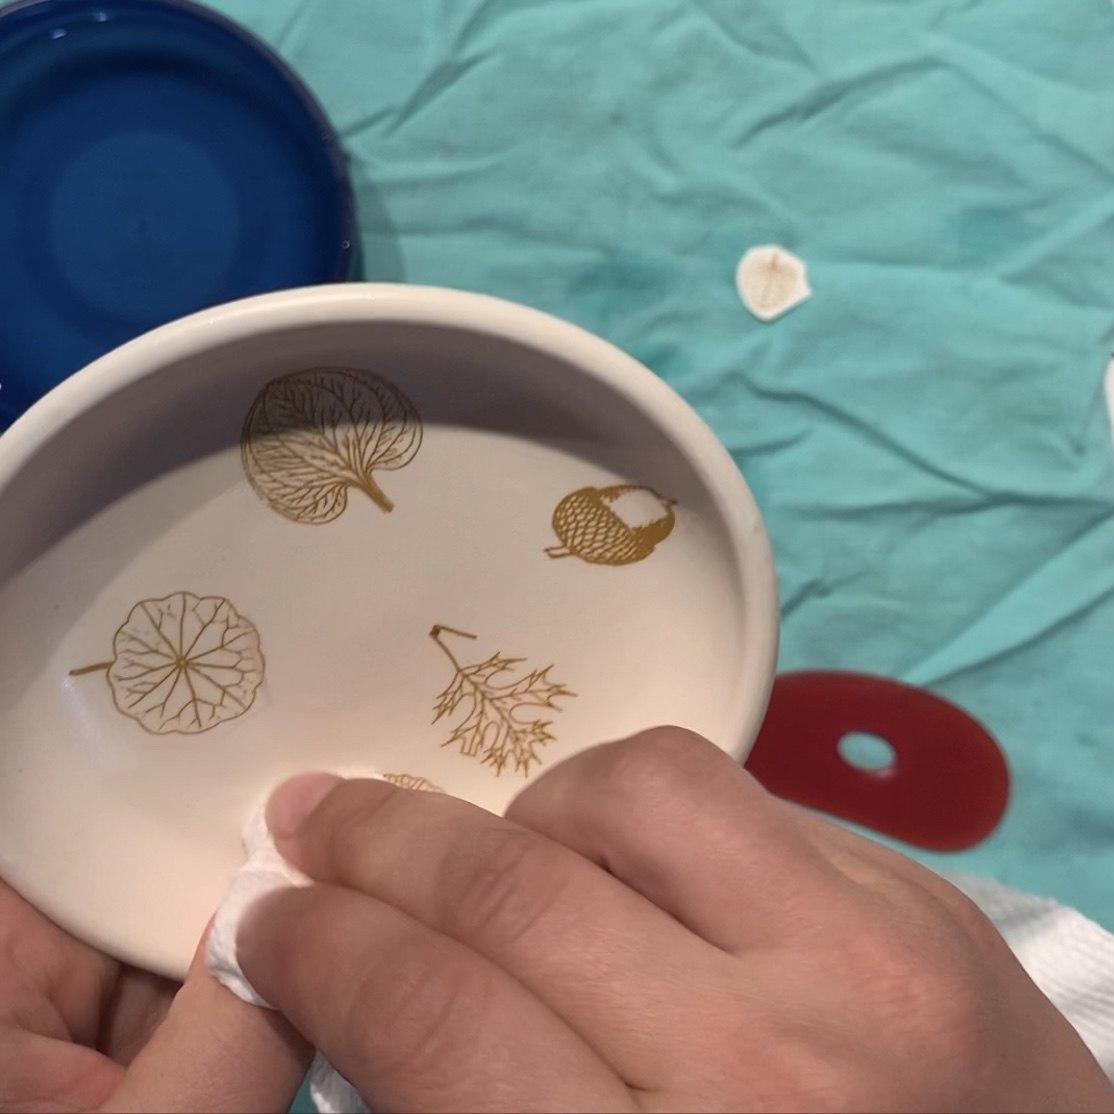
Remove any excess moisture with a lint-free cloth such as a pillowcase and allow the piece to dry at room temperature for 24 hours.
Firing:
* MAKE SURE THE KILN IS WELL VENTILATED UP TO 1000°F
* THE DECALS SHOULD BE FIRED VERY SLOWLY BELOW 500°F
Digital controller kiln firing:
REGULAR FIRING CYCLE -
*50°F/h up to 185°F soak for 20 minutes
*150°F/h up to 300°F soak for 15 minutes
*250°F/h up to 500°F soak for 15 minutes
*600°F/h up to 1000°F soak for 10 minutes
*last cycle depends on type of ware and decals*
*NON-METALLIC** ON CERAMIC/PORCELAIN 1000°F/h up to 1450~1550°F soak for 15 minutes
*METALLIC DECALS 1000°F/h up to 1250~1450°F soak for 10 minutes
Cone firing: On porcelain and ceramic fire at cone 016 or 017. If you have a slow setting on your kiln you can use it for the first part of the firing. (below 500°F)
Milestone Decal Art Llc. produces the water-slide ceramic decals that we offer. The firing instructions outlined here are derived from manufacturer guidelines.
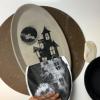
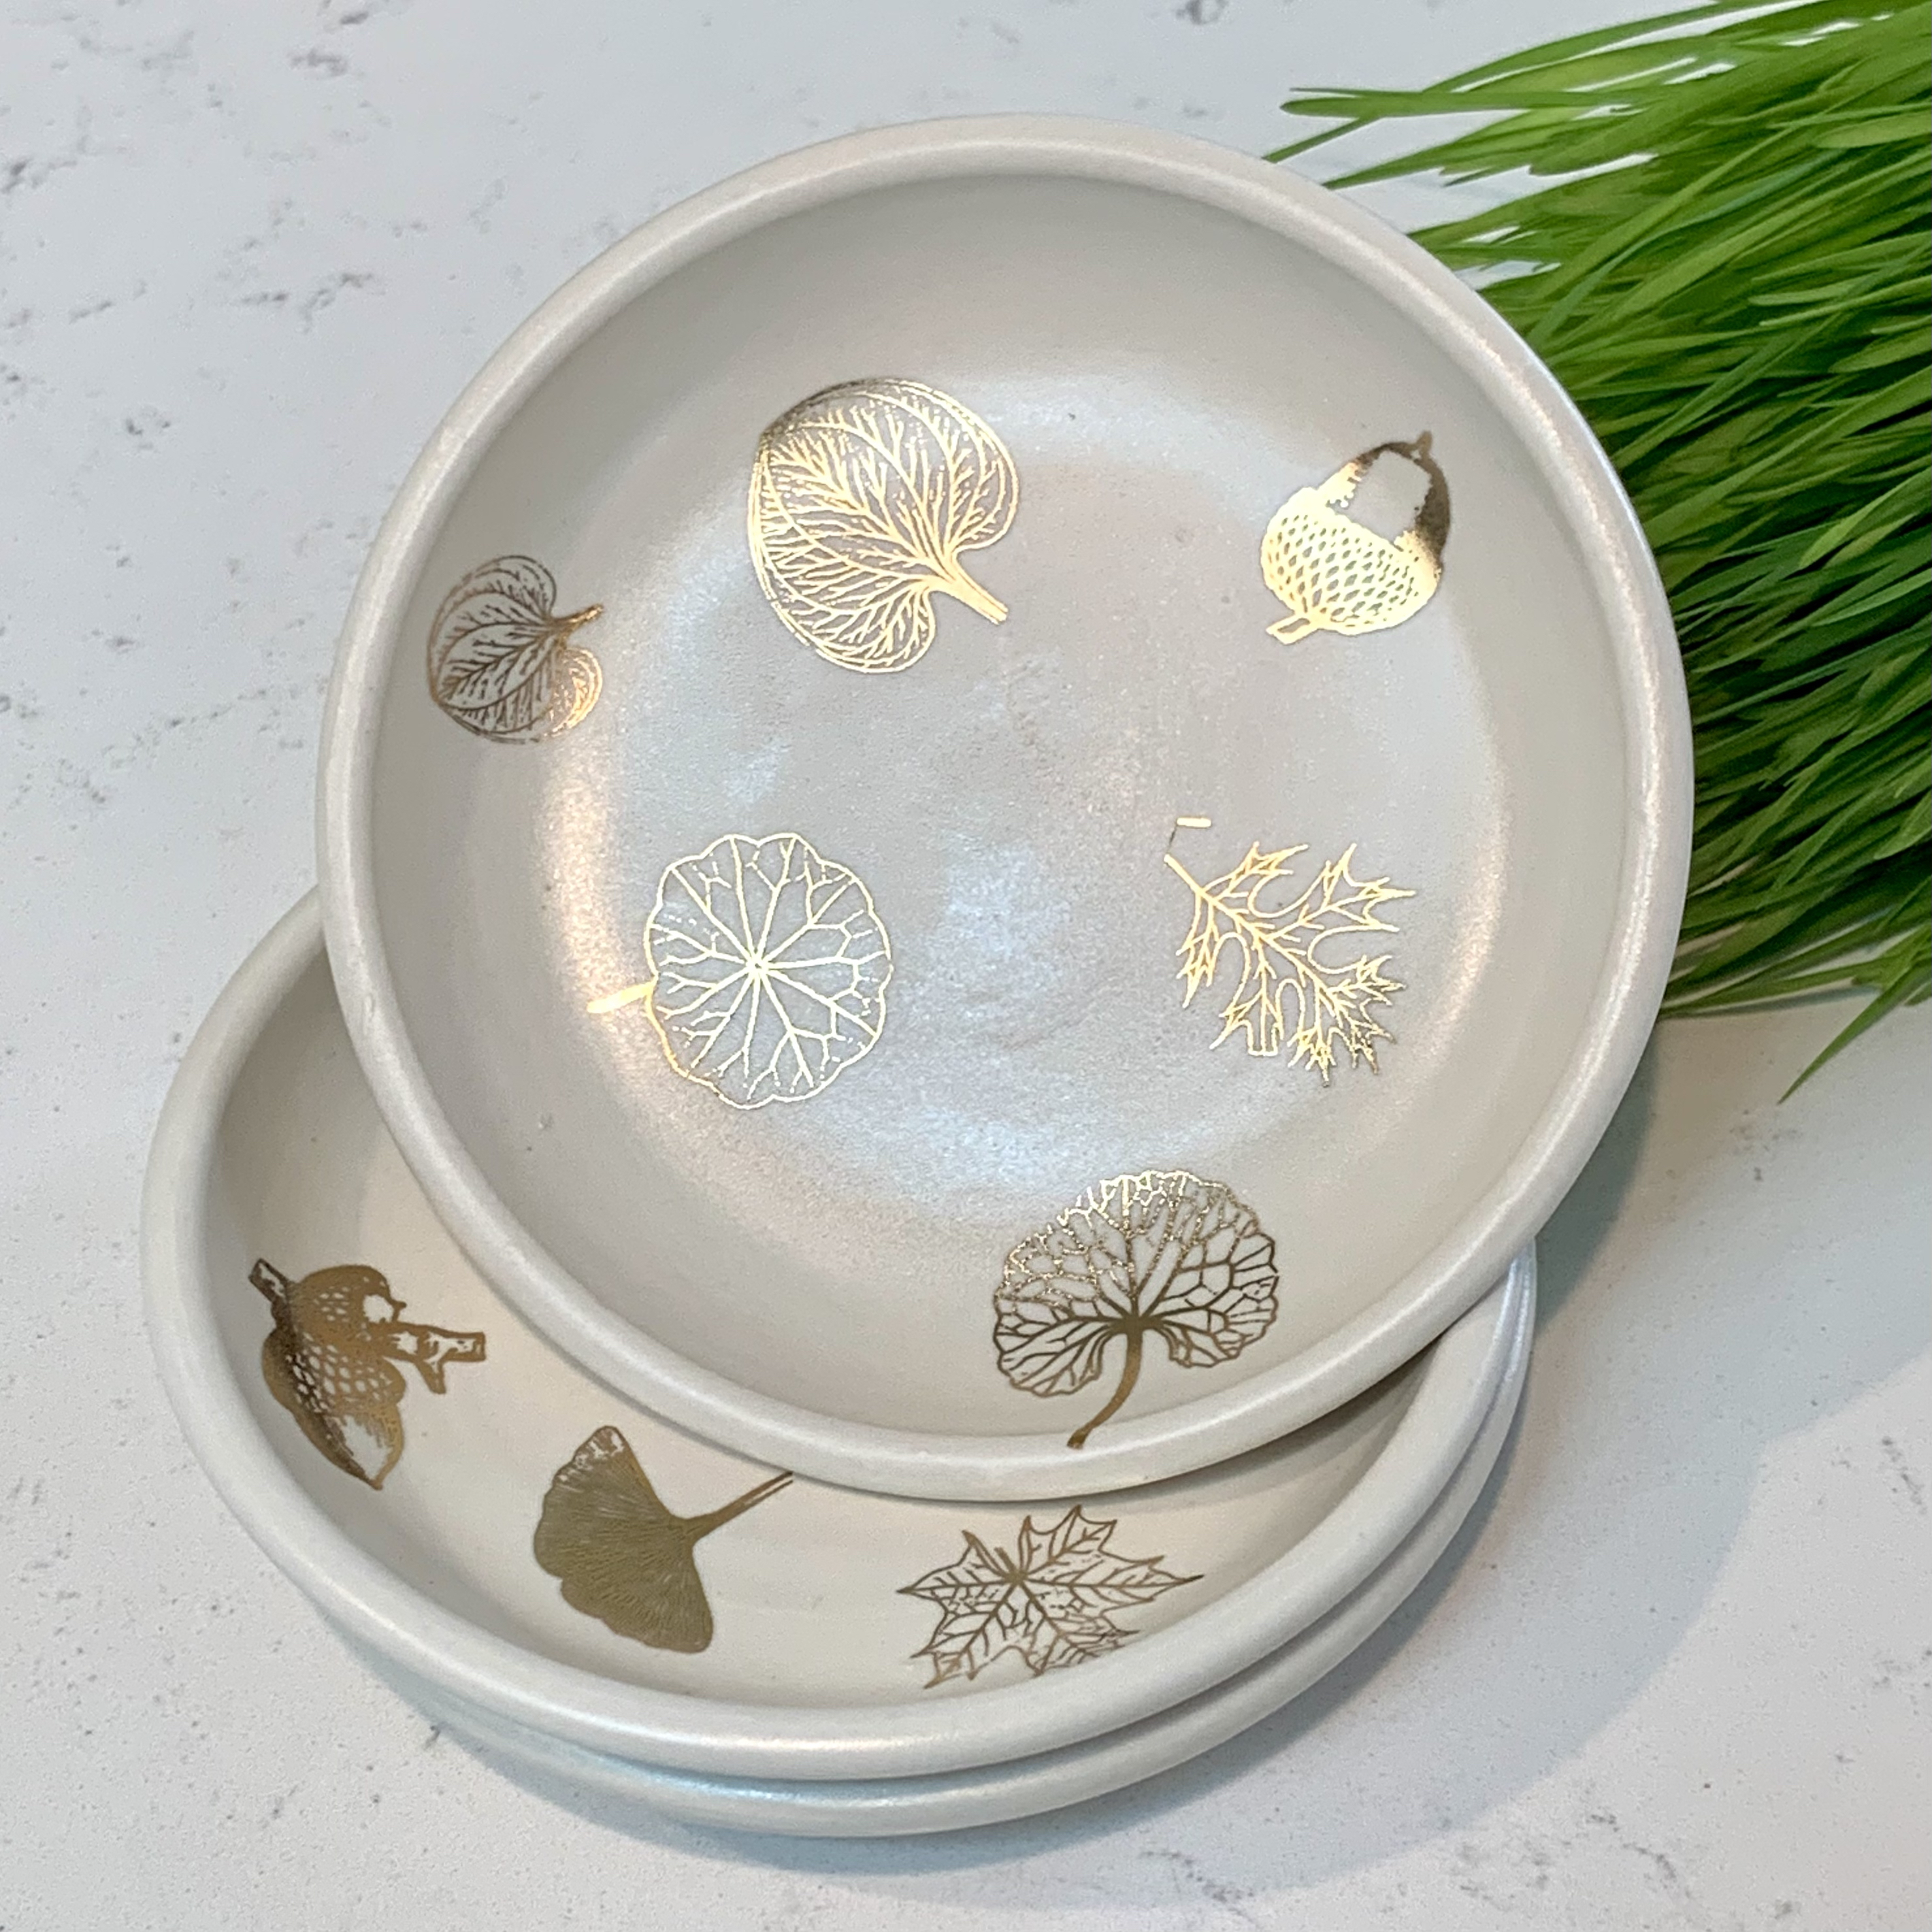
We have the supplies needed to complete this project. Shop our collection of Decals today! These plates were made from #240 White Clay C/6 and glazed with AMACO White Satin Matte SM-11 They were fired in a Top Loading Electric Kiln.
Have you used ceramic decals to enhance your work? Tag us on social media!
About the Author

Related Posts
Water-Slide Ceramic Decals
Who makes the best Jack-o-Lanterns?
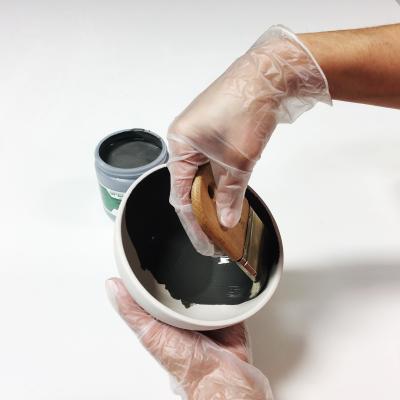
Brushing Glazes Made Easier
17 Best Selling Green Glazes
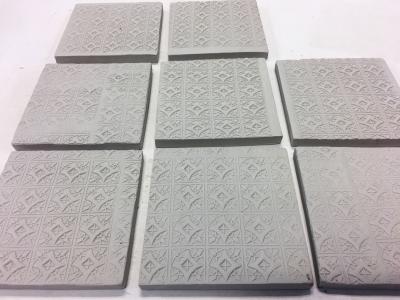
Easy DIY Coasters, Part 1: Make something you can use with this quick project!
Related Products