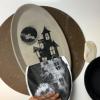
Creepy Crawly Spider Platter for all your Halloween Treats!

Halloween tends to spark creativity and imagination year after year. In fact, there are many opportunities to express yourself around Halloween, from carving pumpkins to stitching up costumes, decorating the house, or baking up a spooky treat. Why not incorporate ceramics into some of your craftings? With Halloween sneaking up on us, we've got a Halloween ceramic decal project just for you! A creepy crawly Spider Platter that will catch all your Halloween treats!
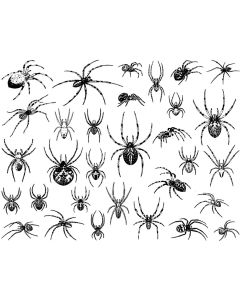
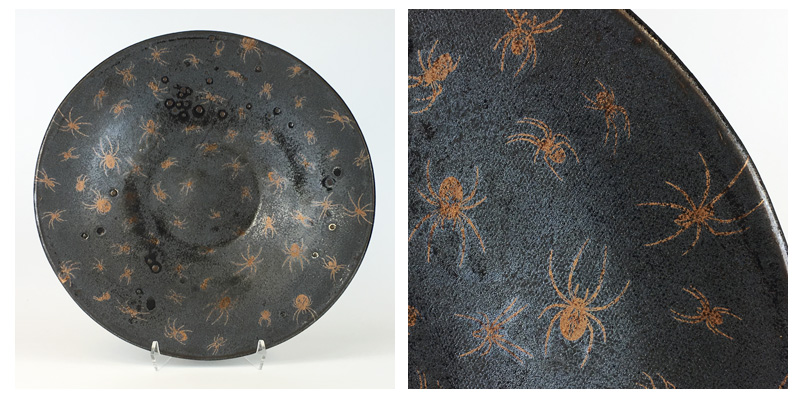
We used water-slide ceramic decals in a spider pattern to create this project. We love how easy decals are to apply, and the crisp designs you can achieve with them. We've shown this project in two ways: black decals on a white satin matte glaze and copper decals on a black satin gloss glaze. Both yield different results, but both are crawling with uniqueness.
The platters that are shown here were created using a Hydrobat Hump Mold. To see how we formed the platter, follow this link to our throwing video. To apply spider decals on your work, follow along with the steps below.
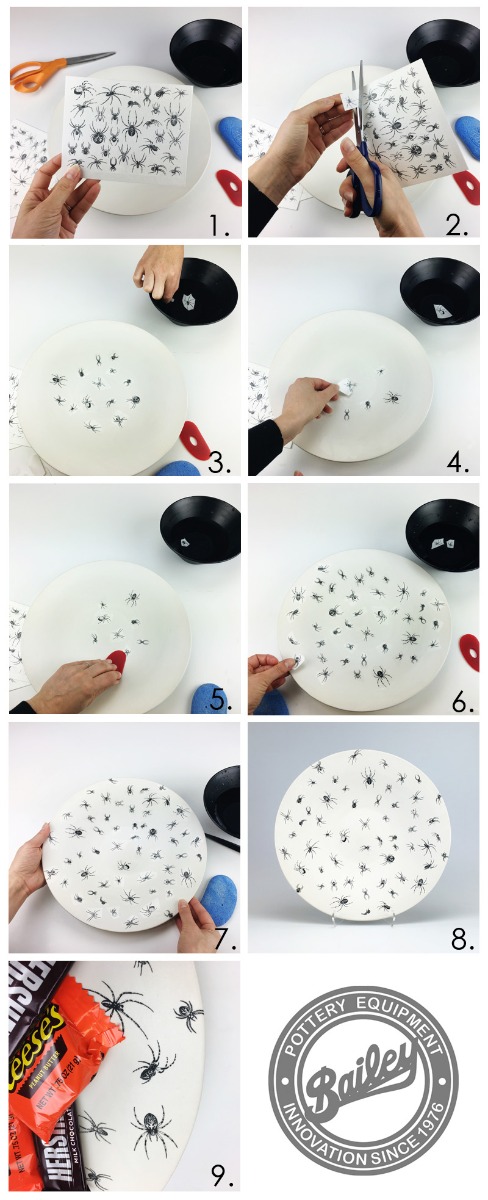
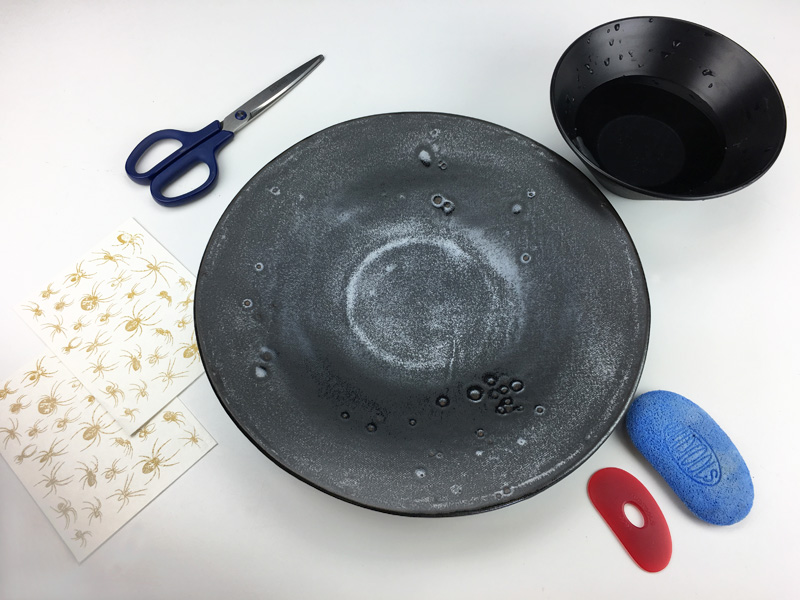
1. To apply your decals you will need scissors, a bowl of warm water, a small flexible squeegee or rubber rib, a soft sponge, a glazed ceramic piece and a kiln. Begin by washing your ceramic in warm water. Then remove the protective wax paper from the top of your decal if present.
2. Carefully cut around the printed design (if there are multiple images on one sheet). Trim around the decals as close to the image as possible.
3. Fully immerse the decal into your bowl of warm water. Wait approximately 30 seconds until the paper is completely wet.
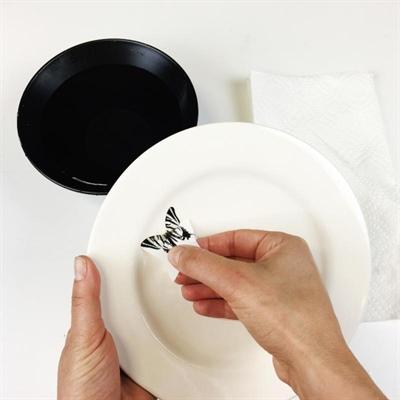
4. Place the decal face-up onto the ware in the position that you want it to be. Gently slide the white paper backing out from between the decal and the ware. The white paper backing should slide away with ease, leaving behind the image attached to a clear covercoat film.
5. Carefully hold your decal in place while you use your squeegee or rubber rib to push out any water or air bubbles from underneath the decal. Start from the center of the decal and move outward to the edges, rotating your ceramic as you go.
6. Remove any excess moisture with a lint-free cloth such as a pillowcase and allow the piece to dry at room temperature for 24 hours.
8. Fire your ceramic piece in a well-ventilated kiln to cone 016 0r 017. If you have a slow setting on your kiln you can use it for the first part of the firing (below 500°F).
9. Use your platter to display your favorite Halloween treats! Ceramic decals are considered dinnerware safe.

About the Author

Related Posts
Water-Slide Ceramic Decals
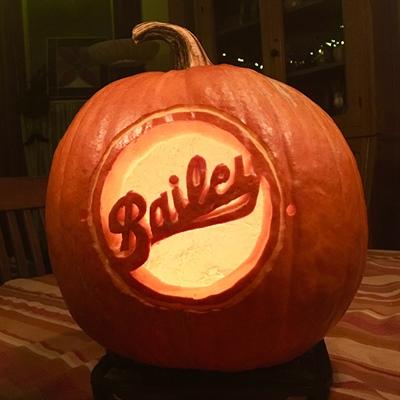
Who makes the best Jack-o-Lanterns?
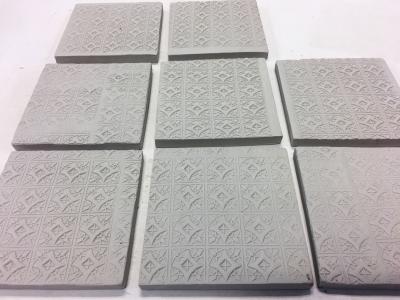
Easy DIY Coasters, Part 1: Make something you can use with this quick project!
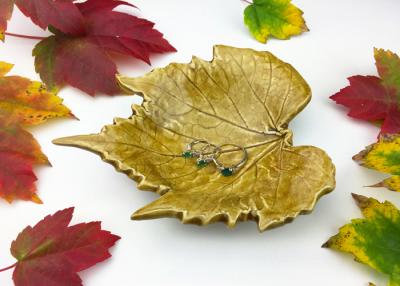
Fall Leaf Jewelry Dish

Holiday Gift Guide 2017
Related Products